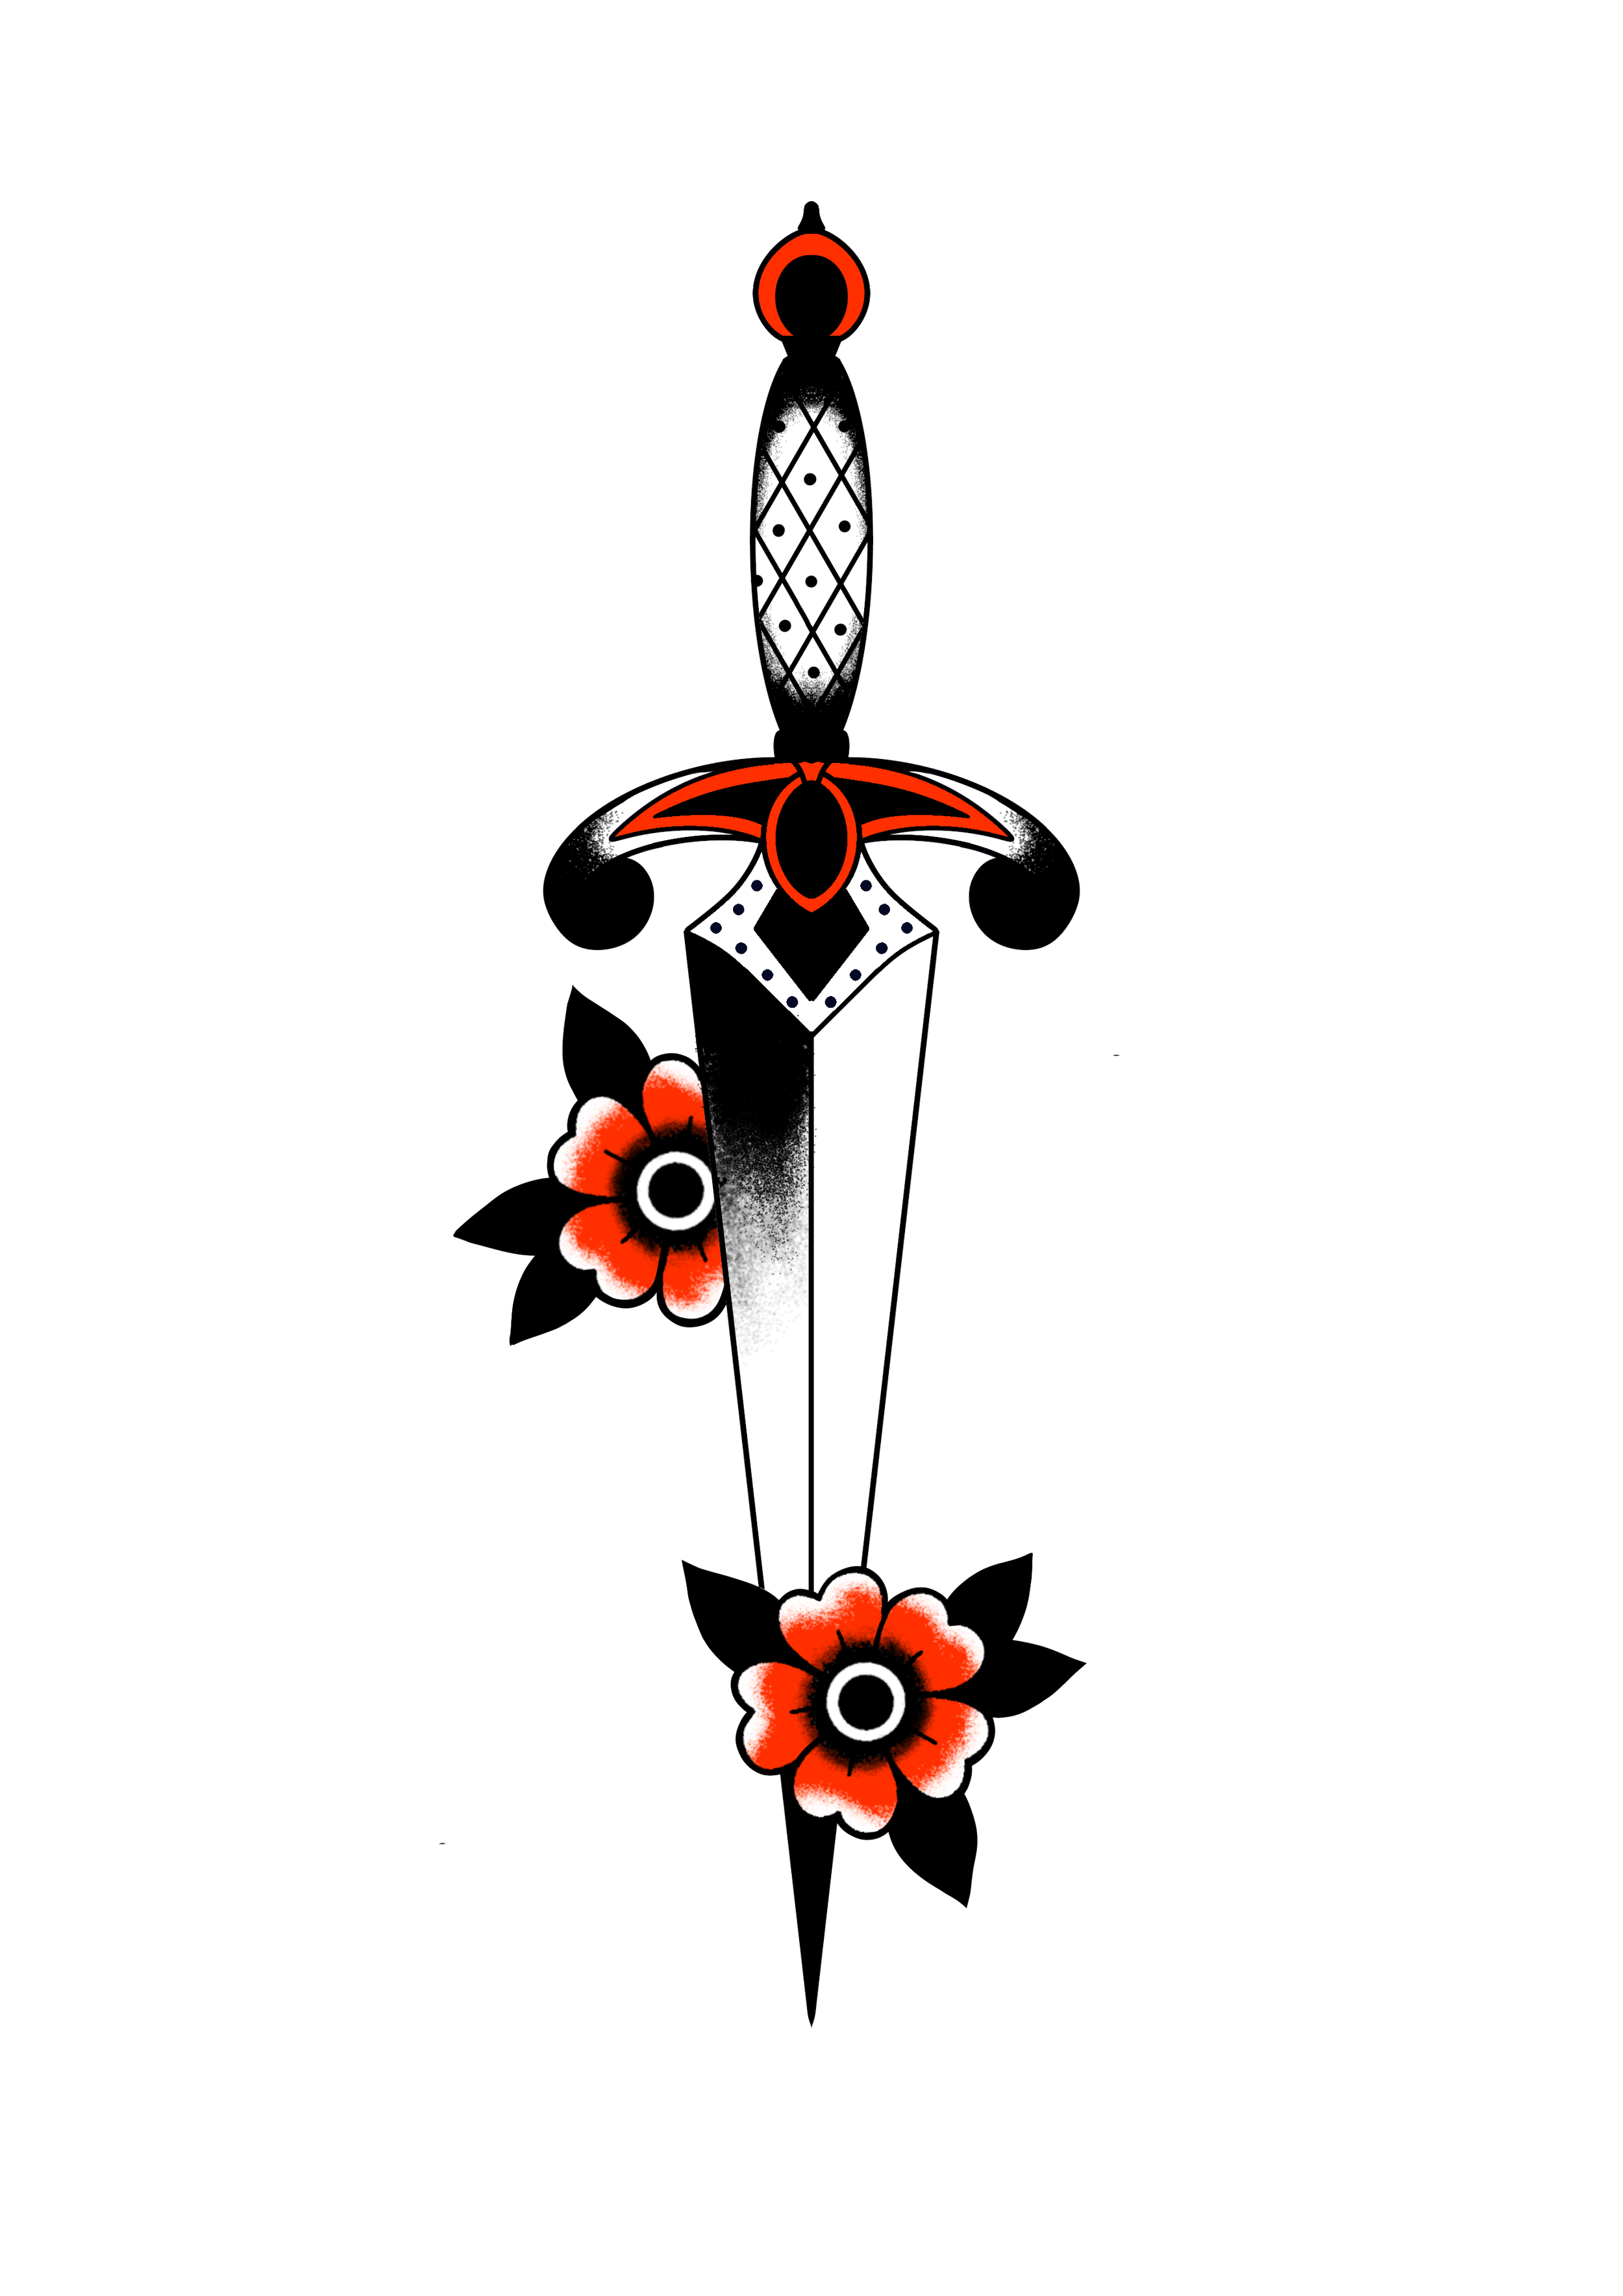
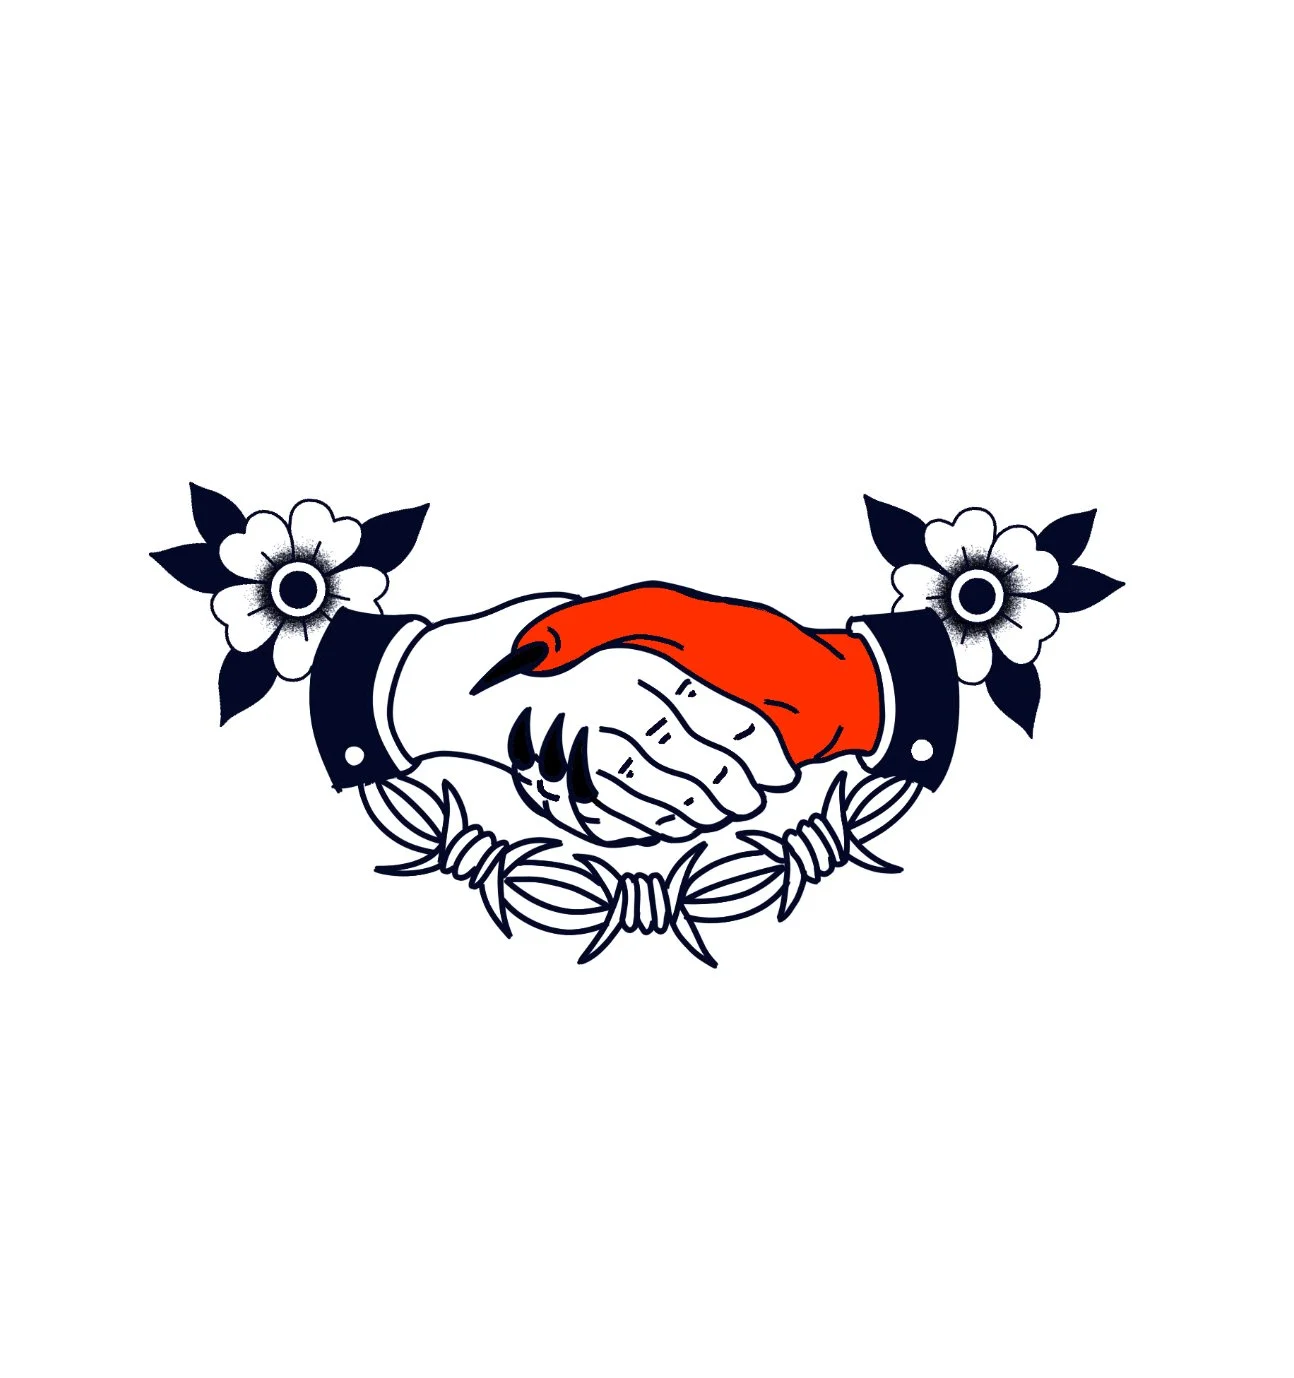
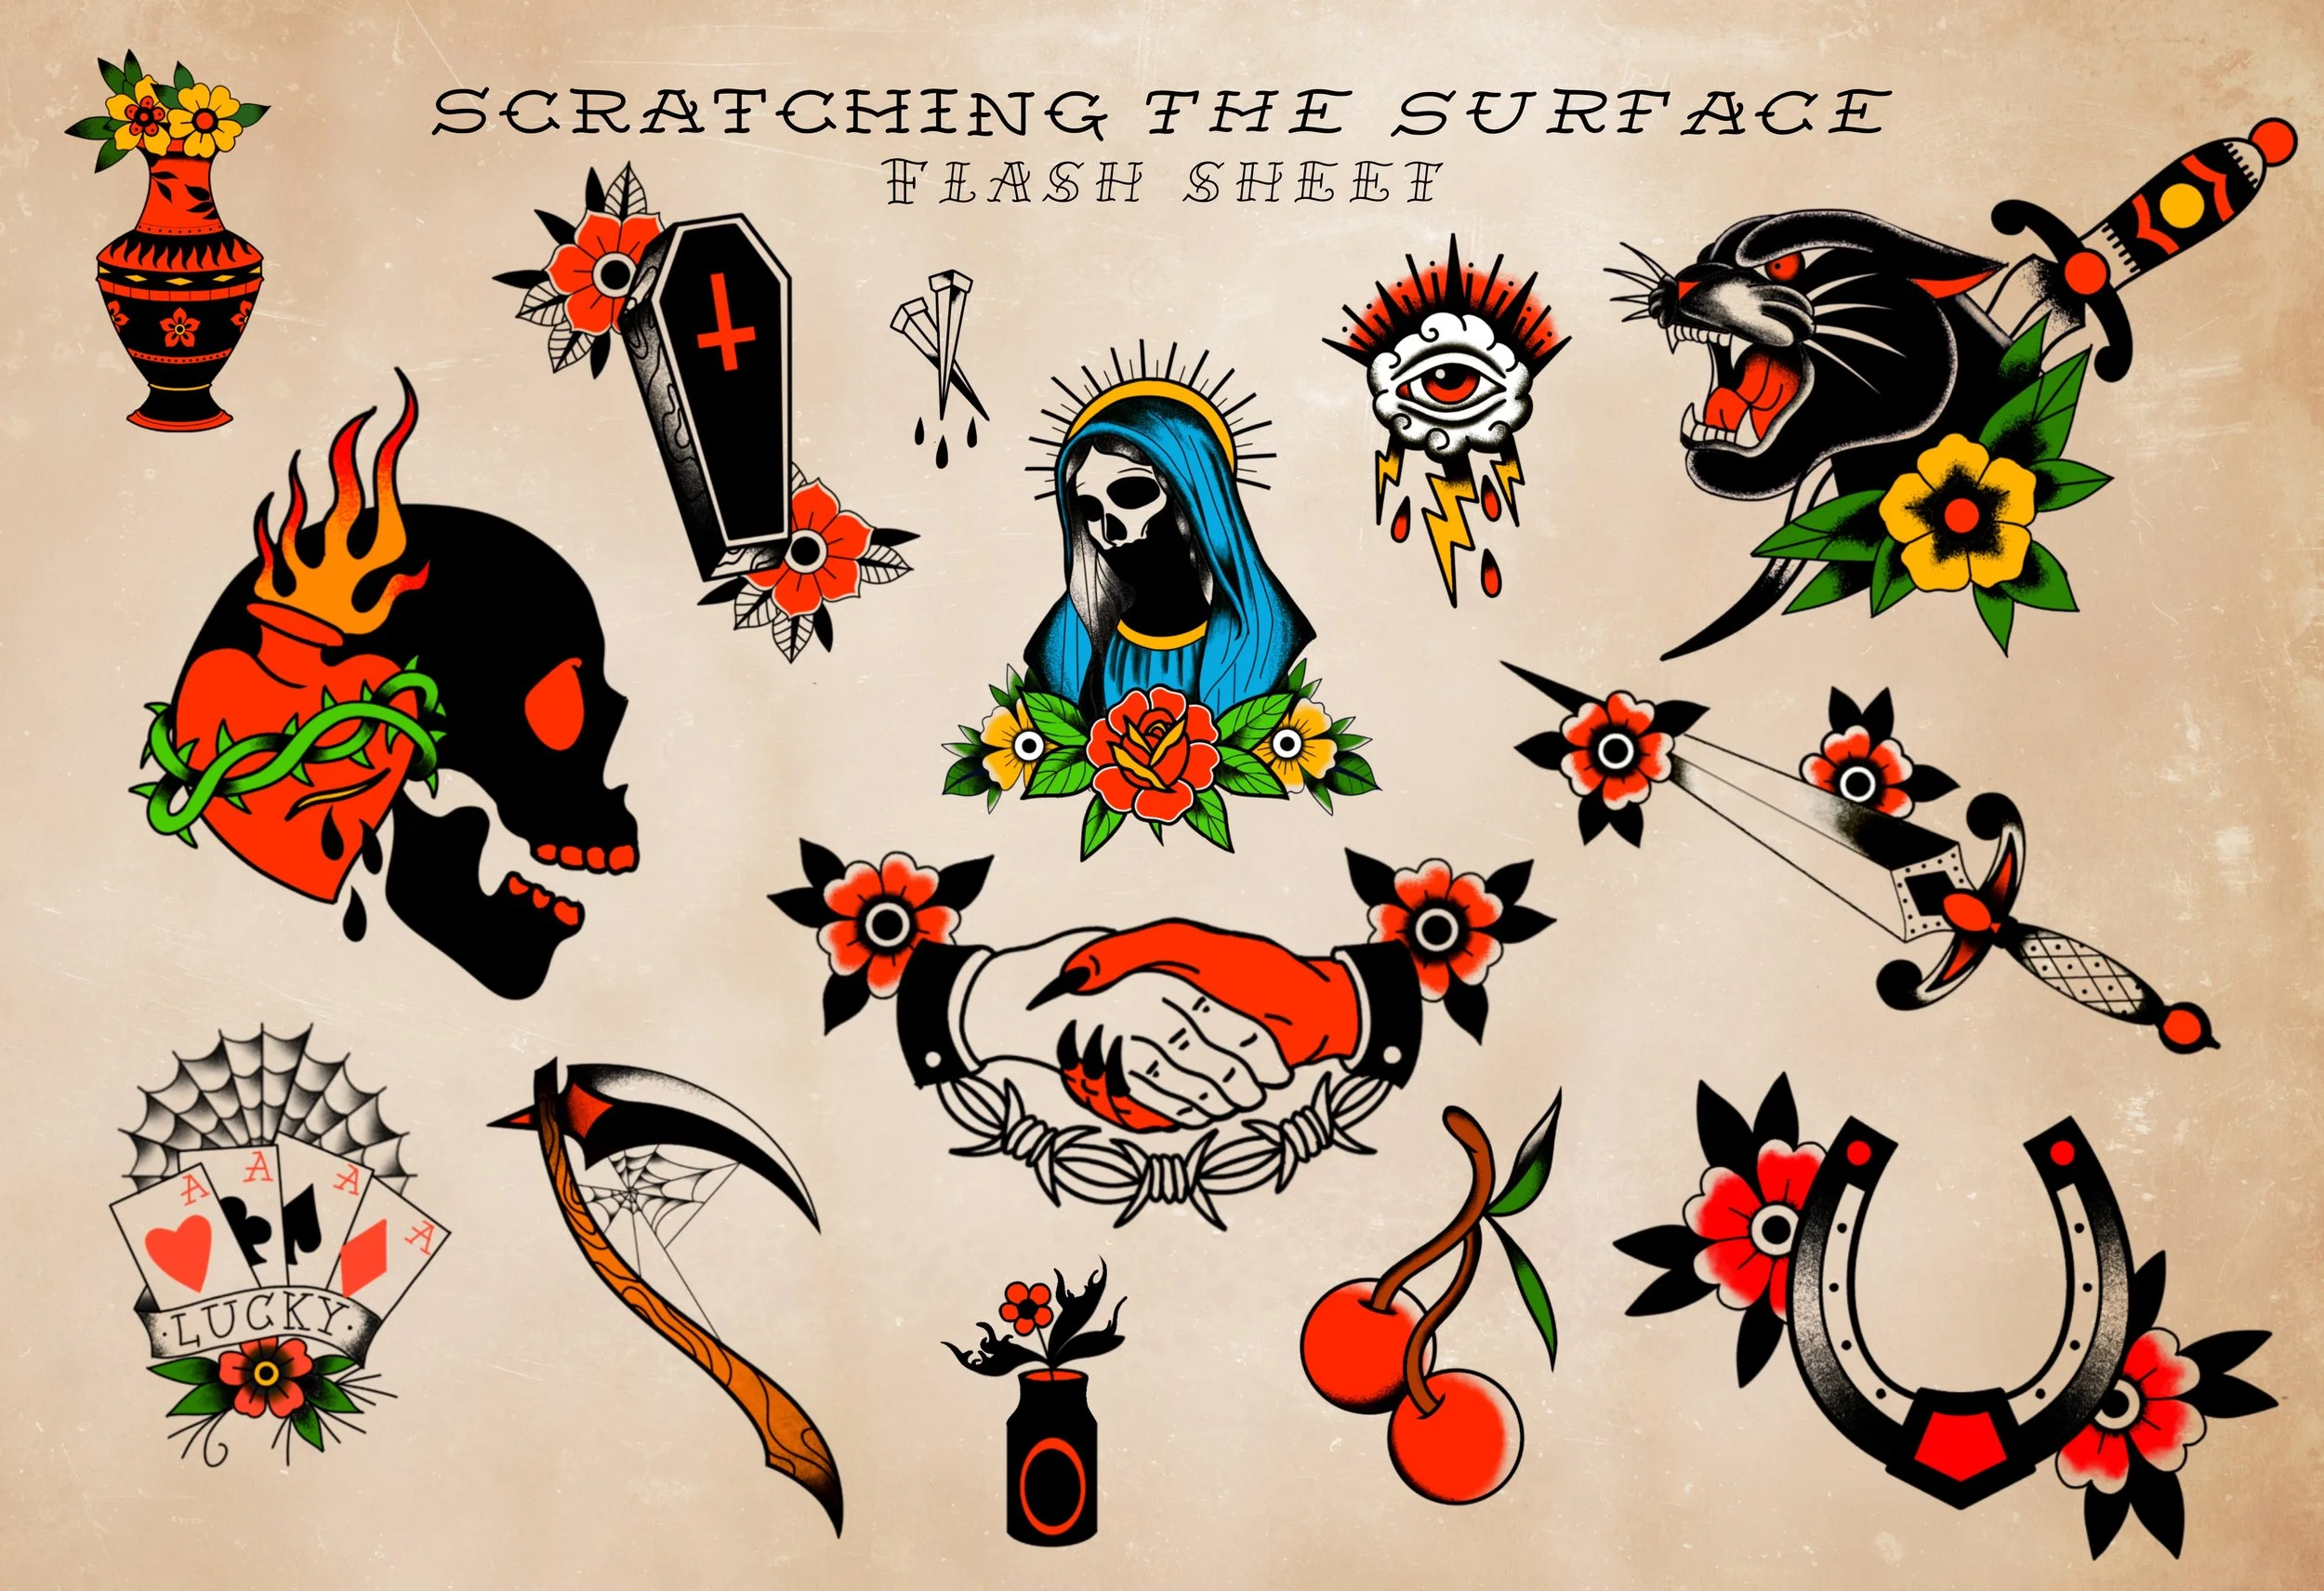
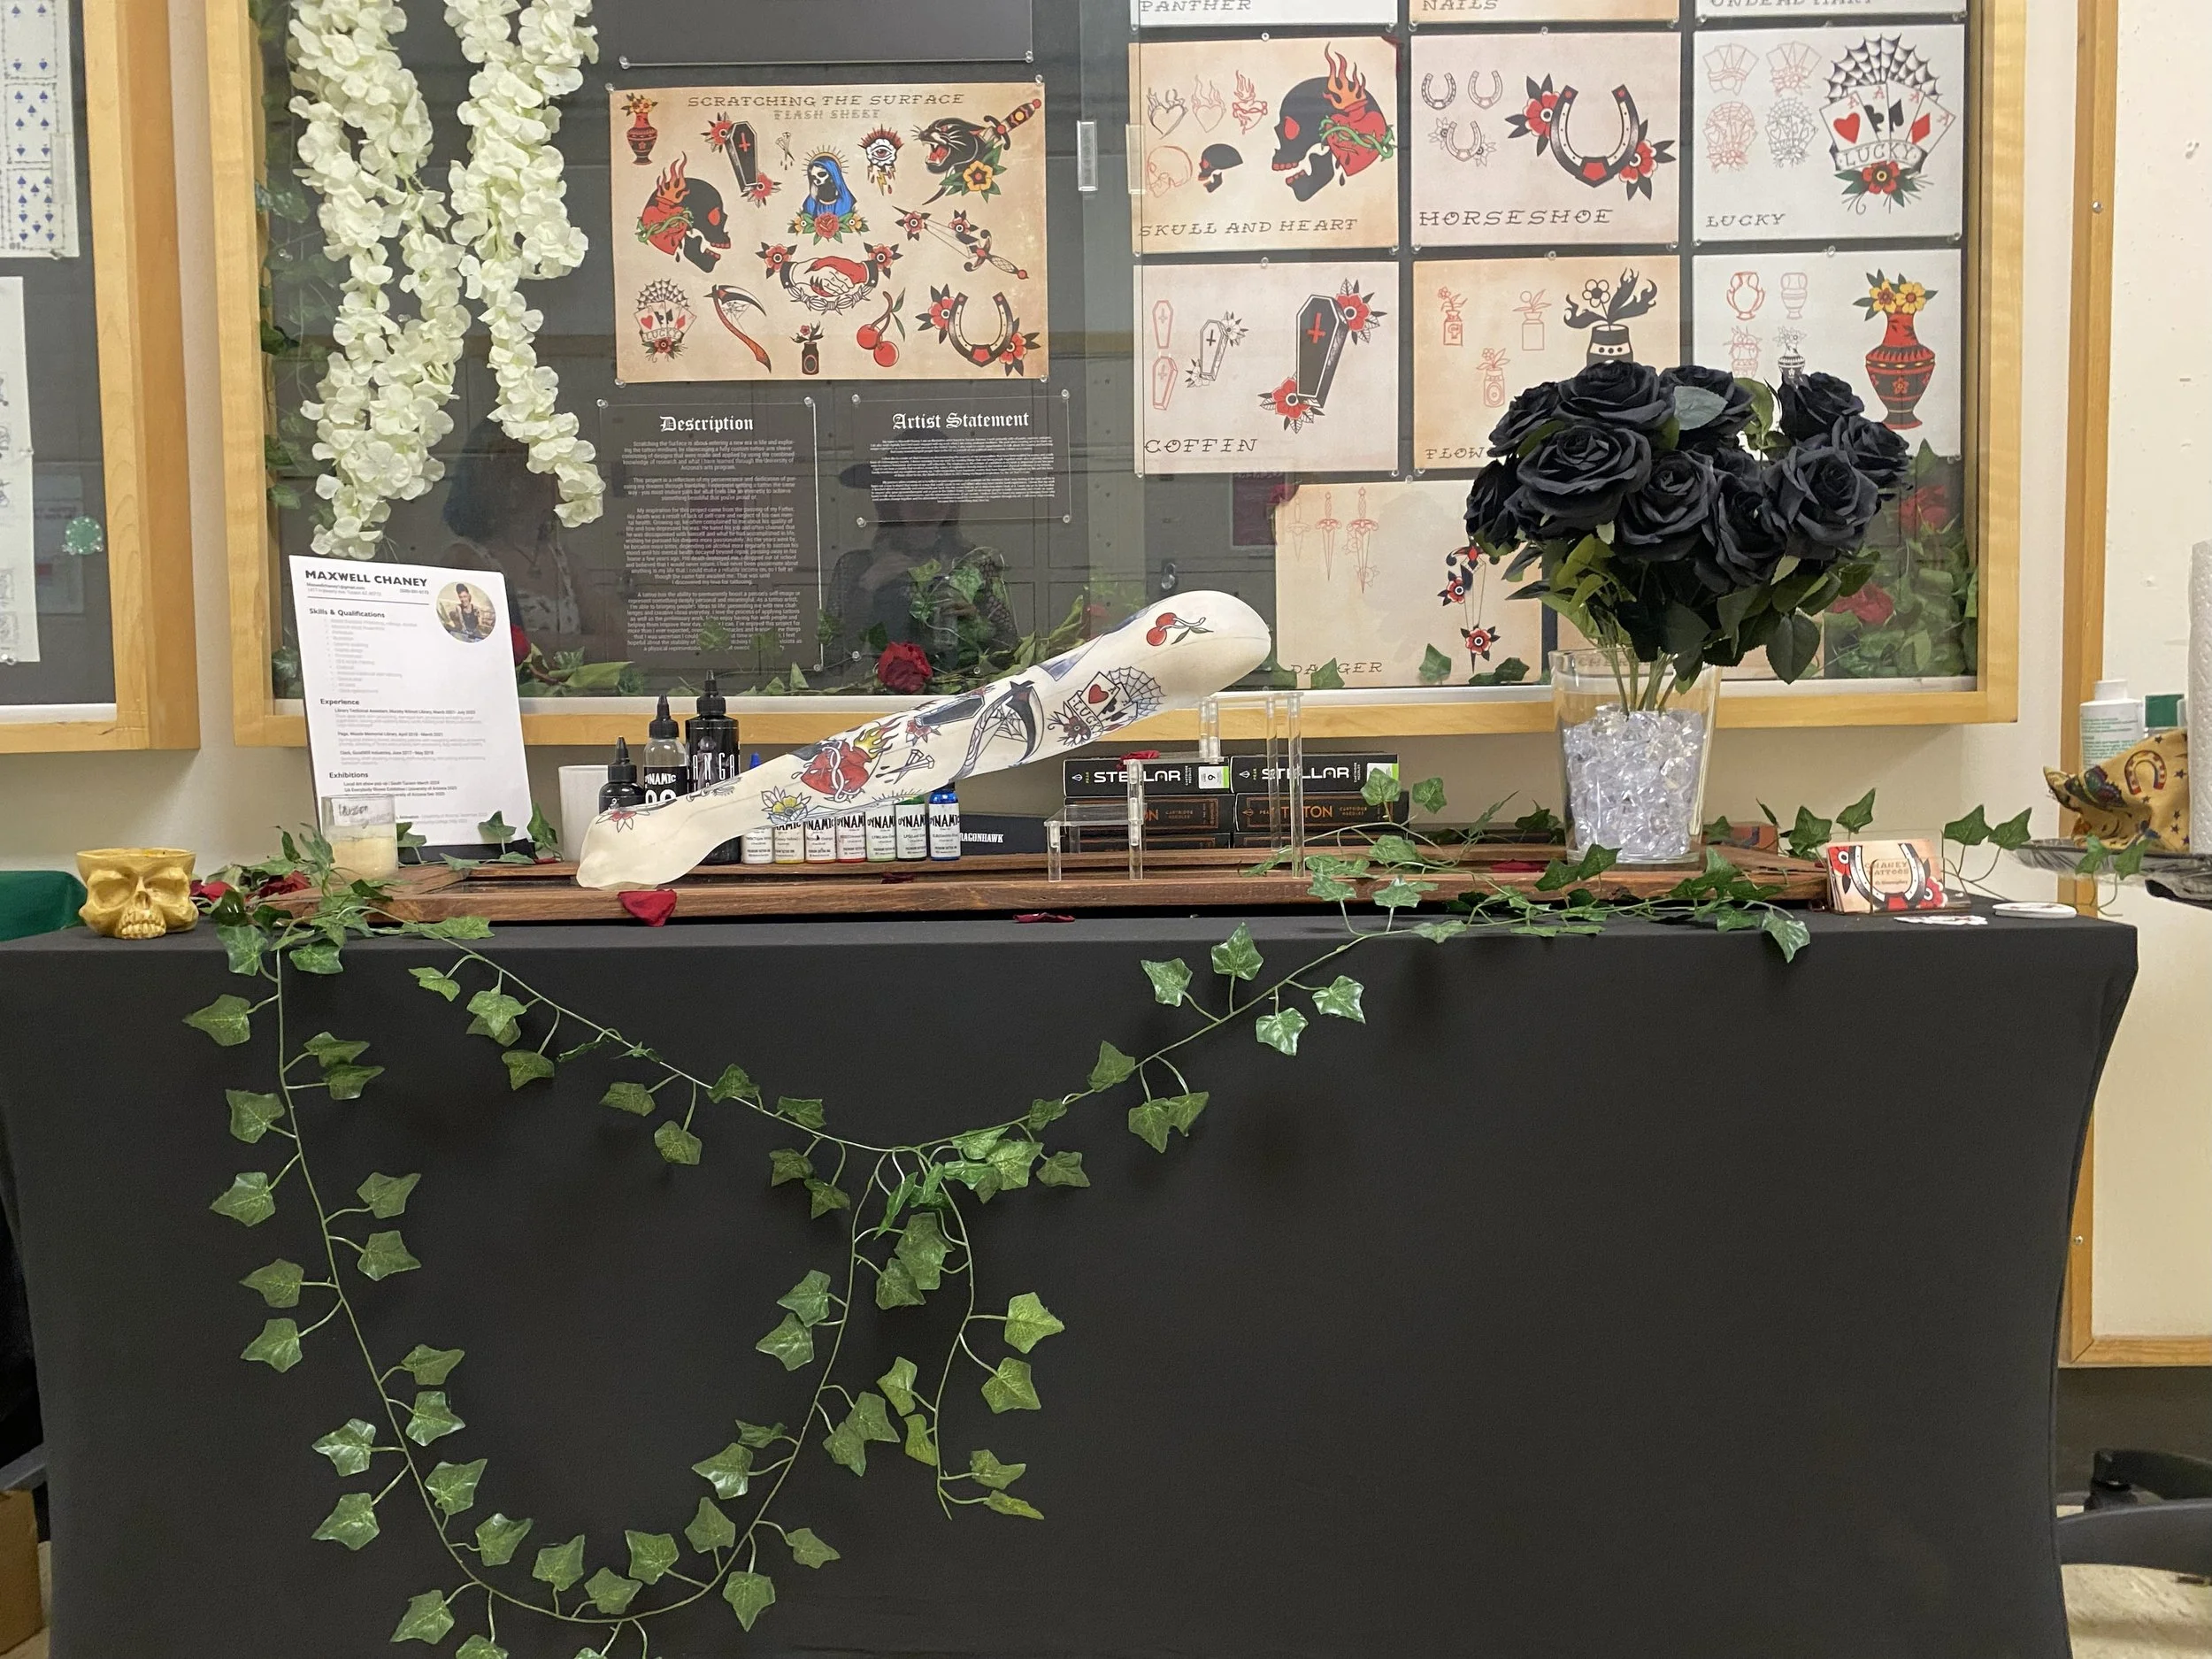
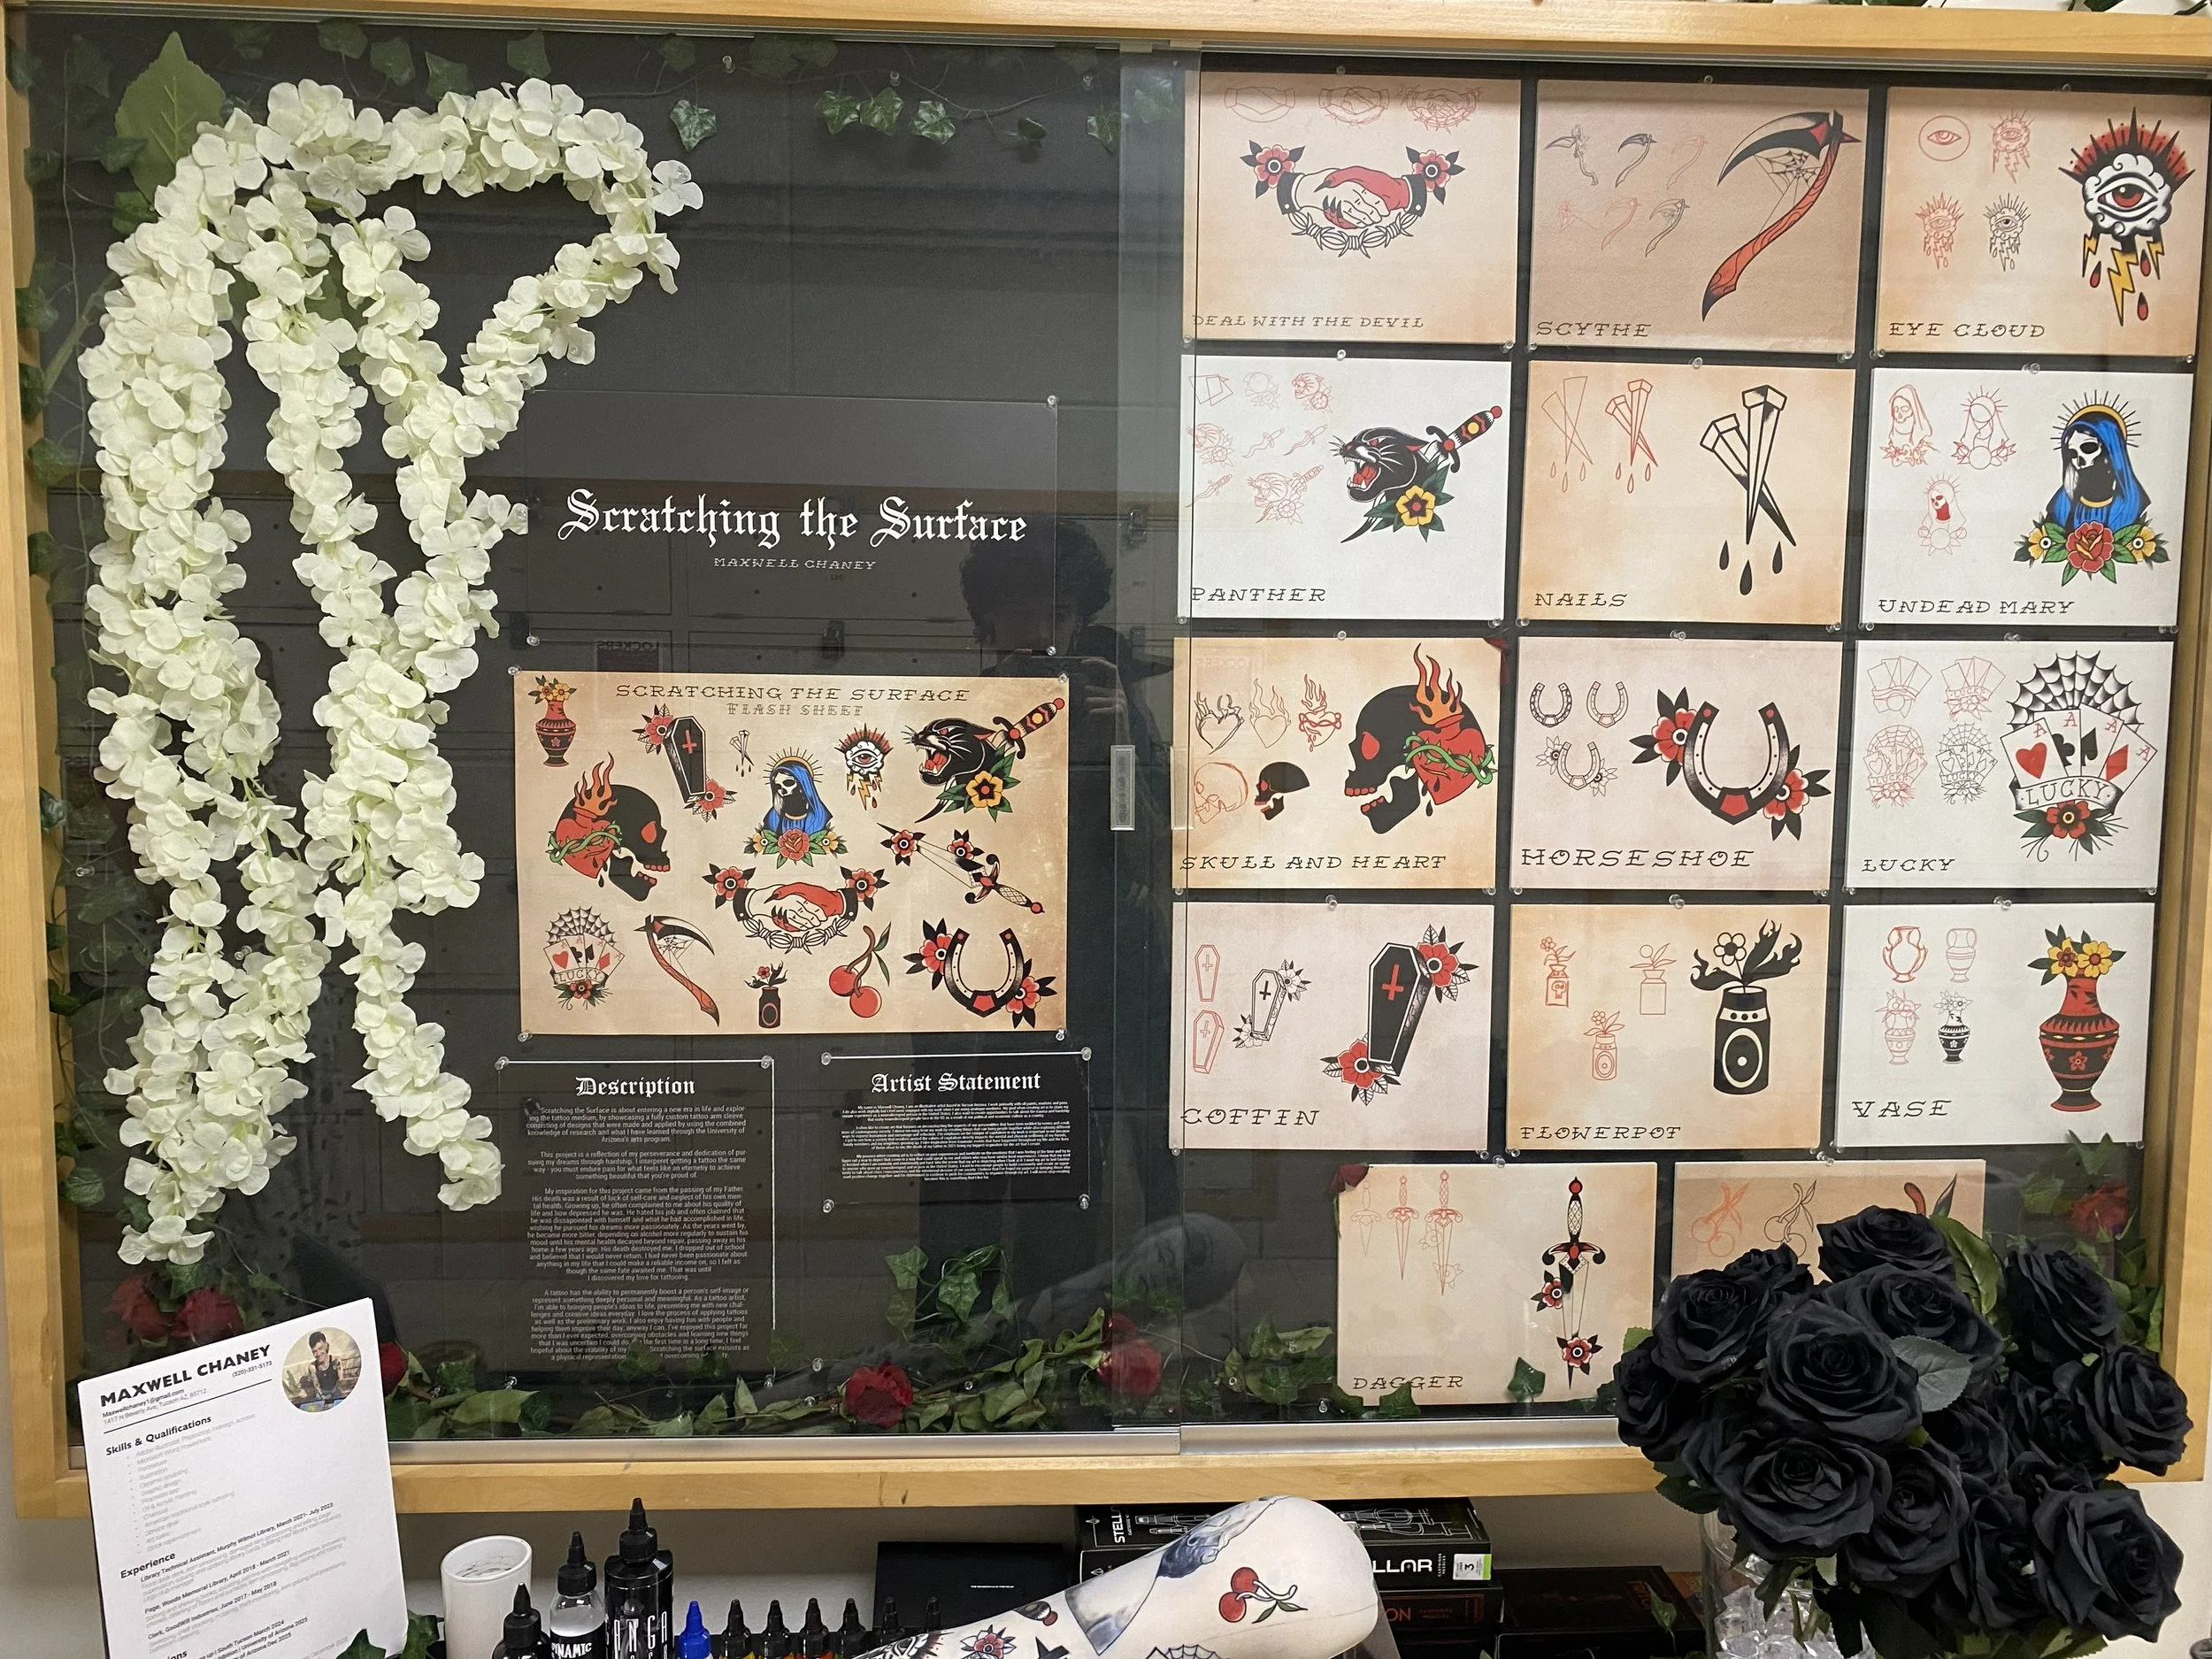
Scratching the Surface
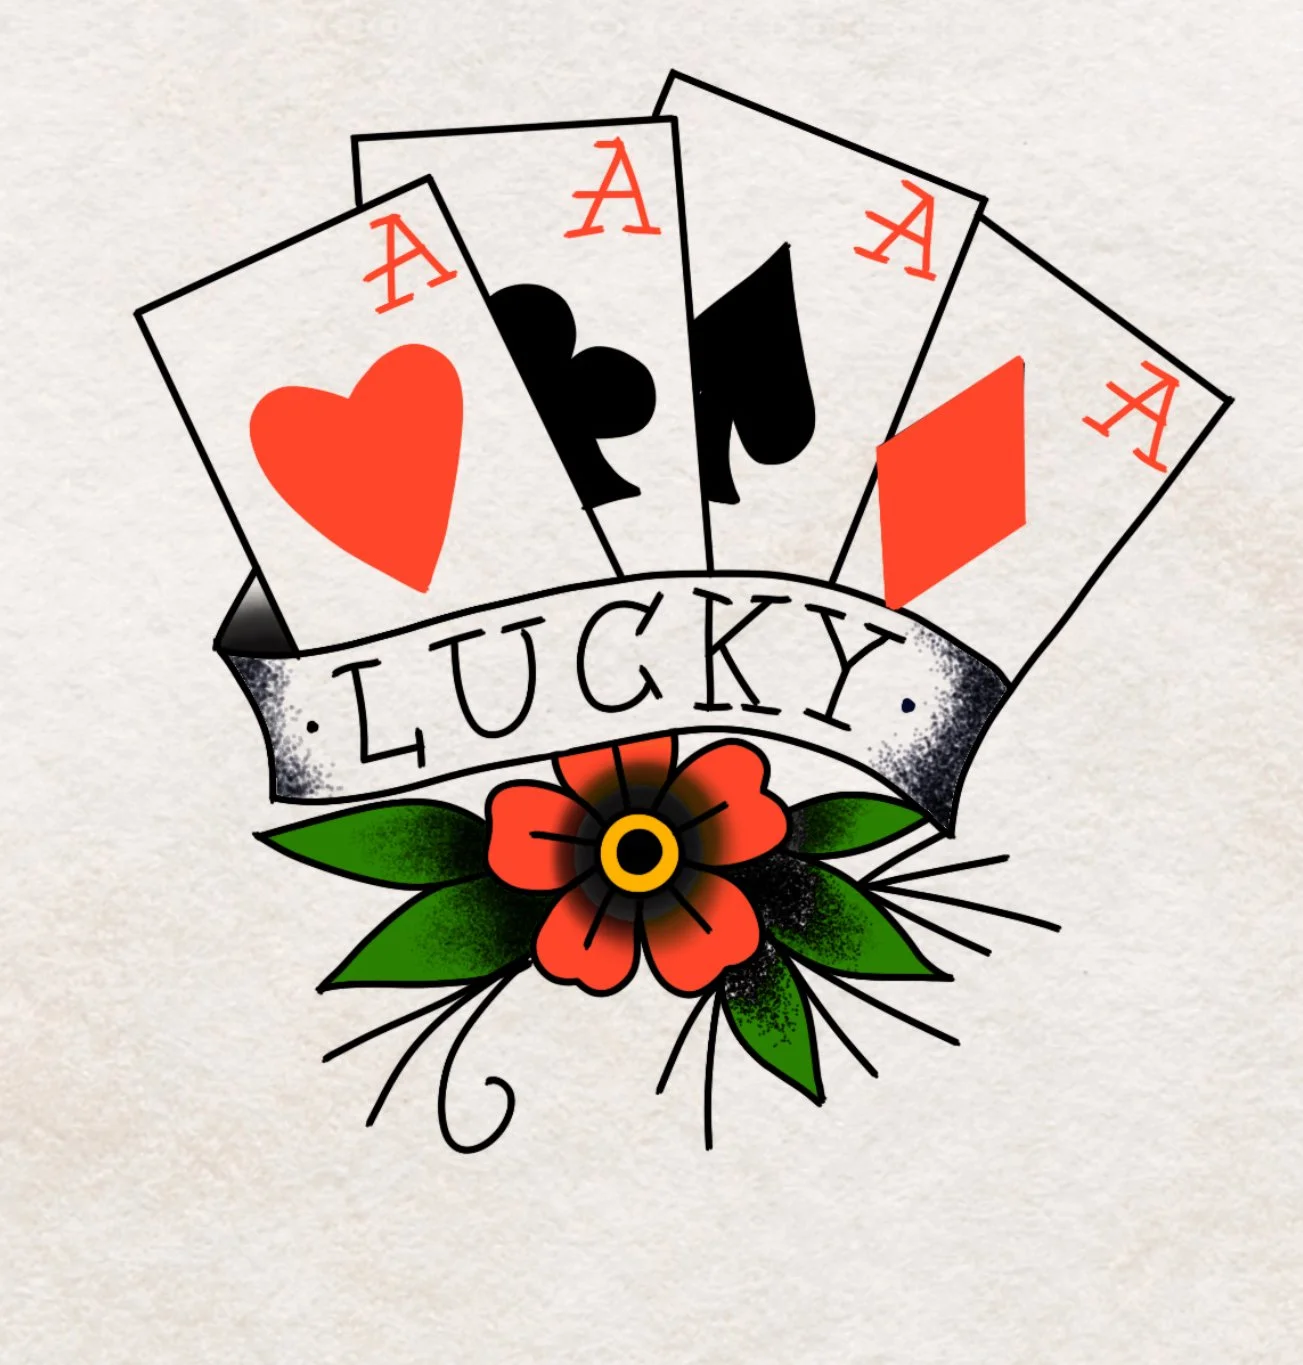
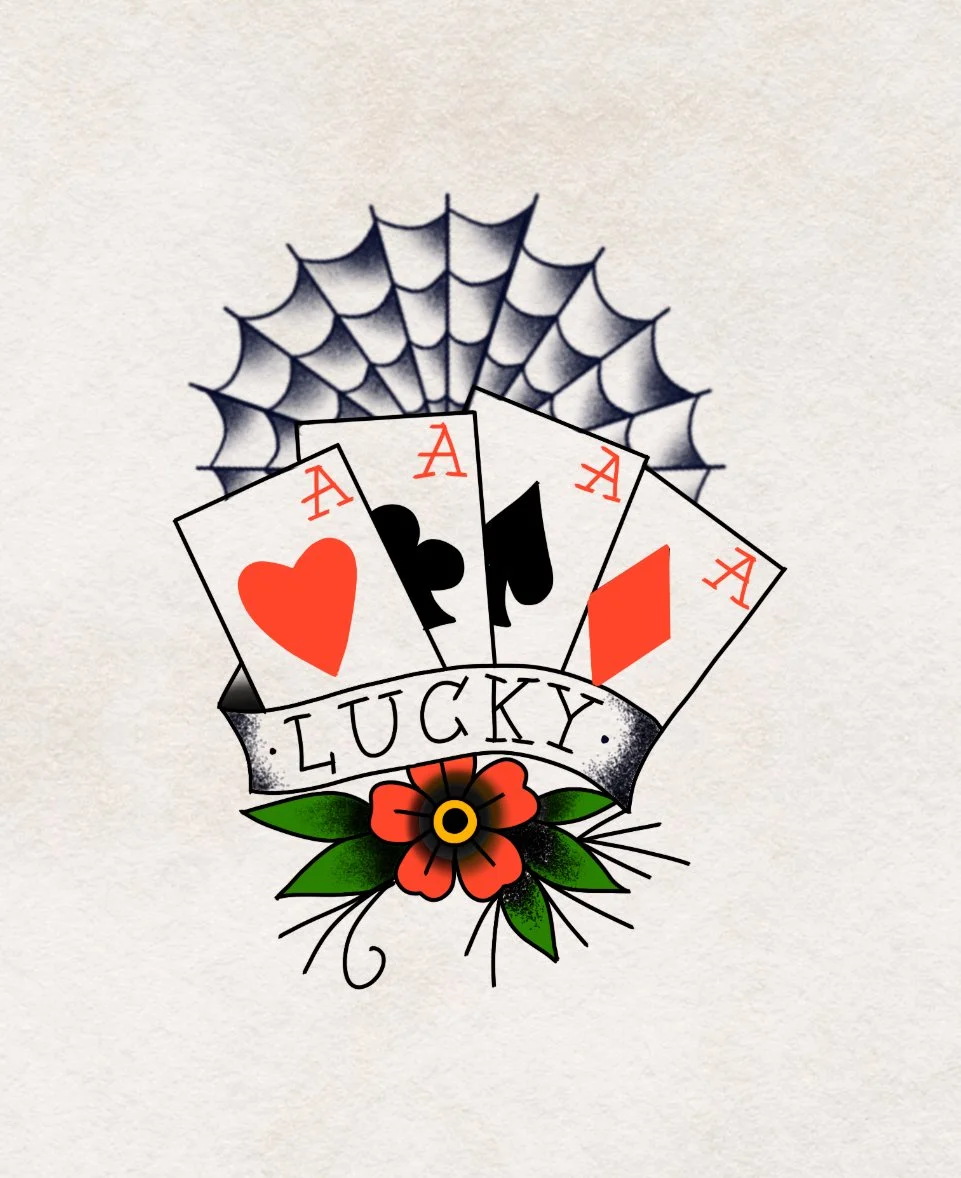
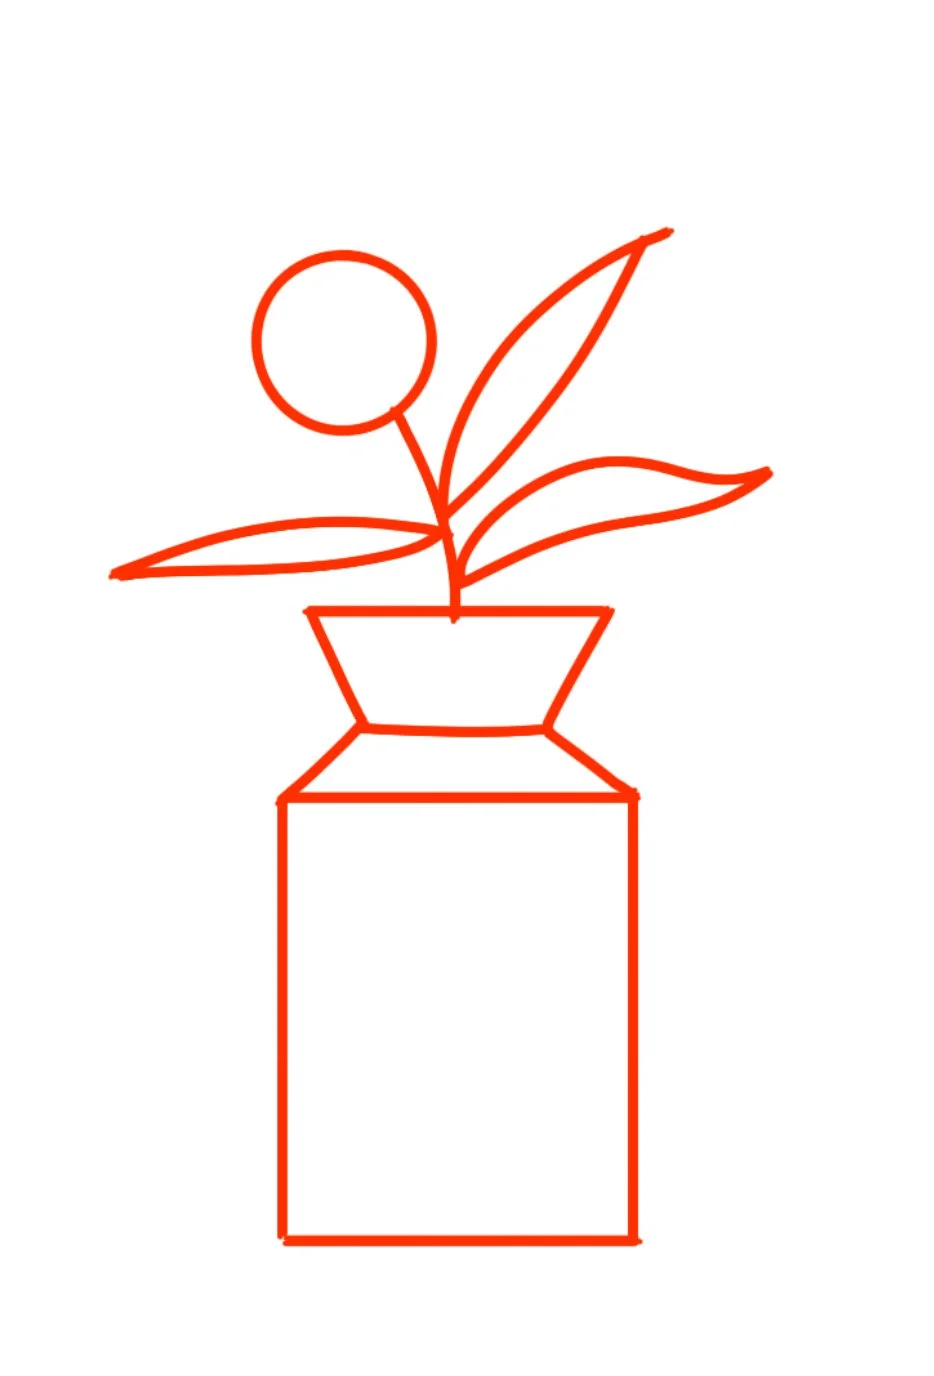
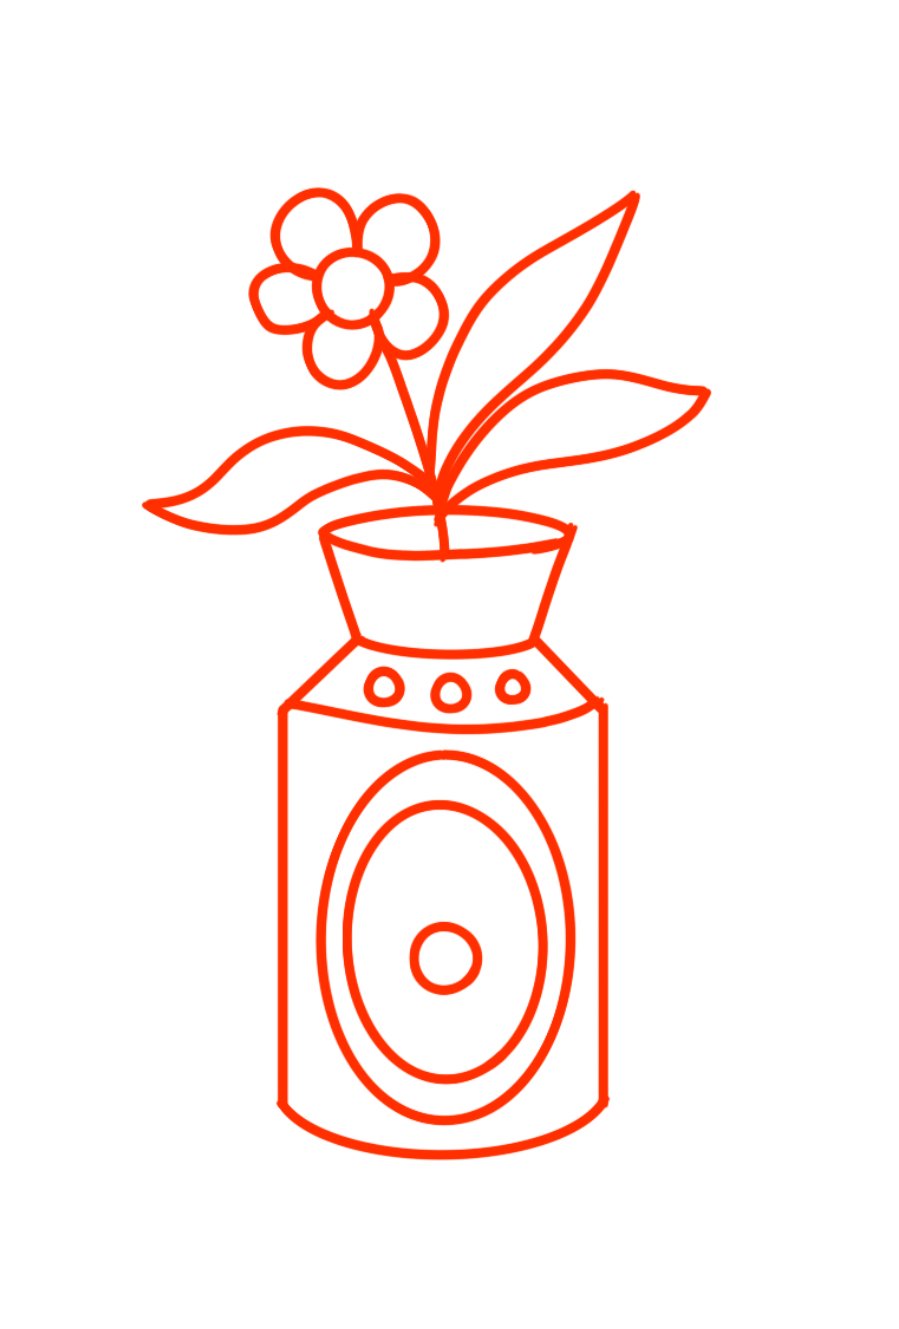
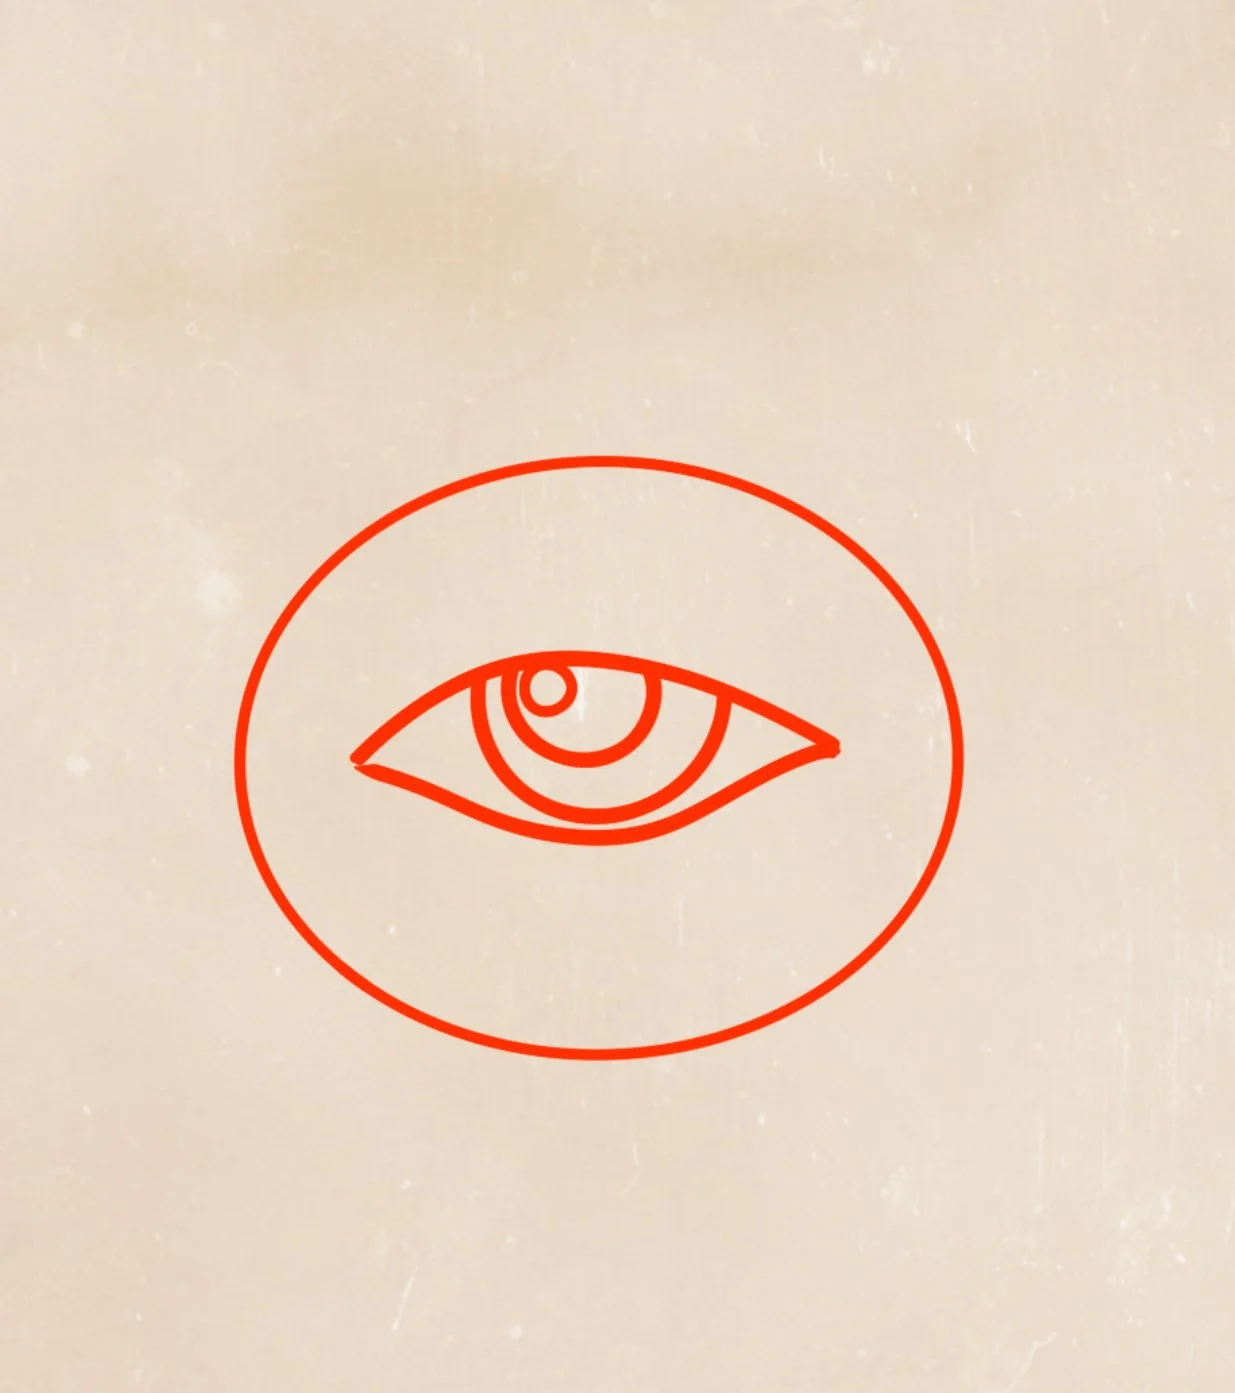
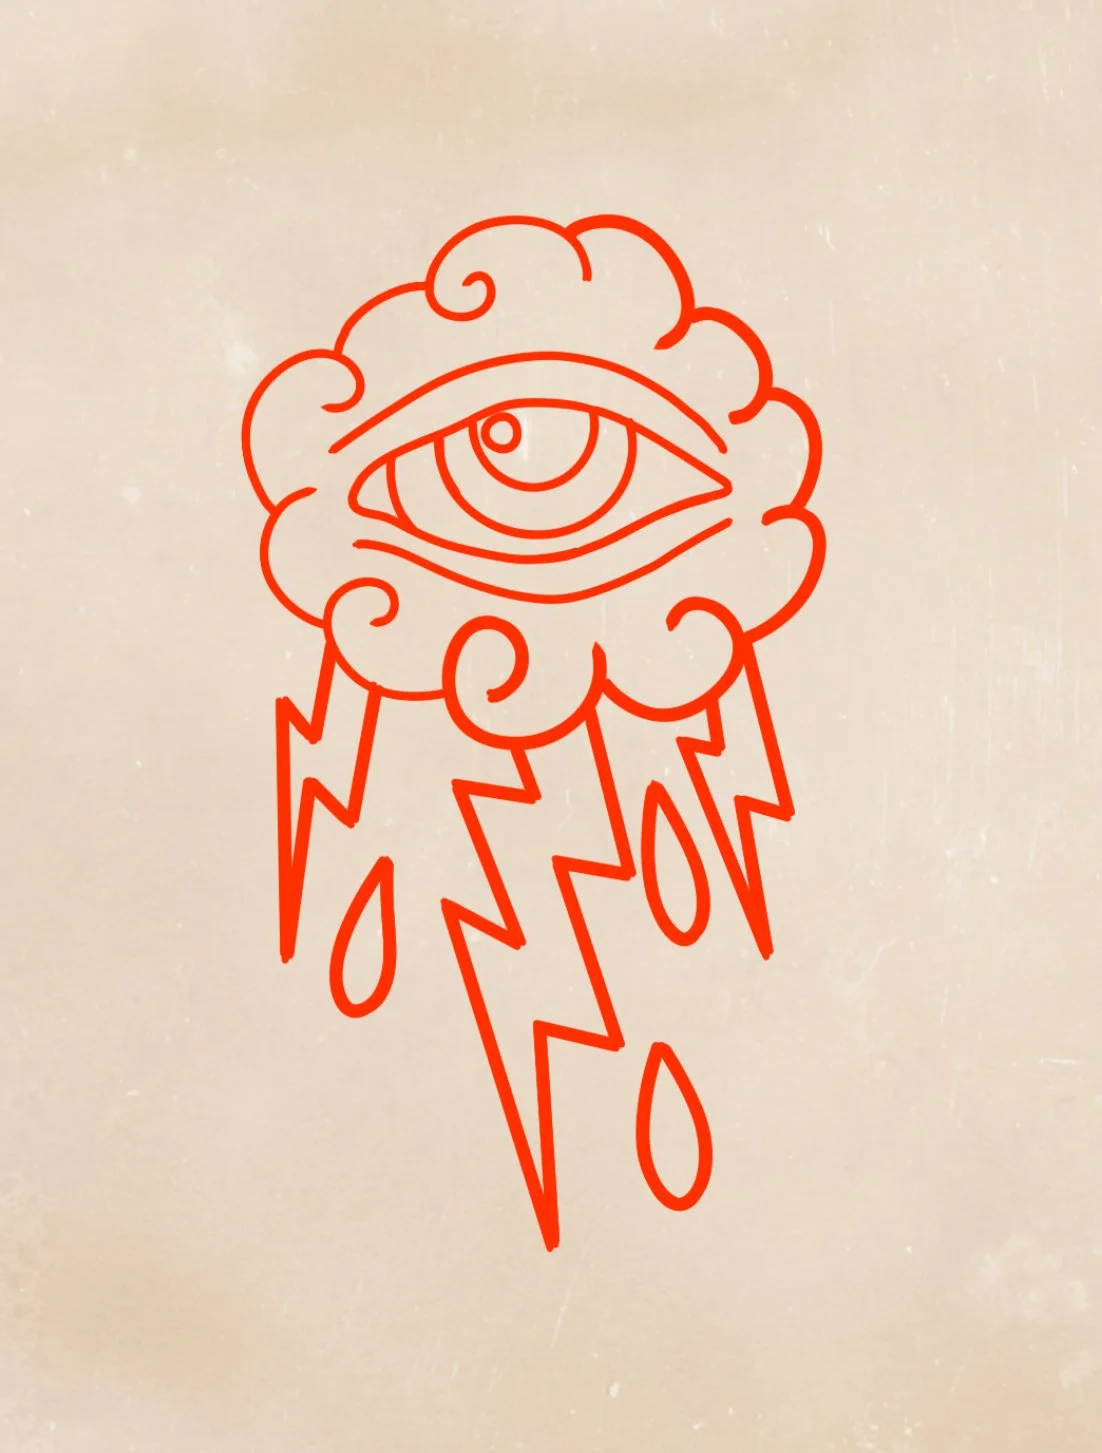
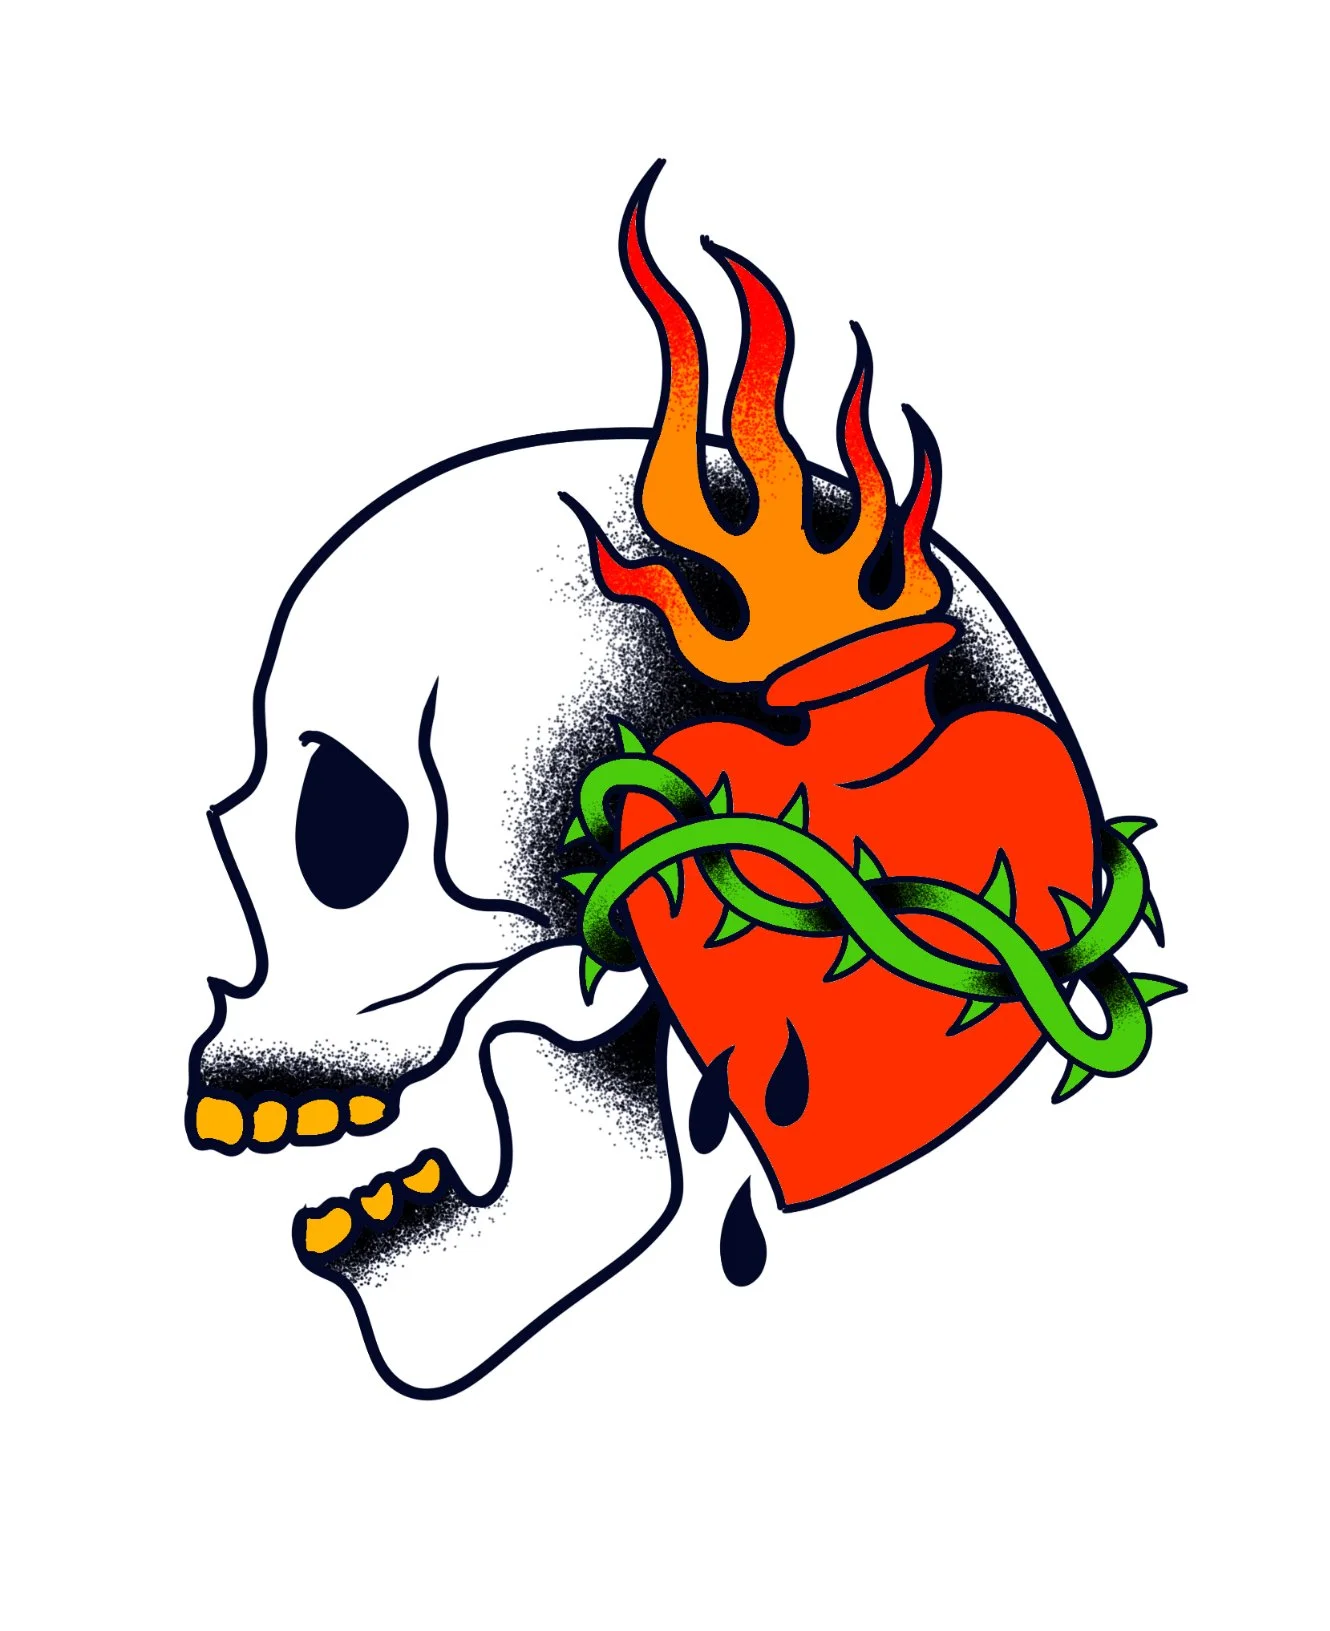
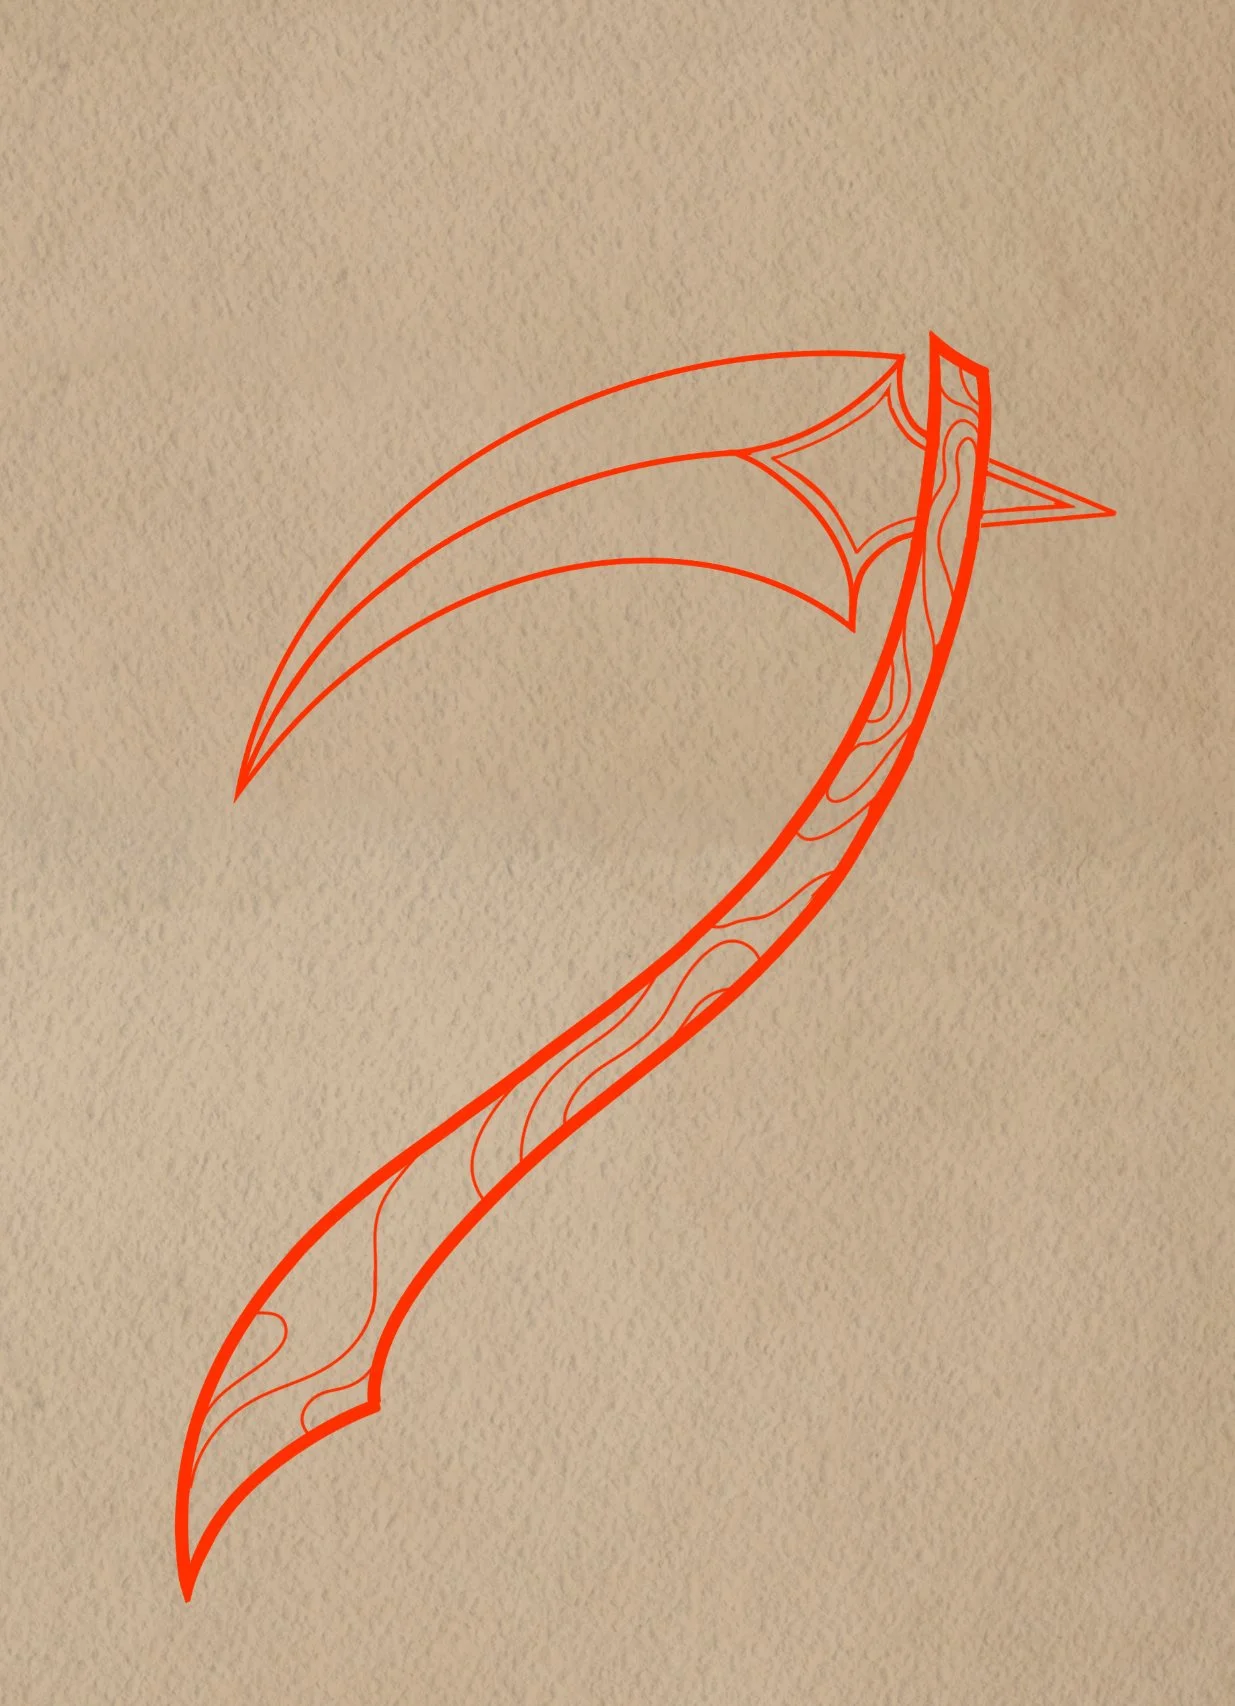
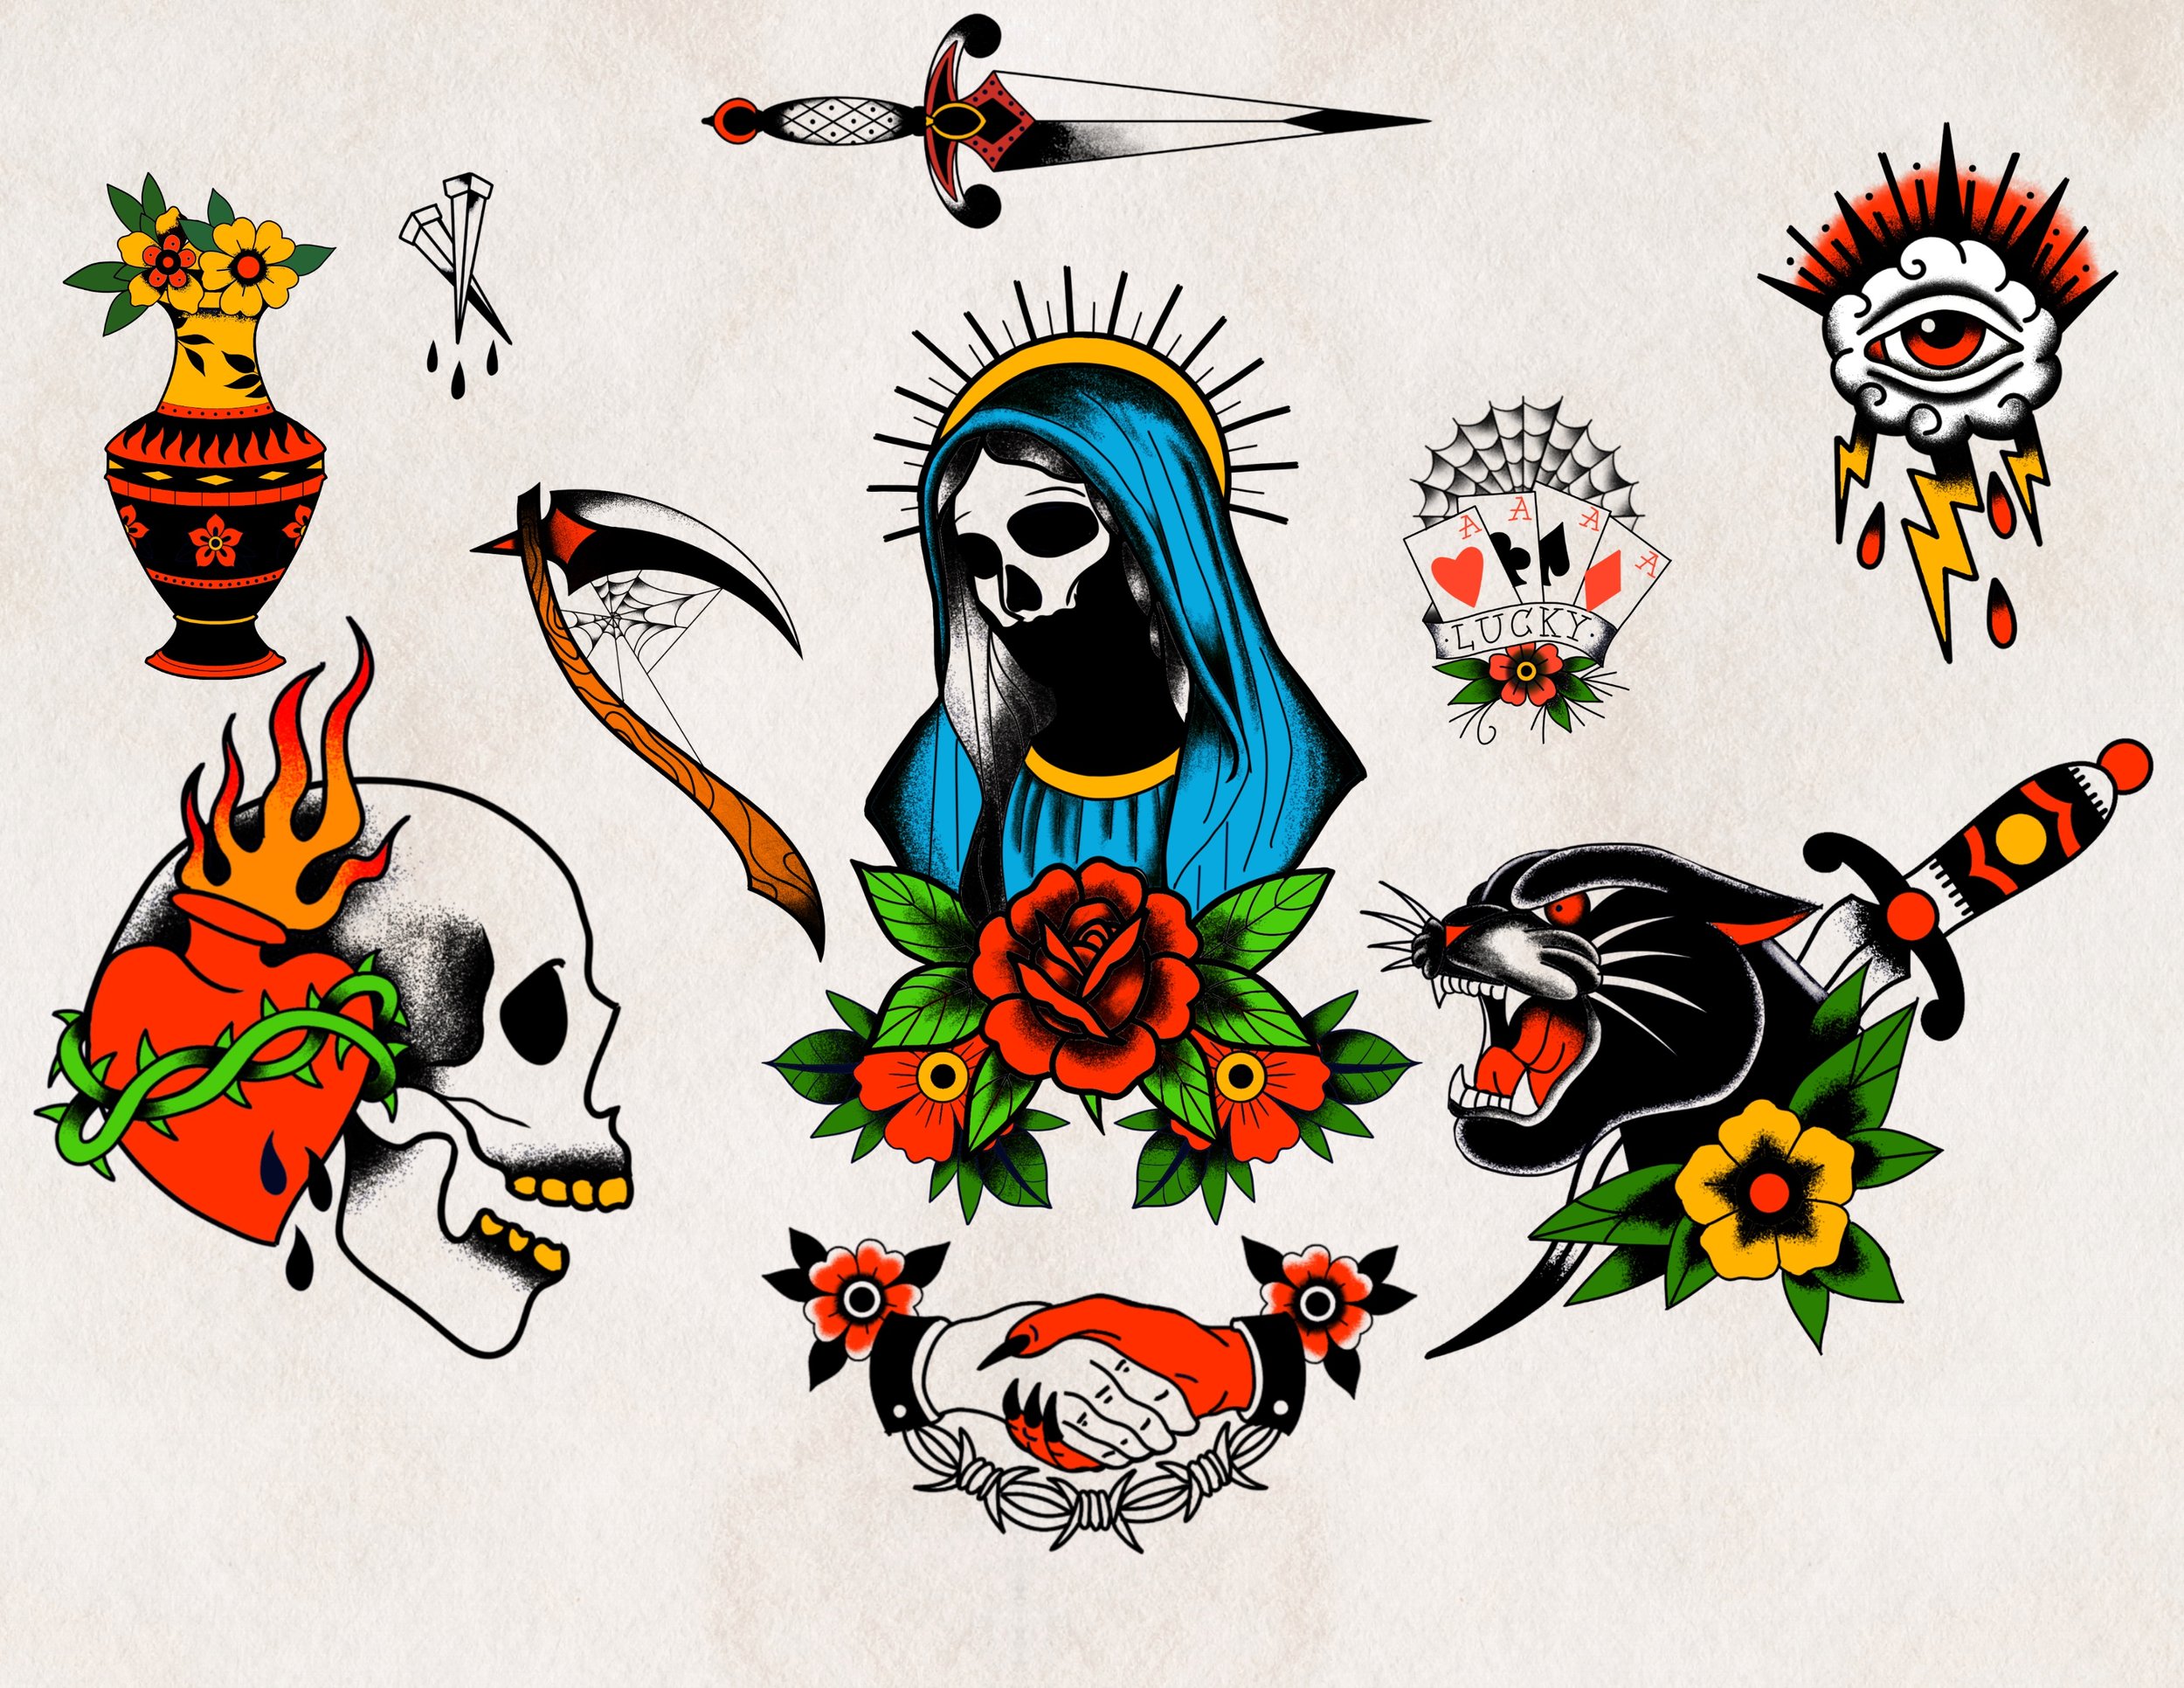
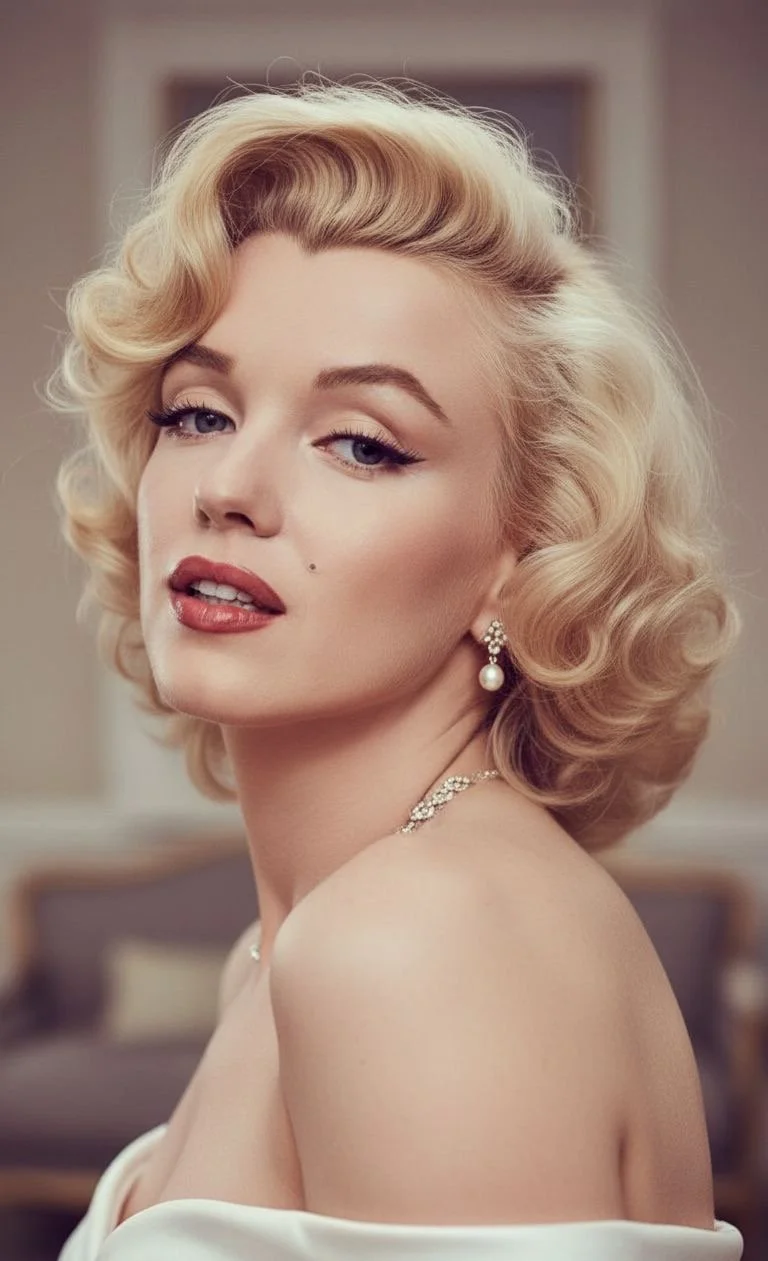
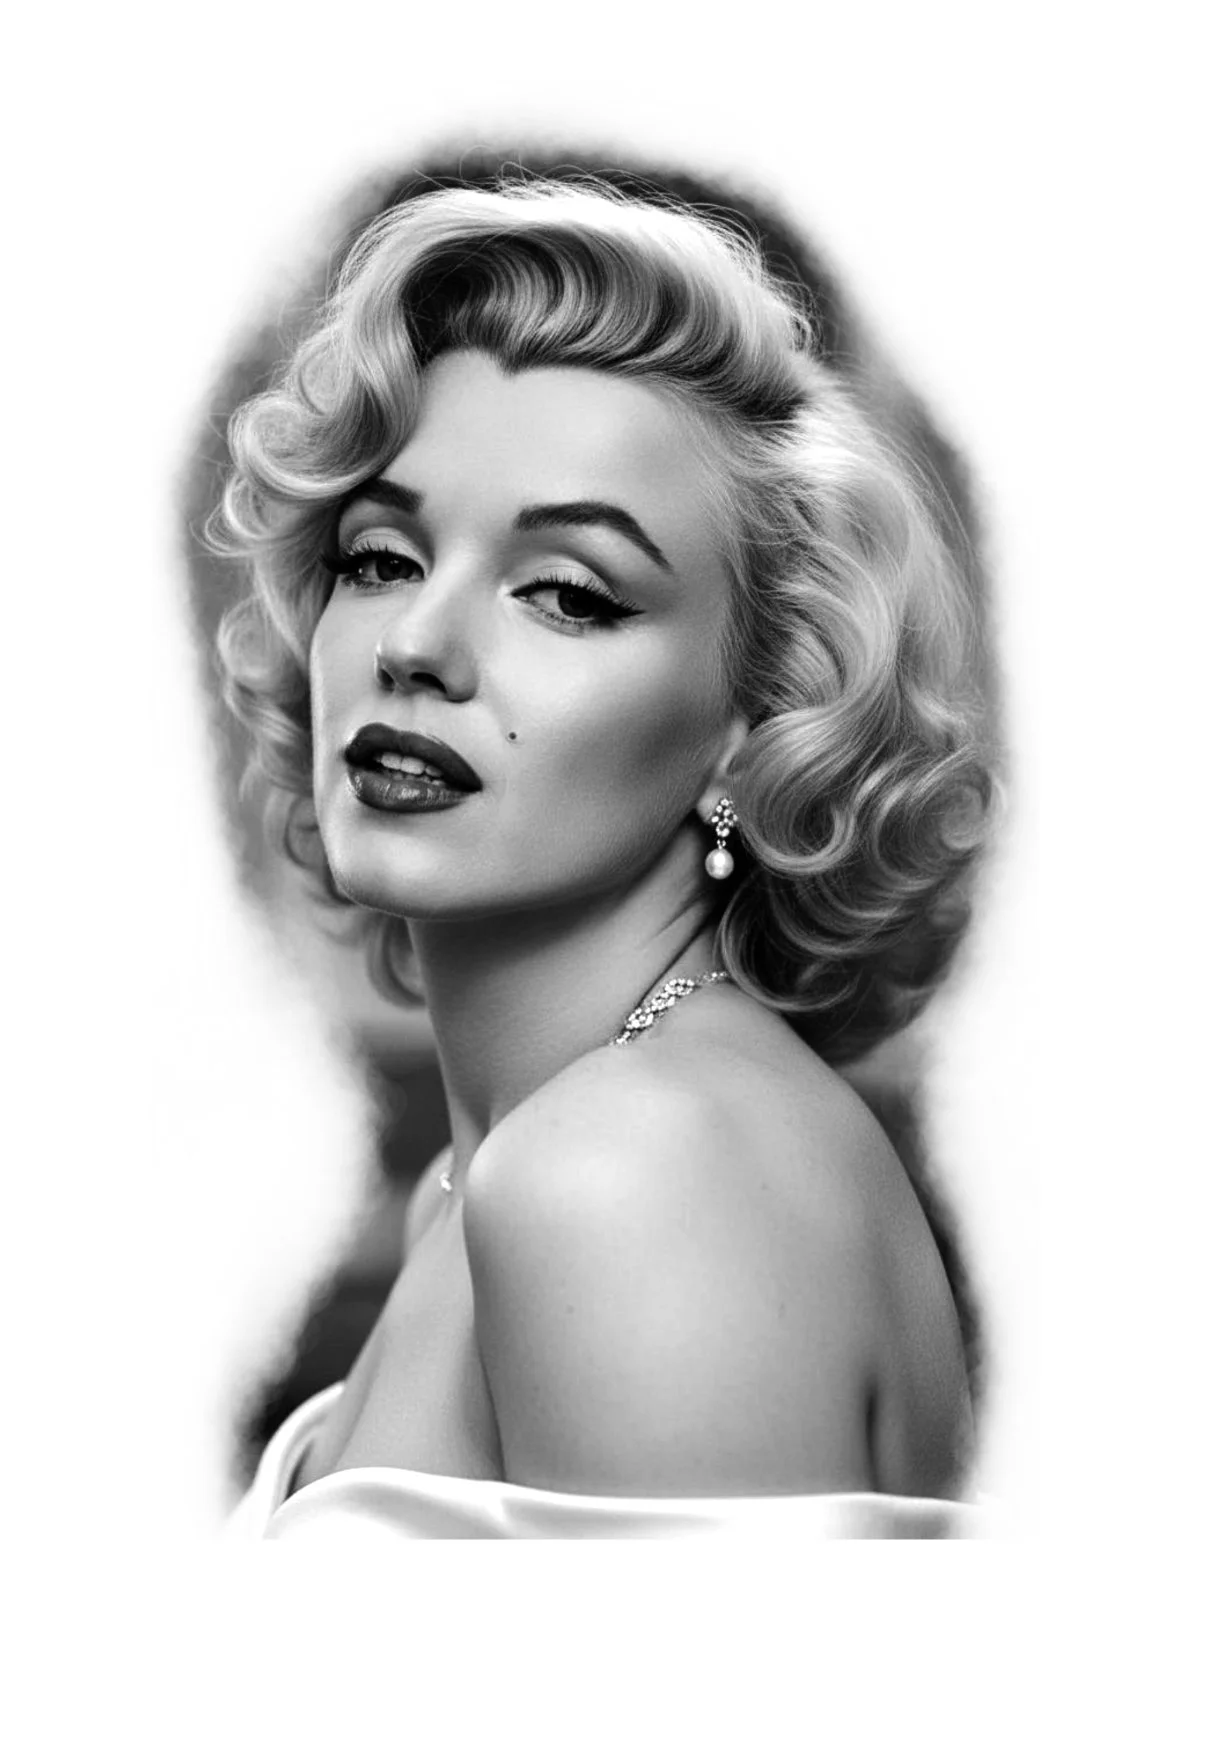
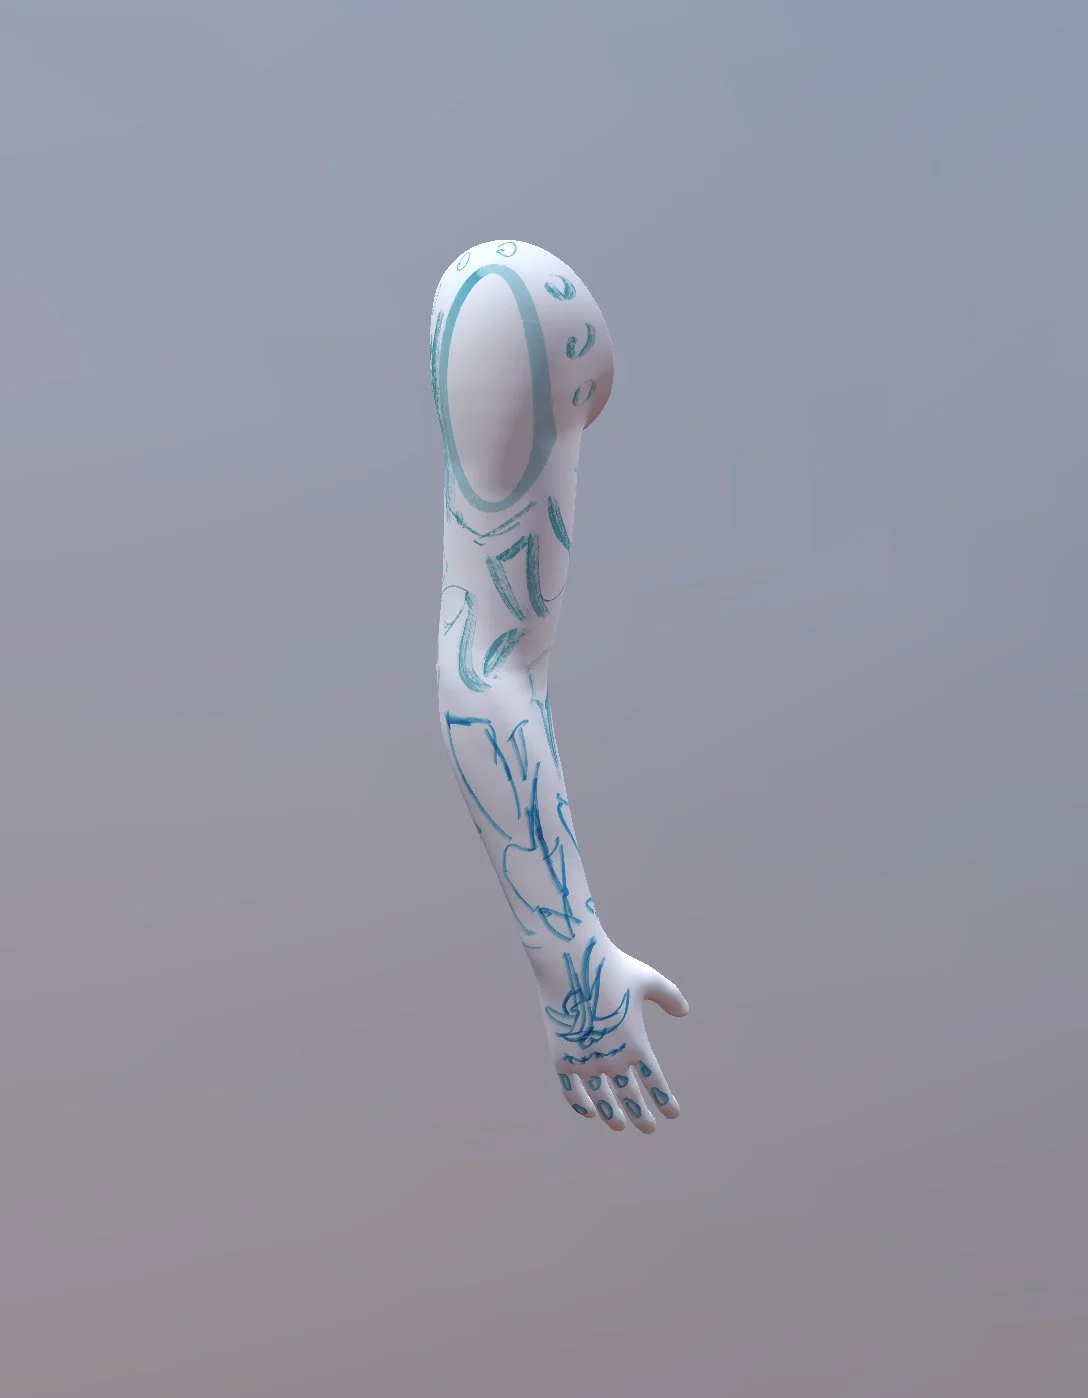
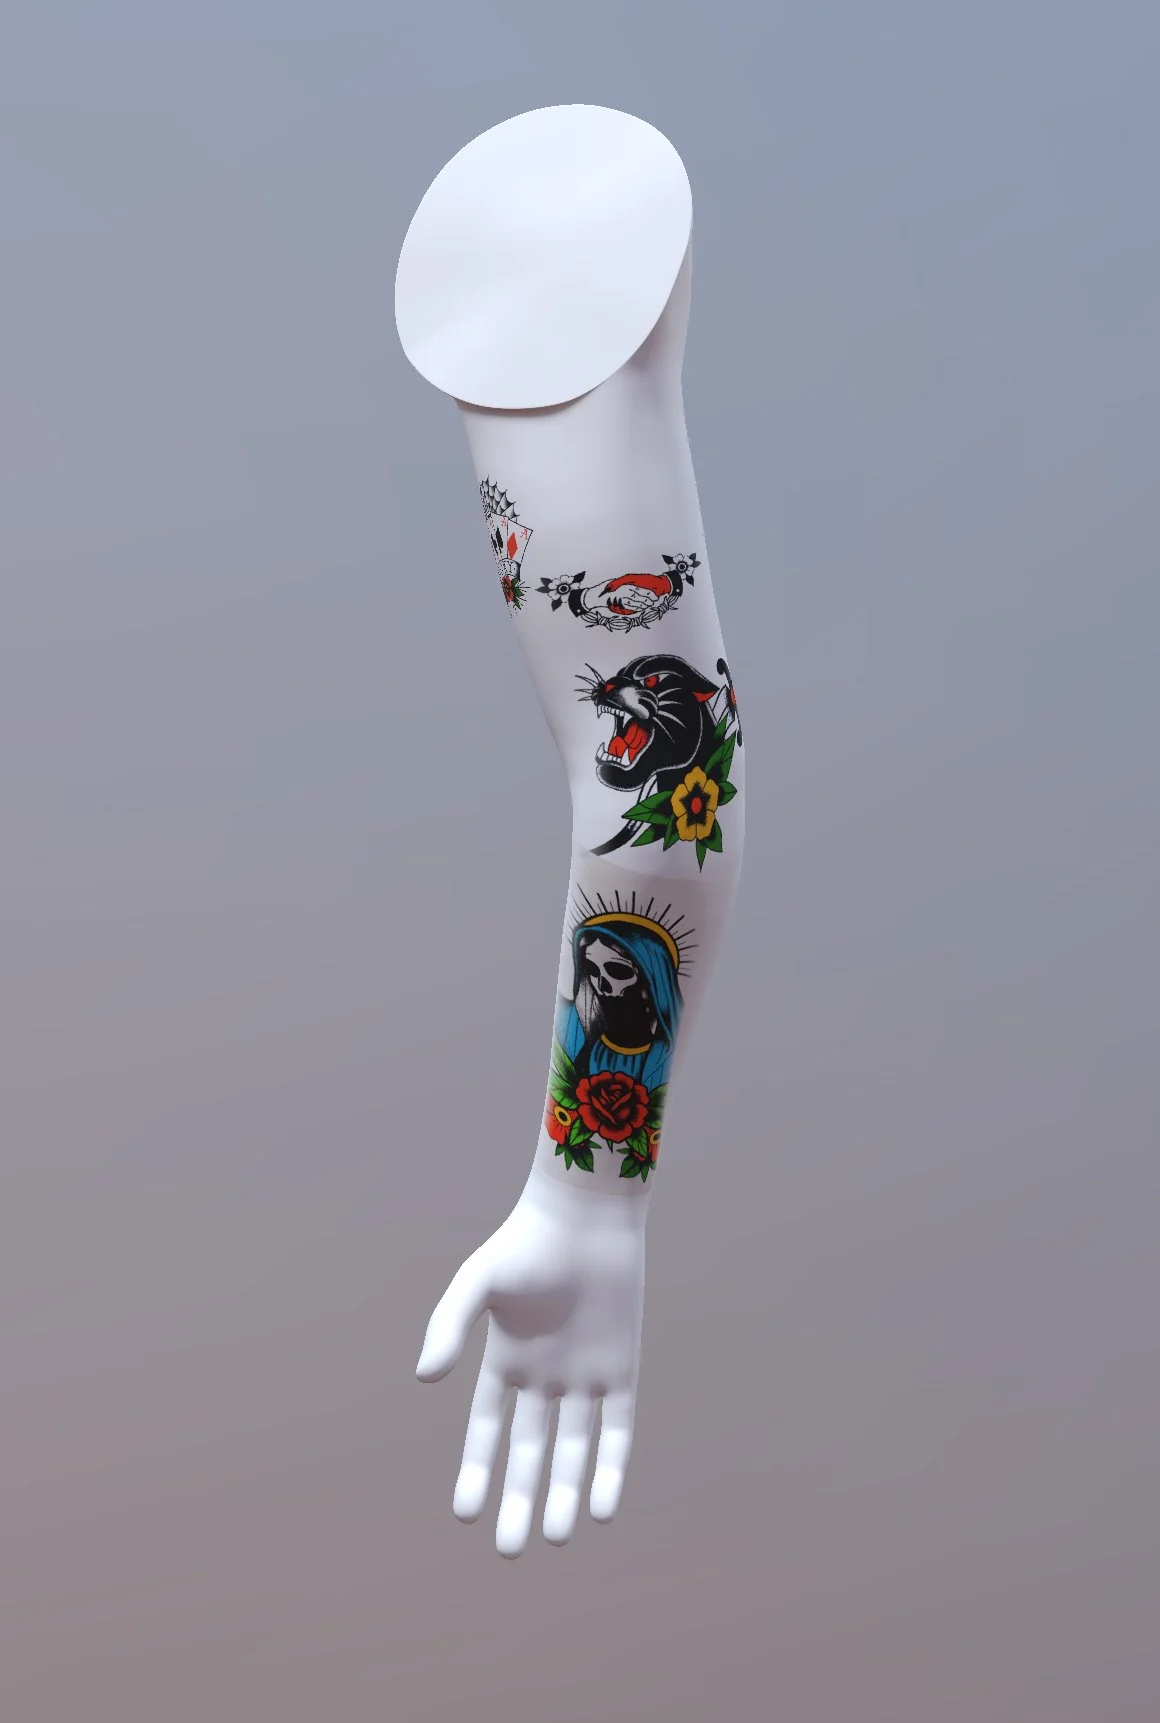
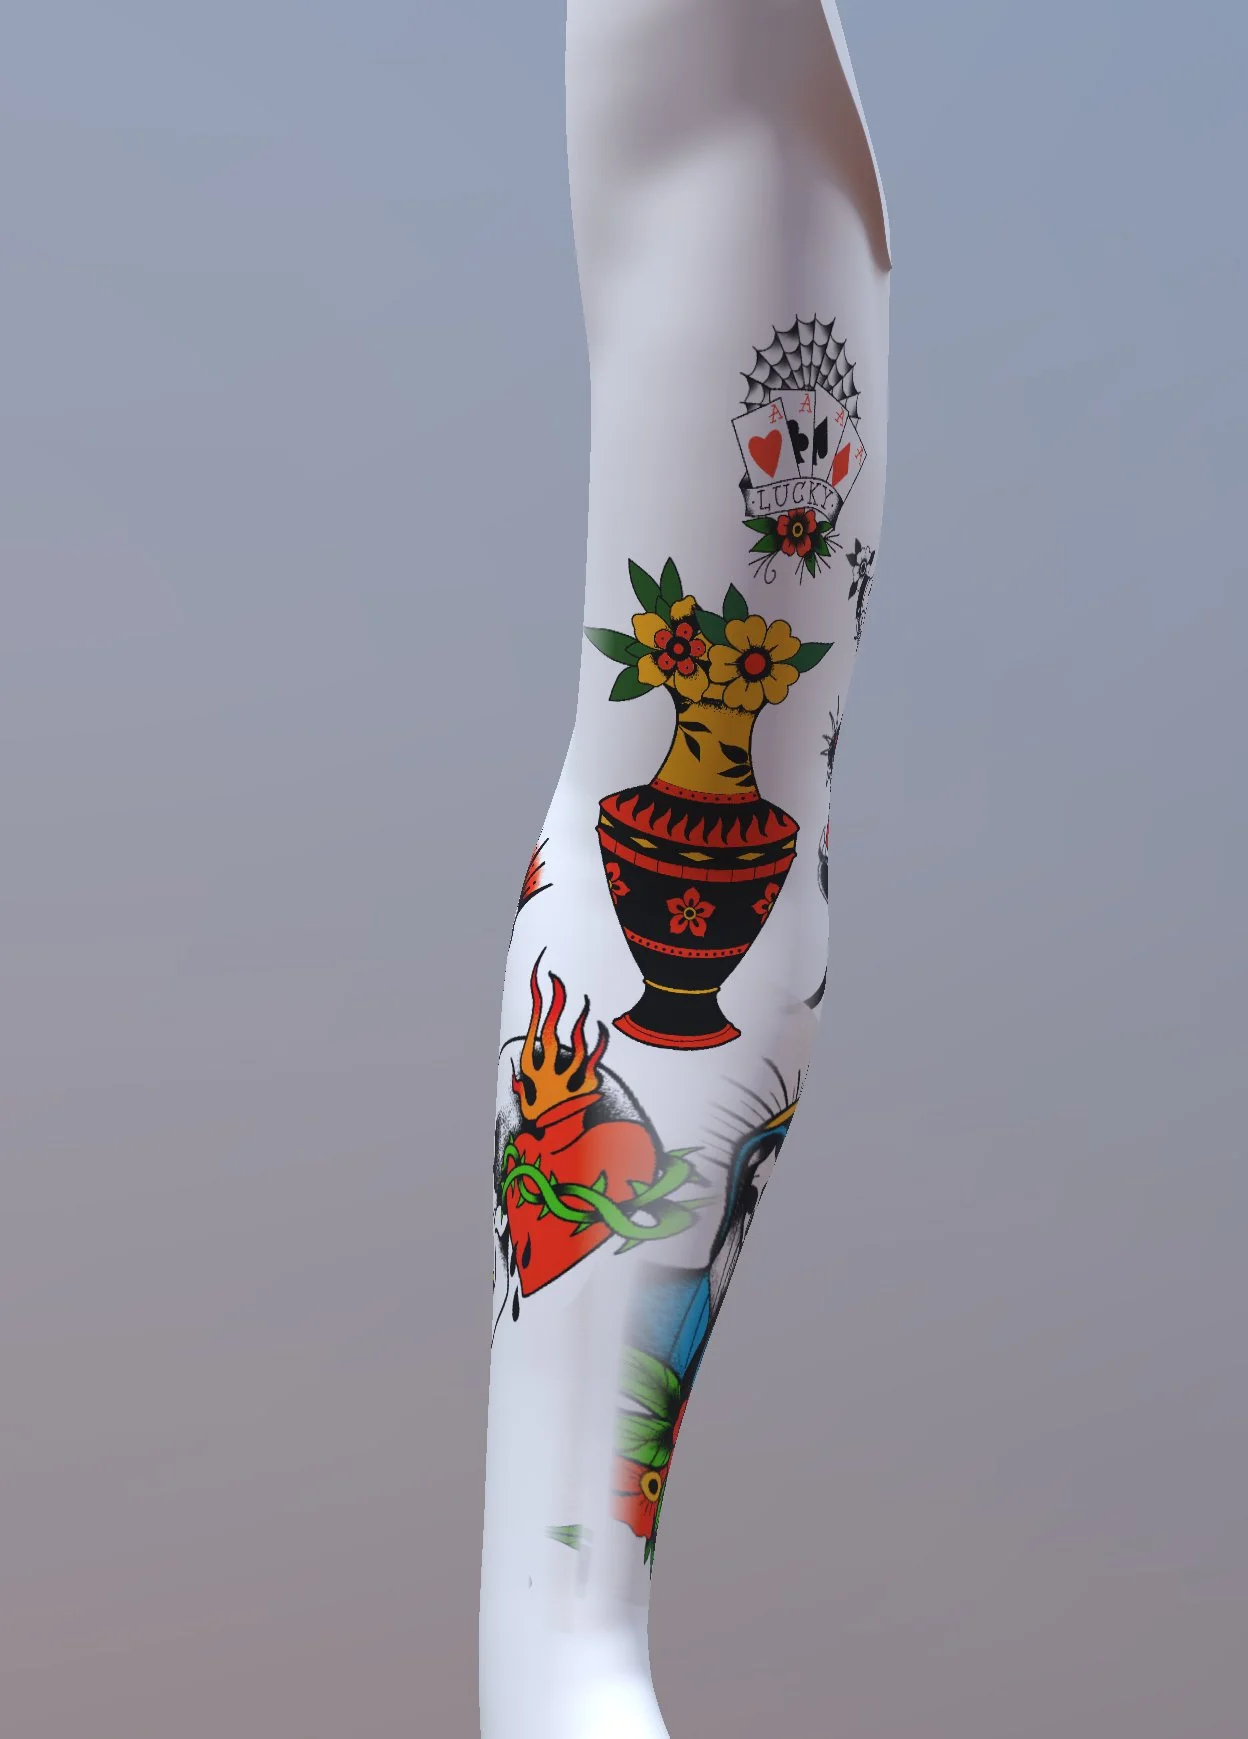
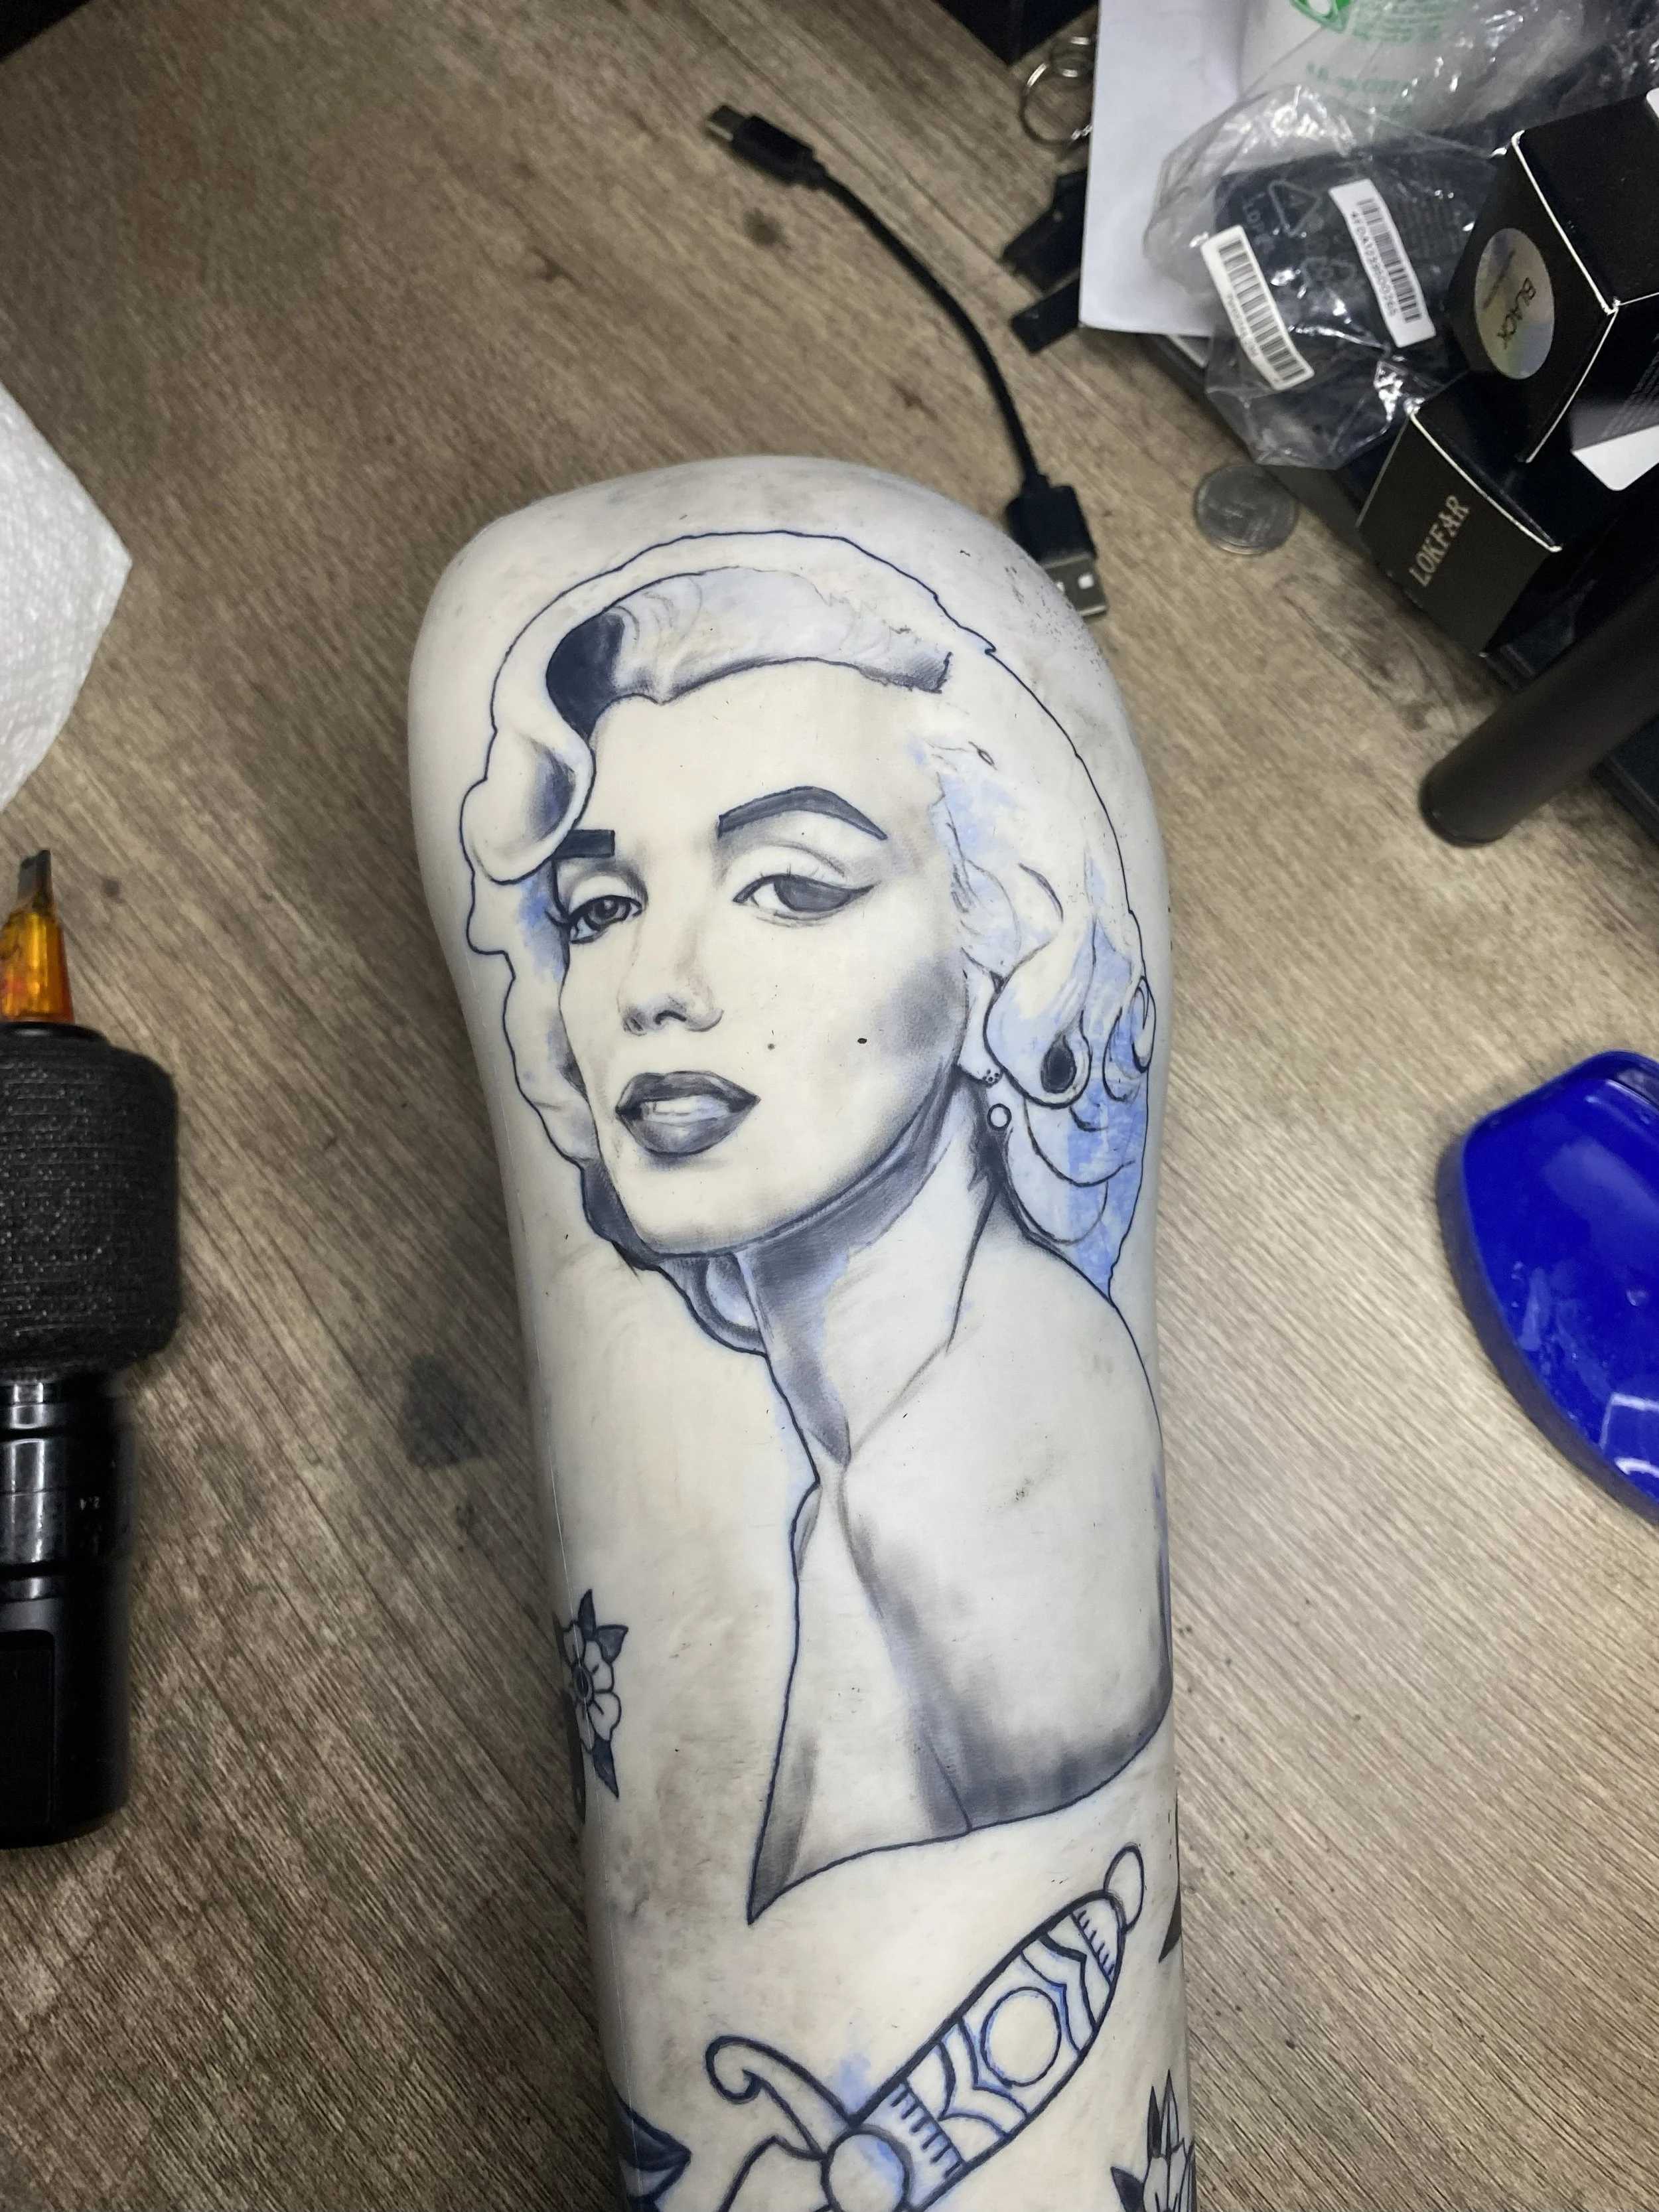
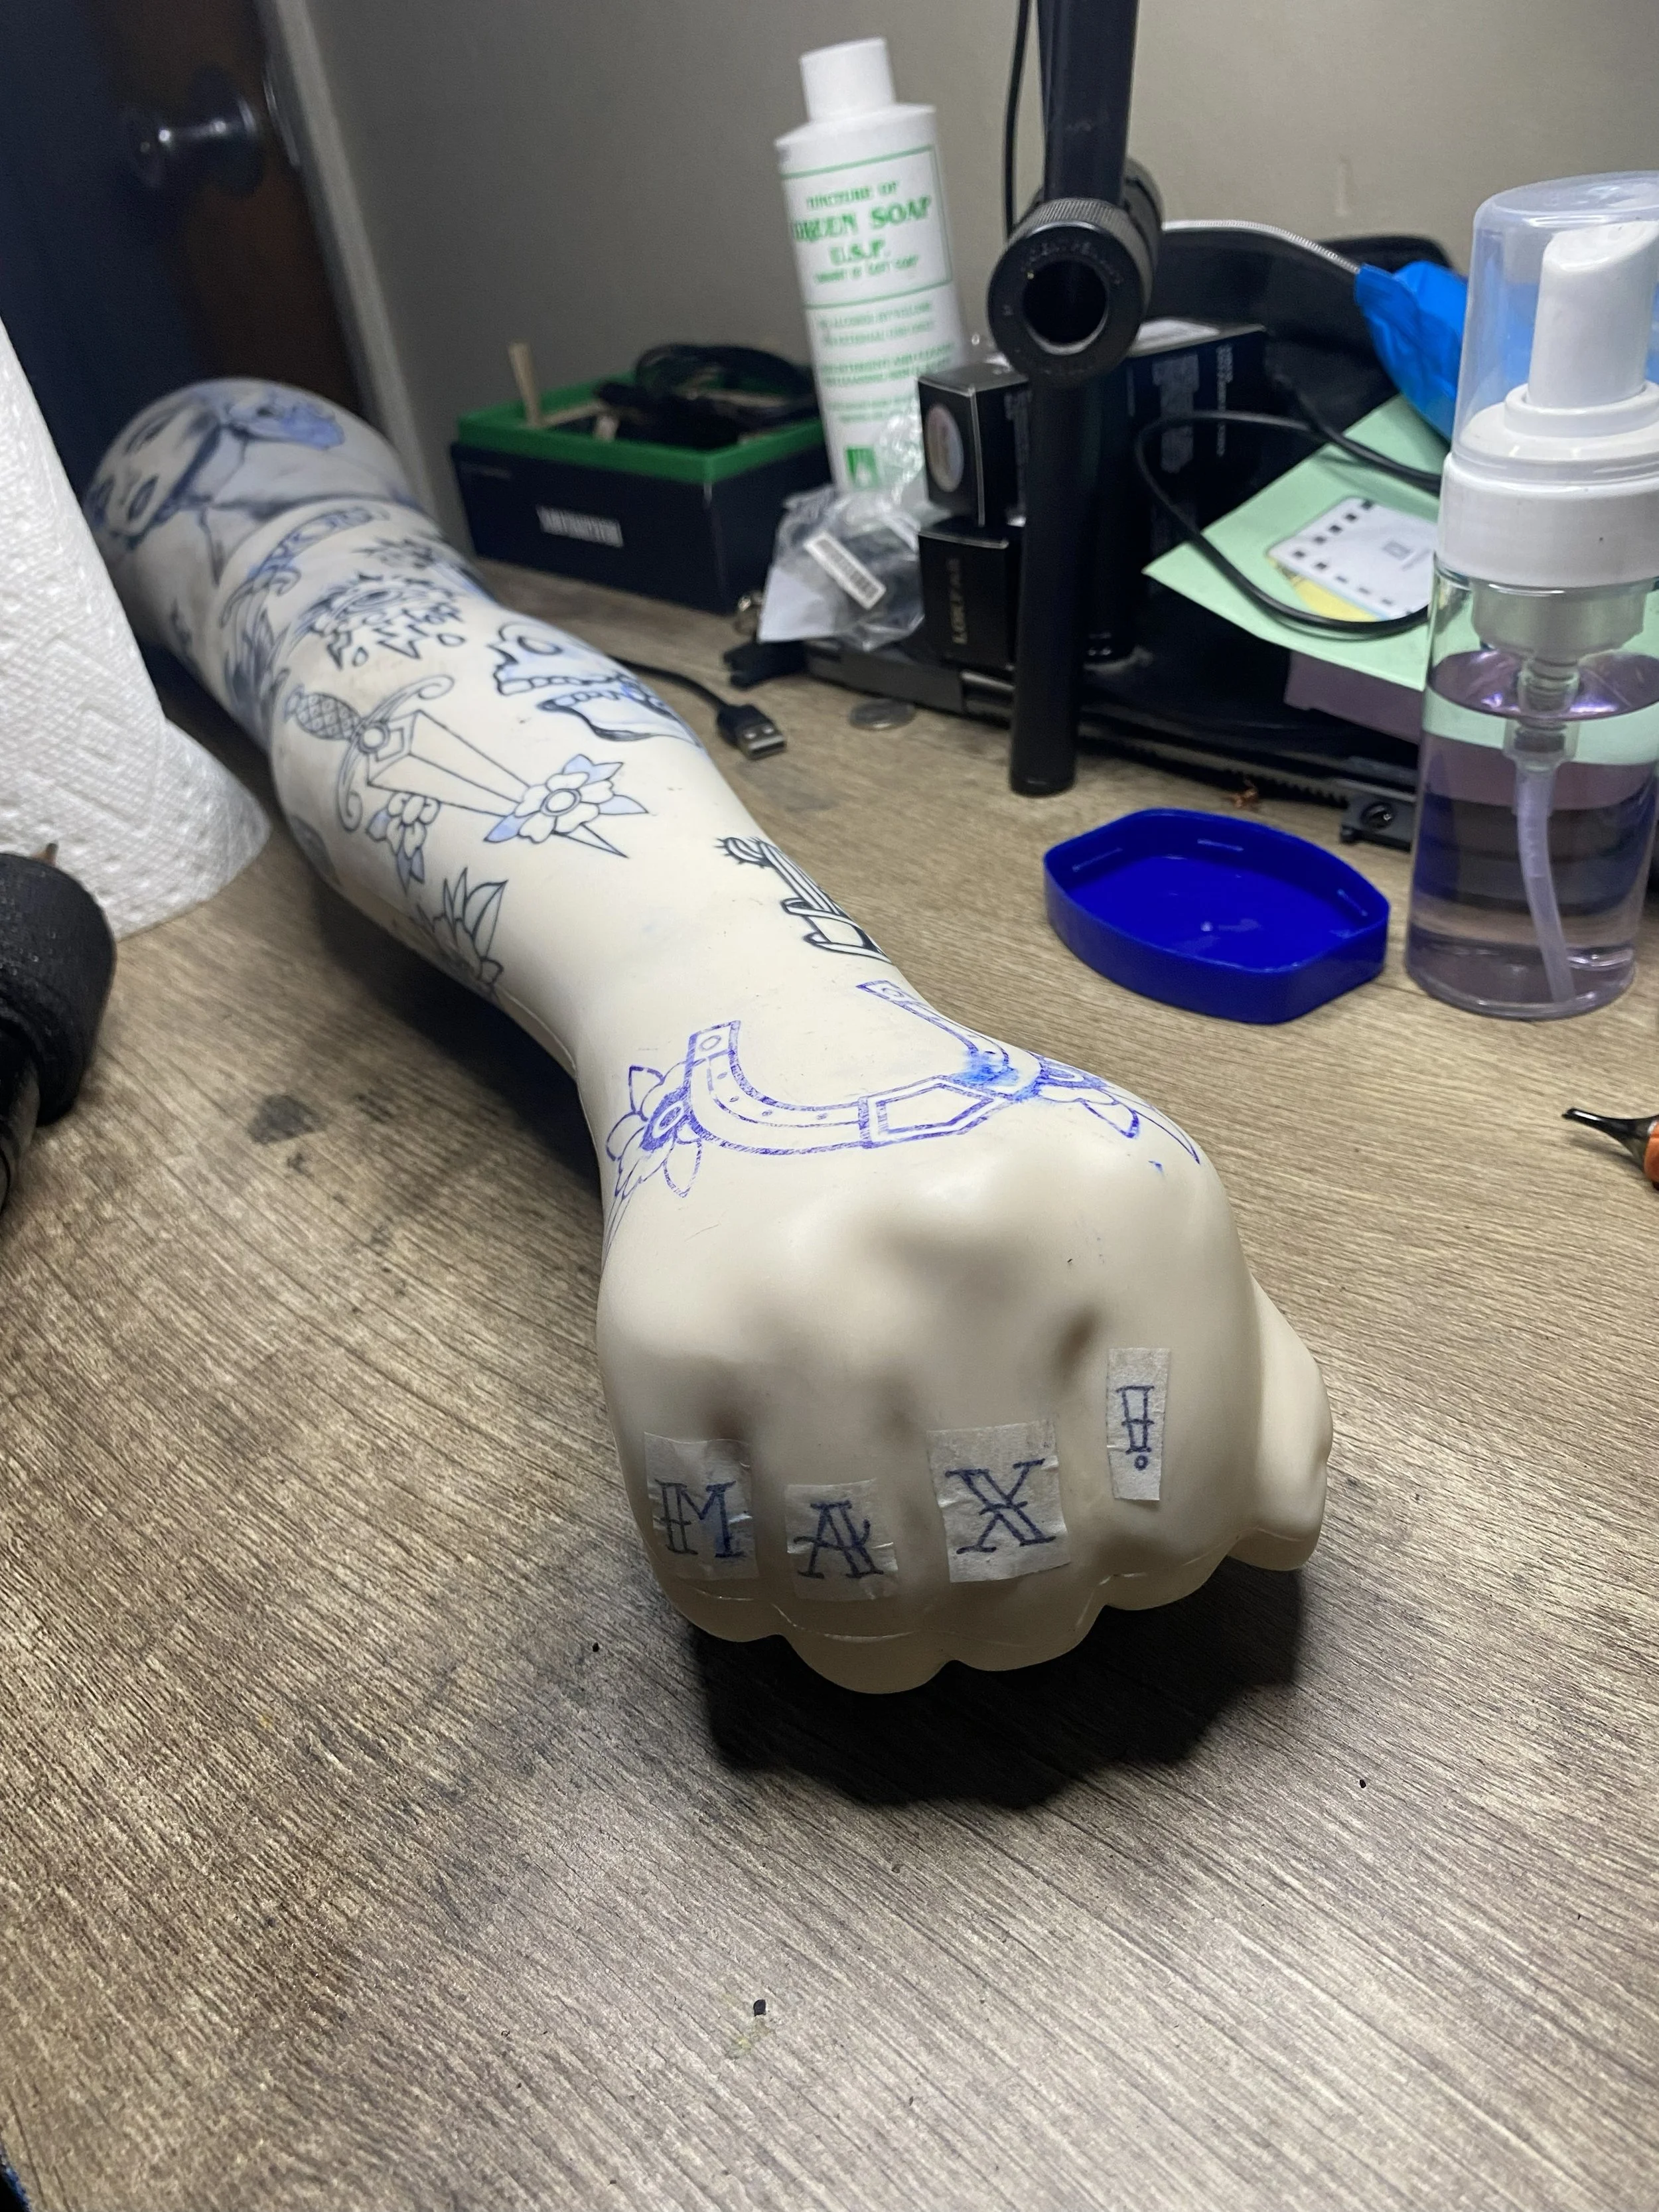
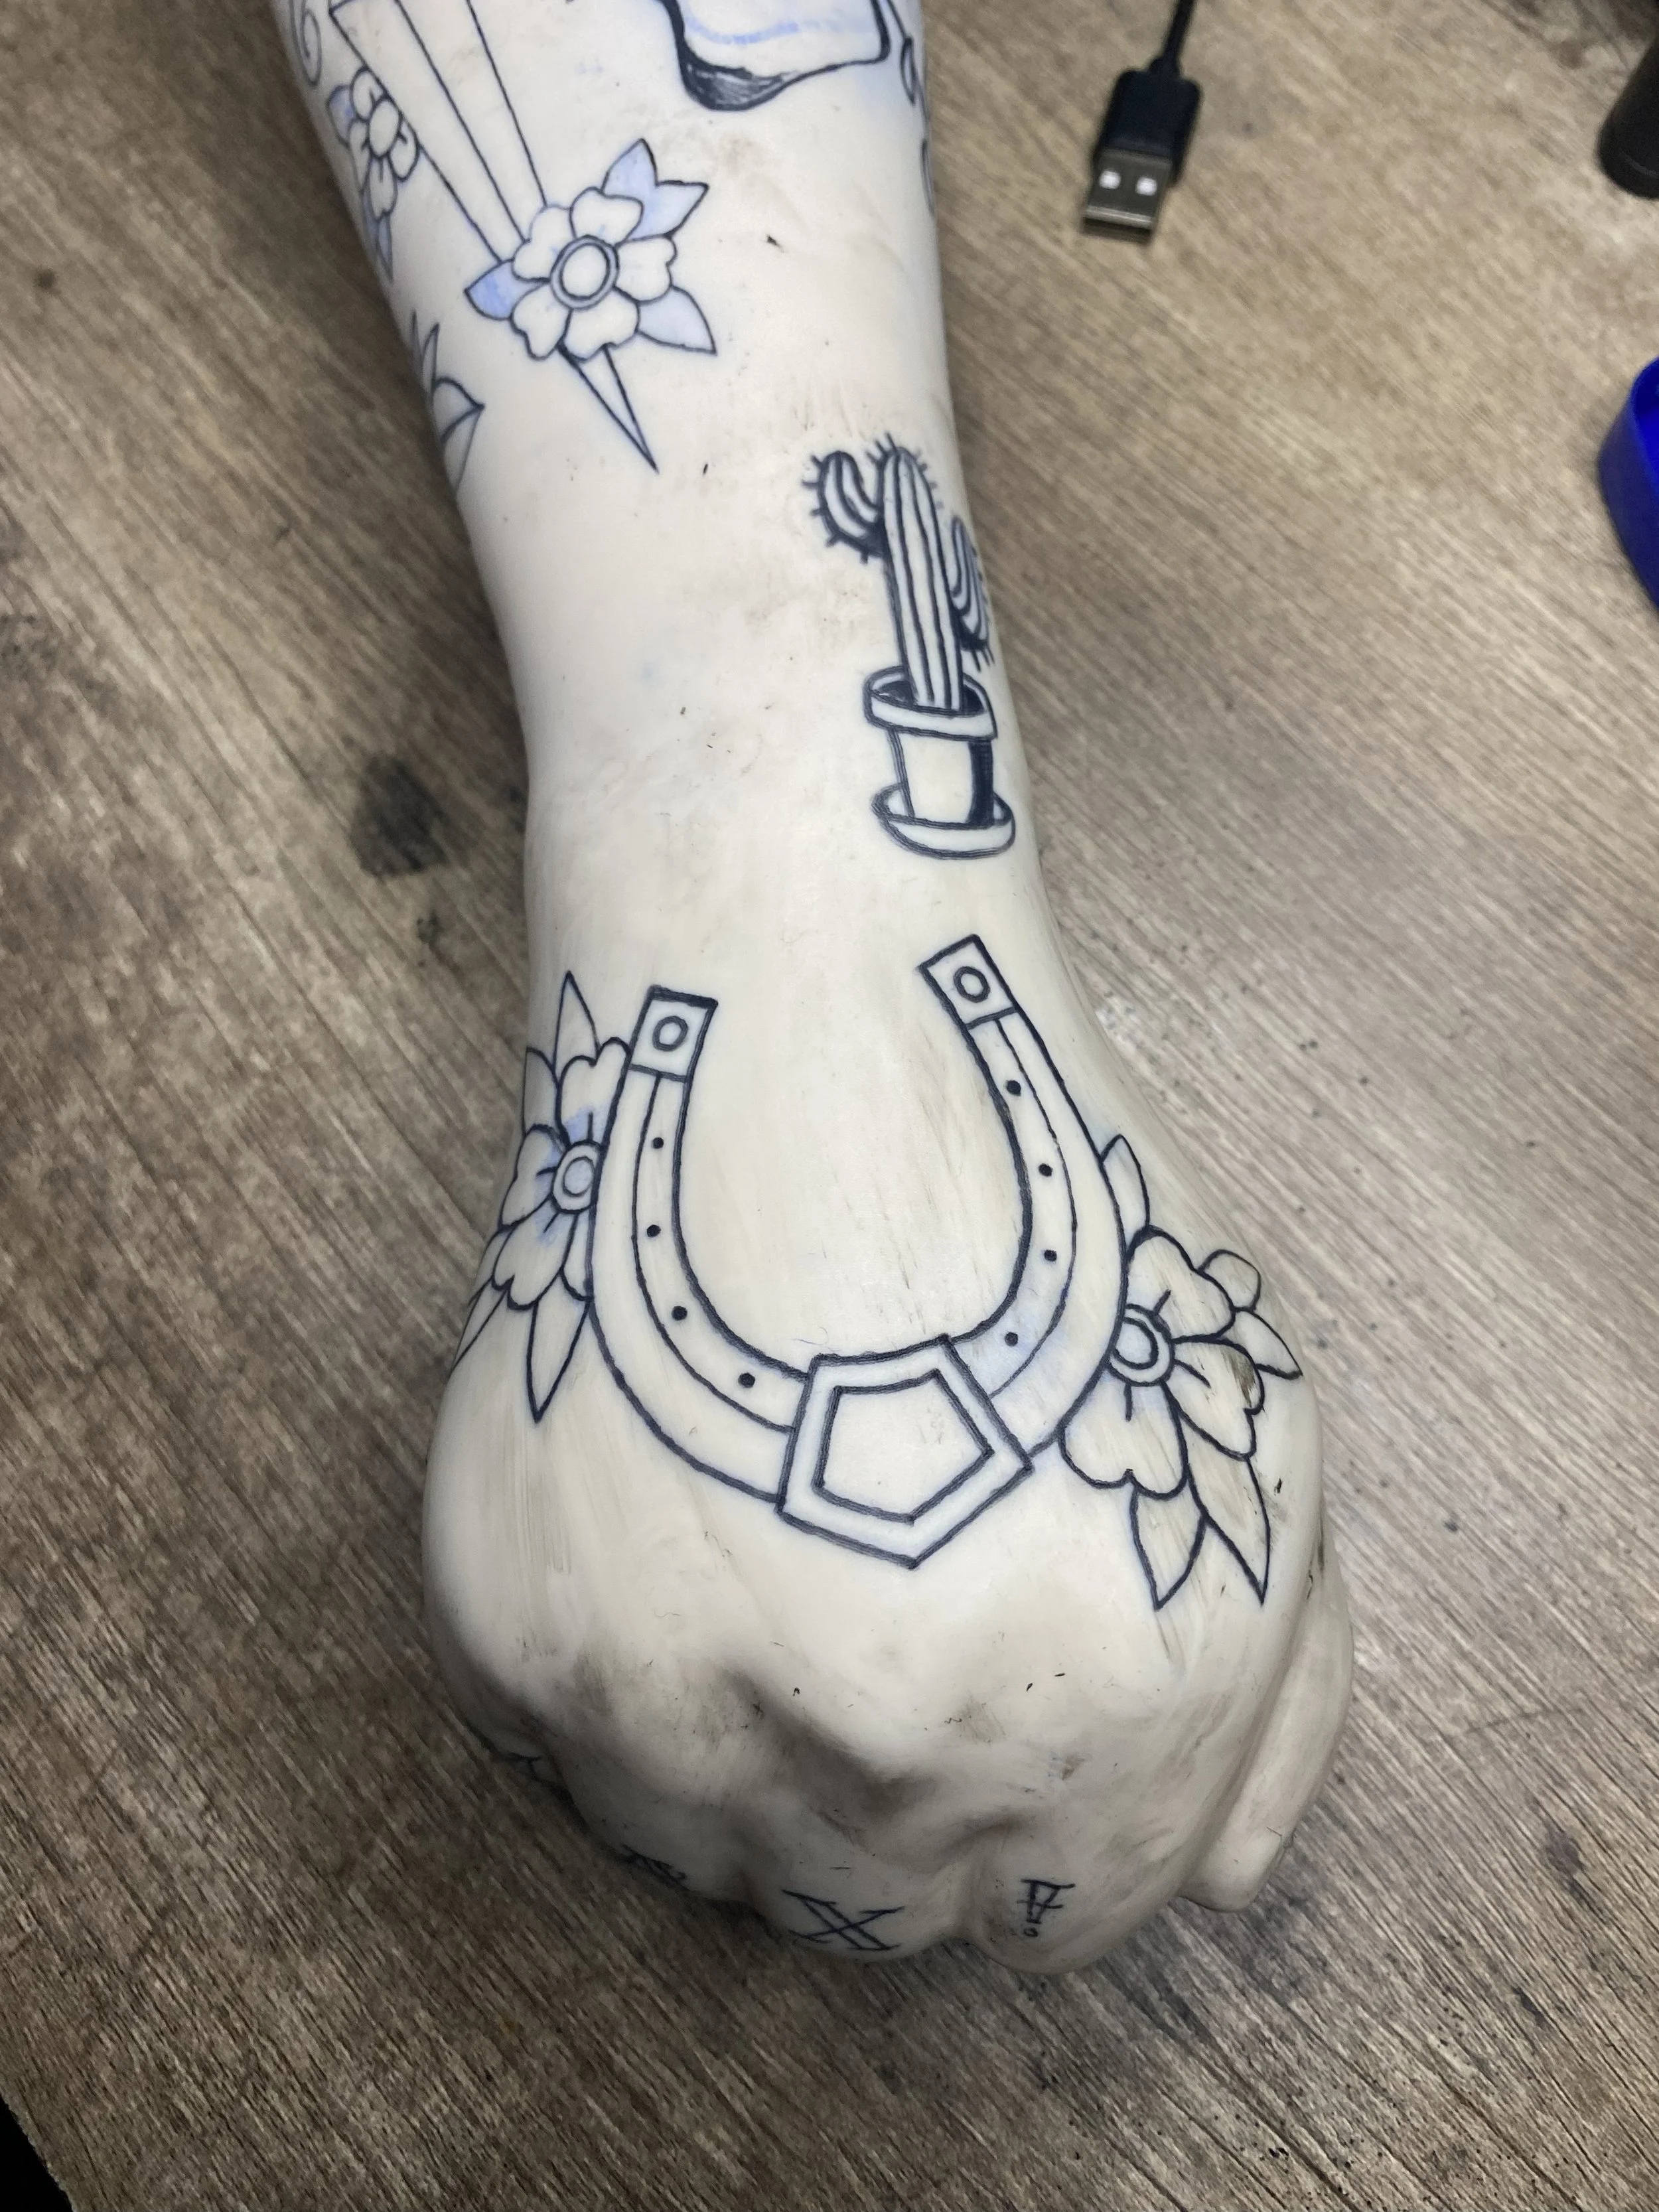
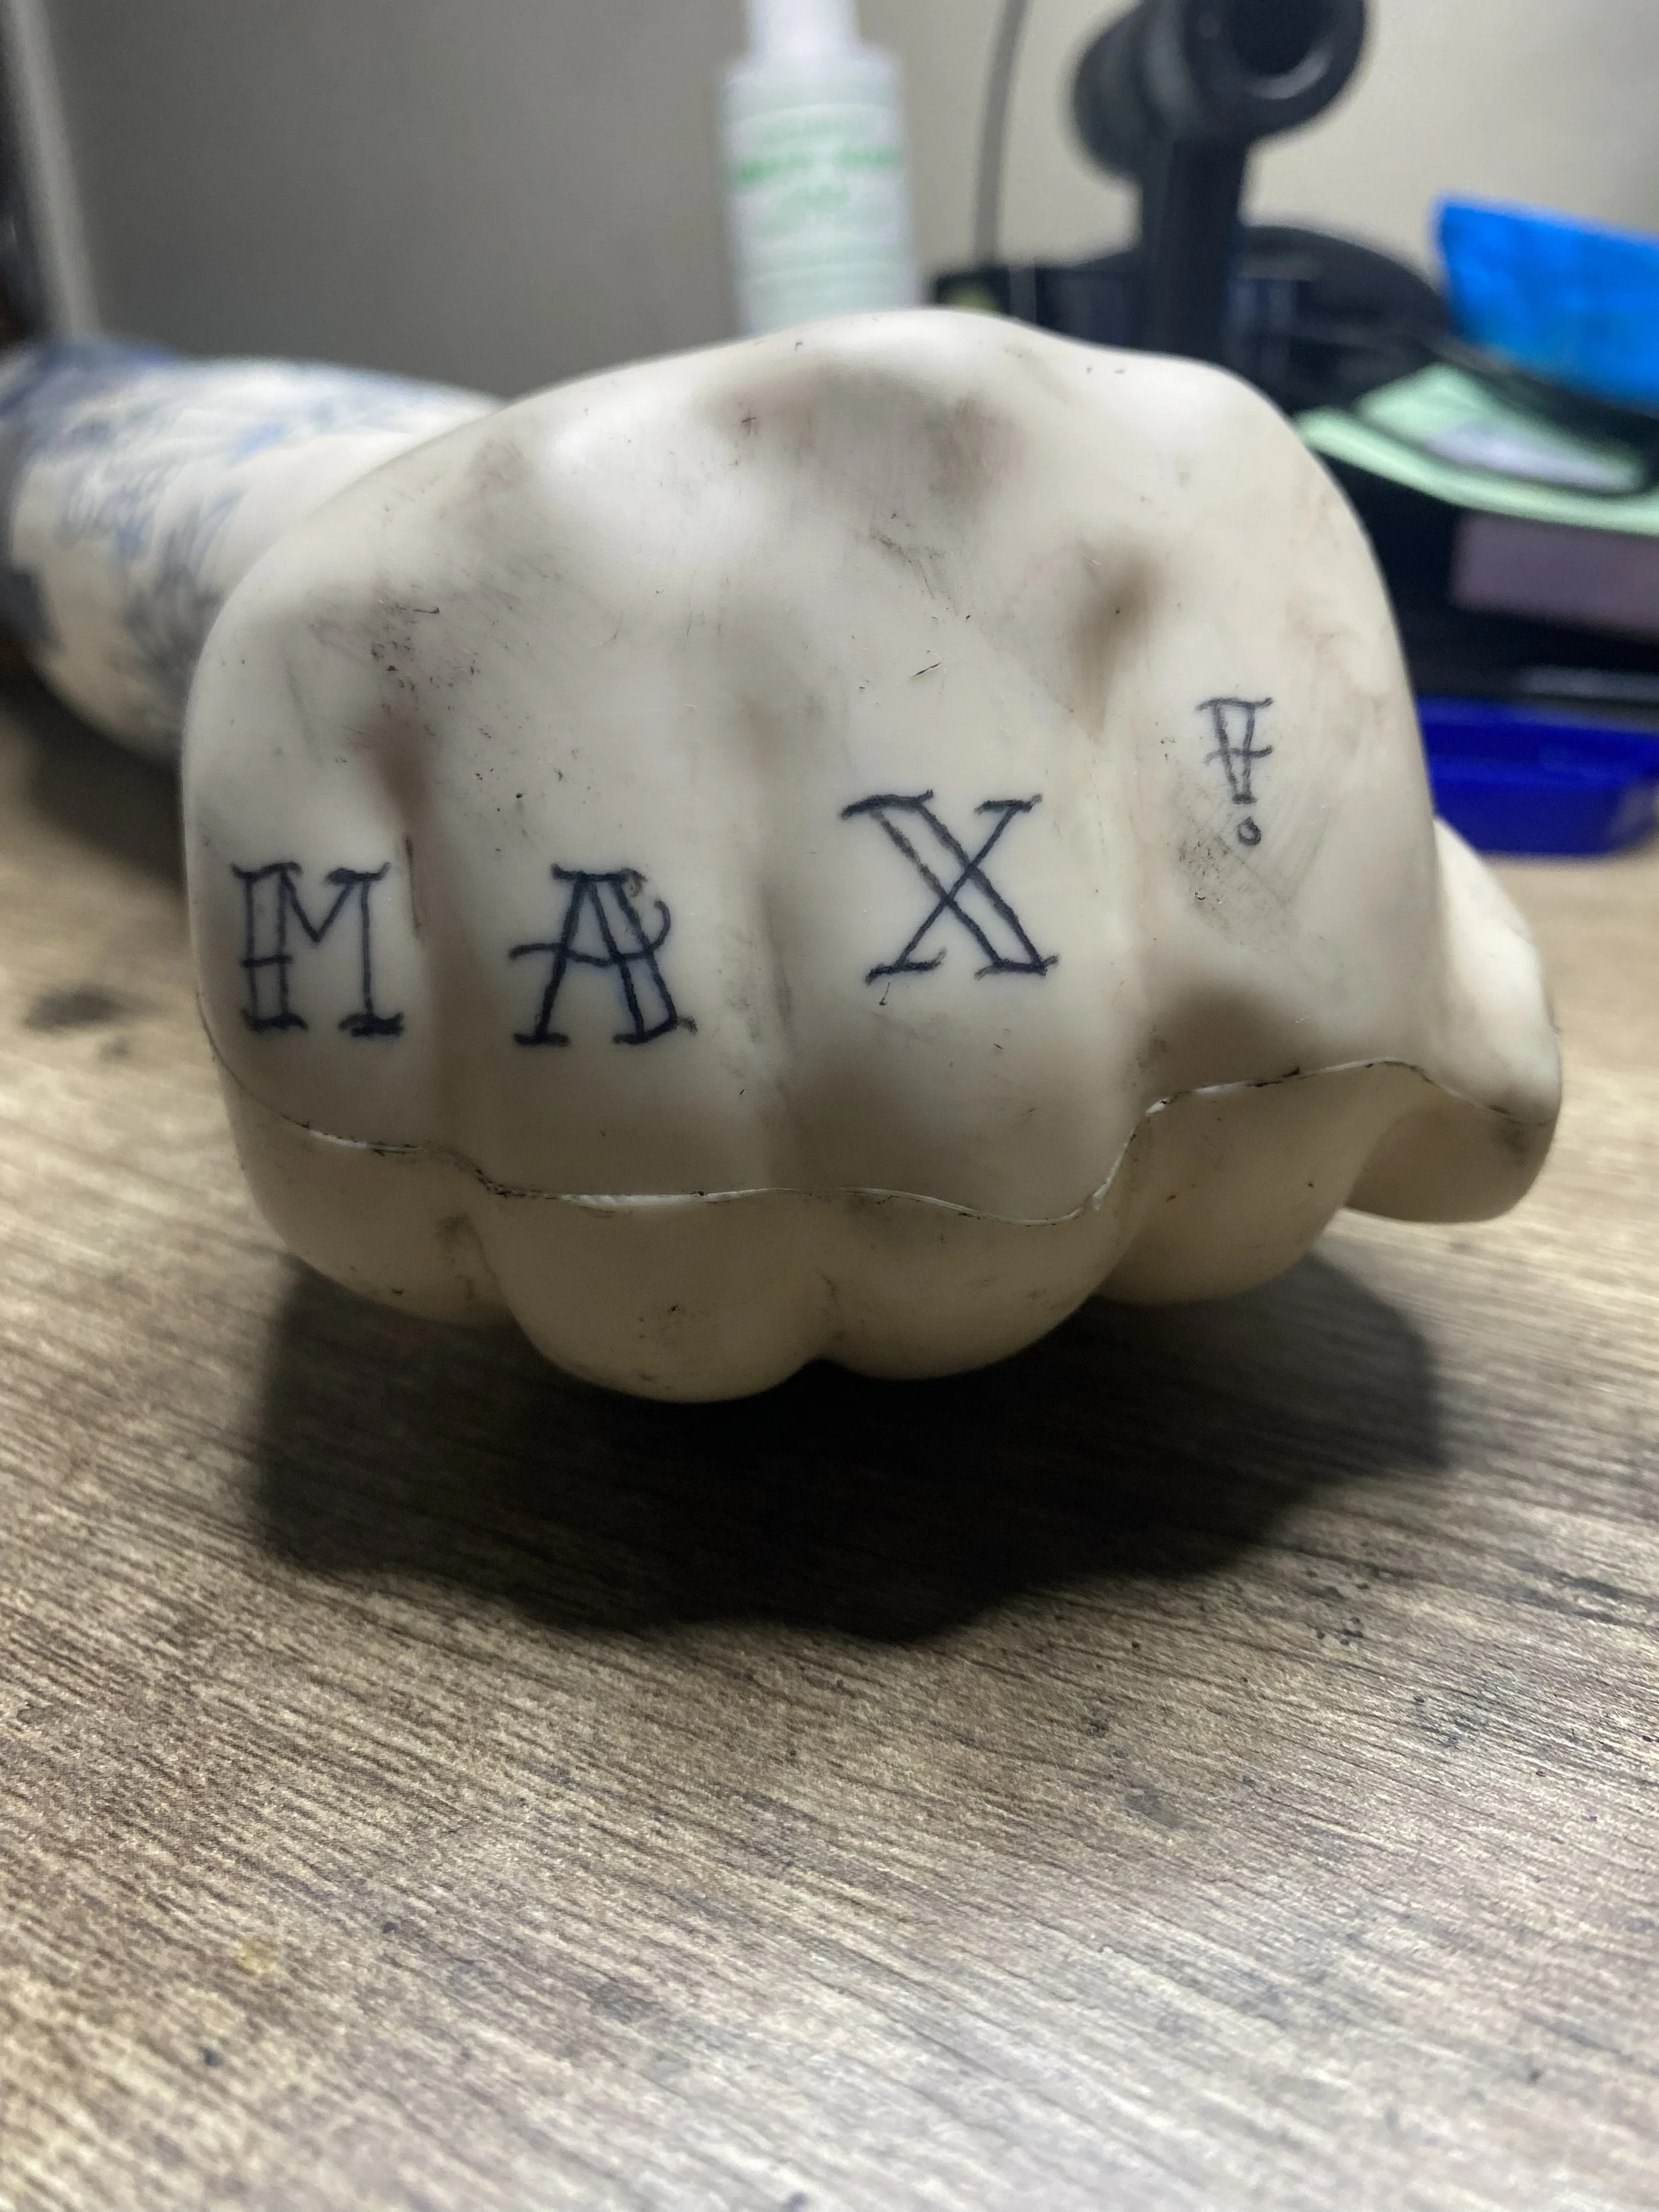
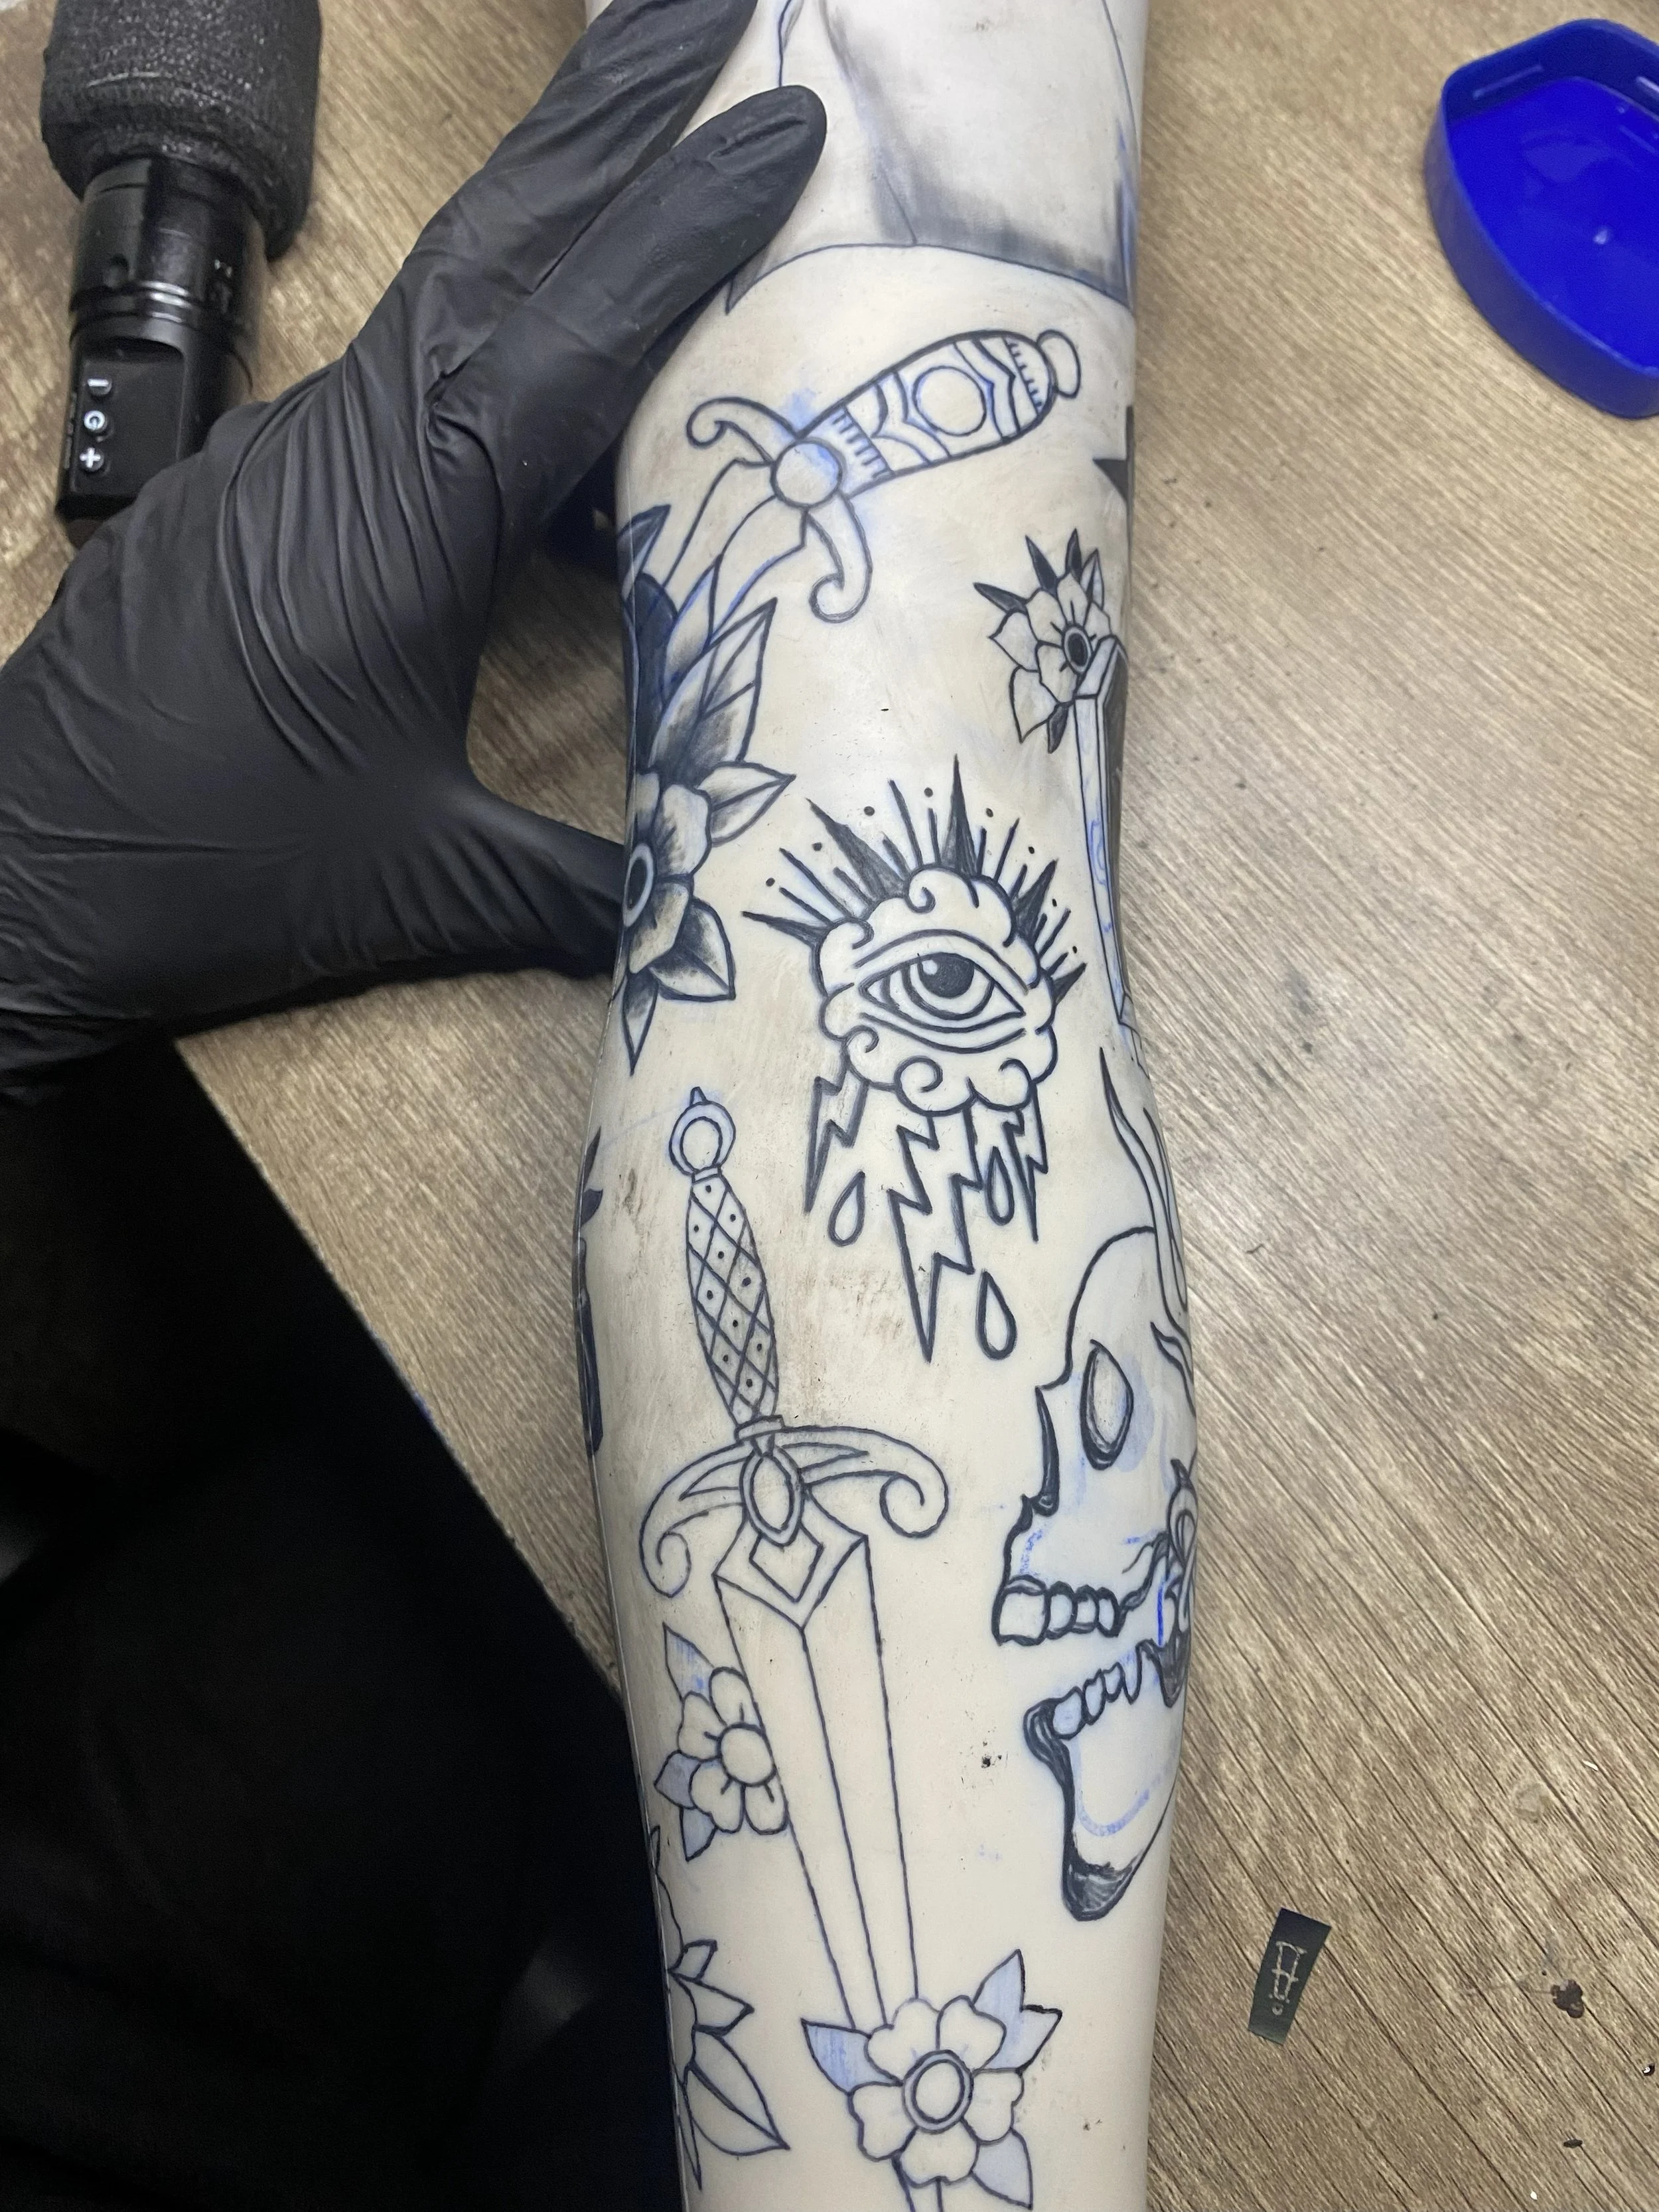
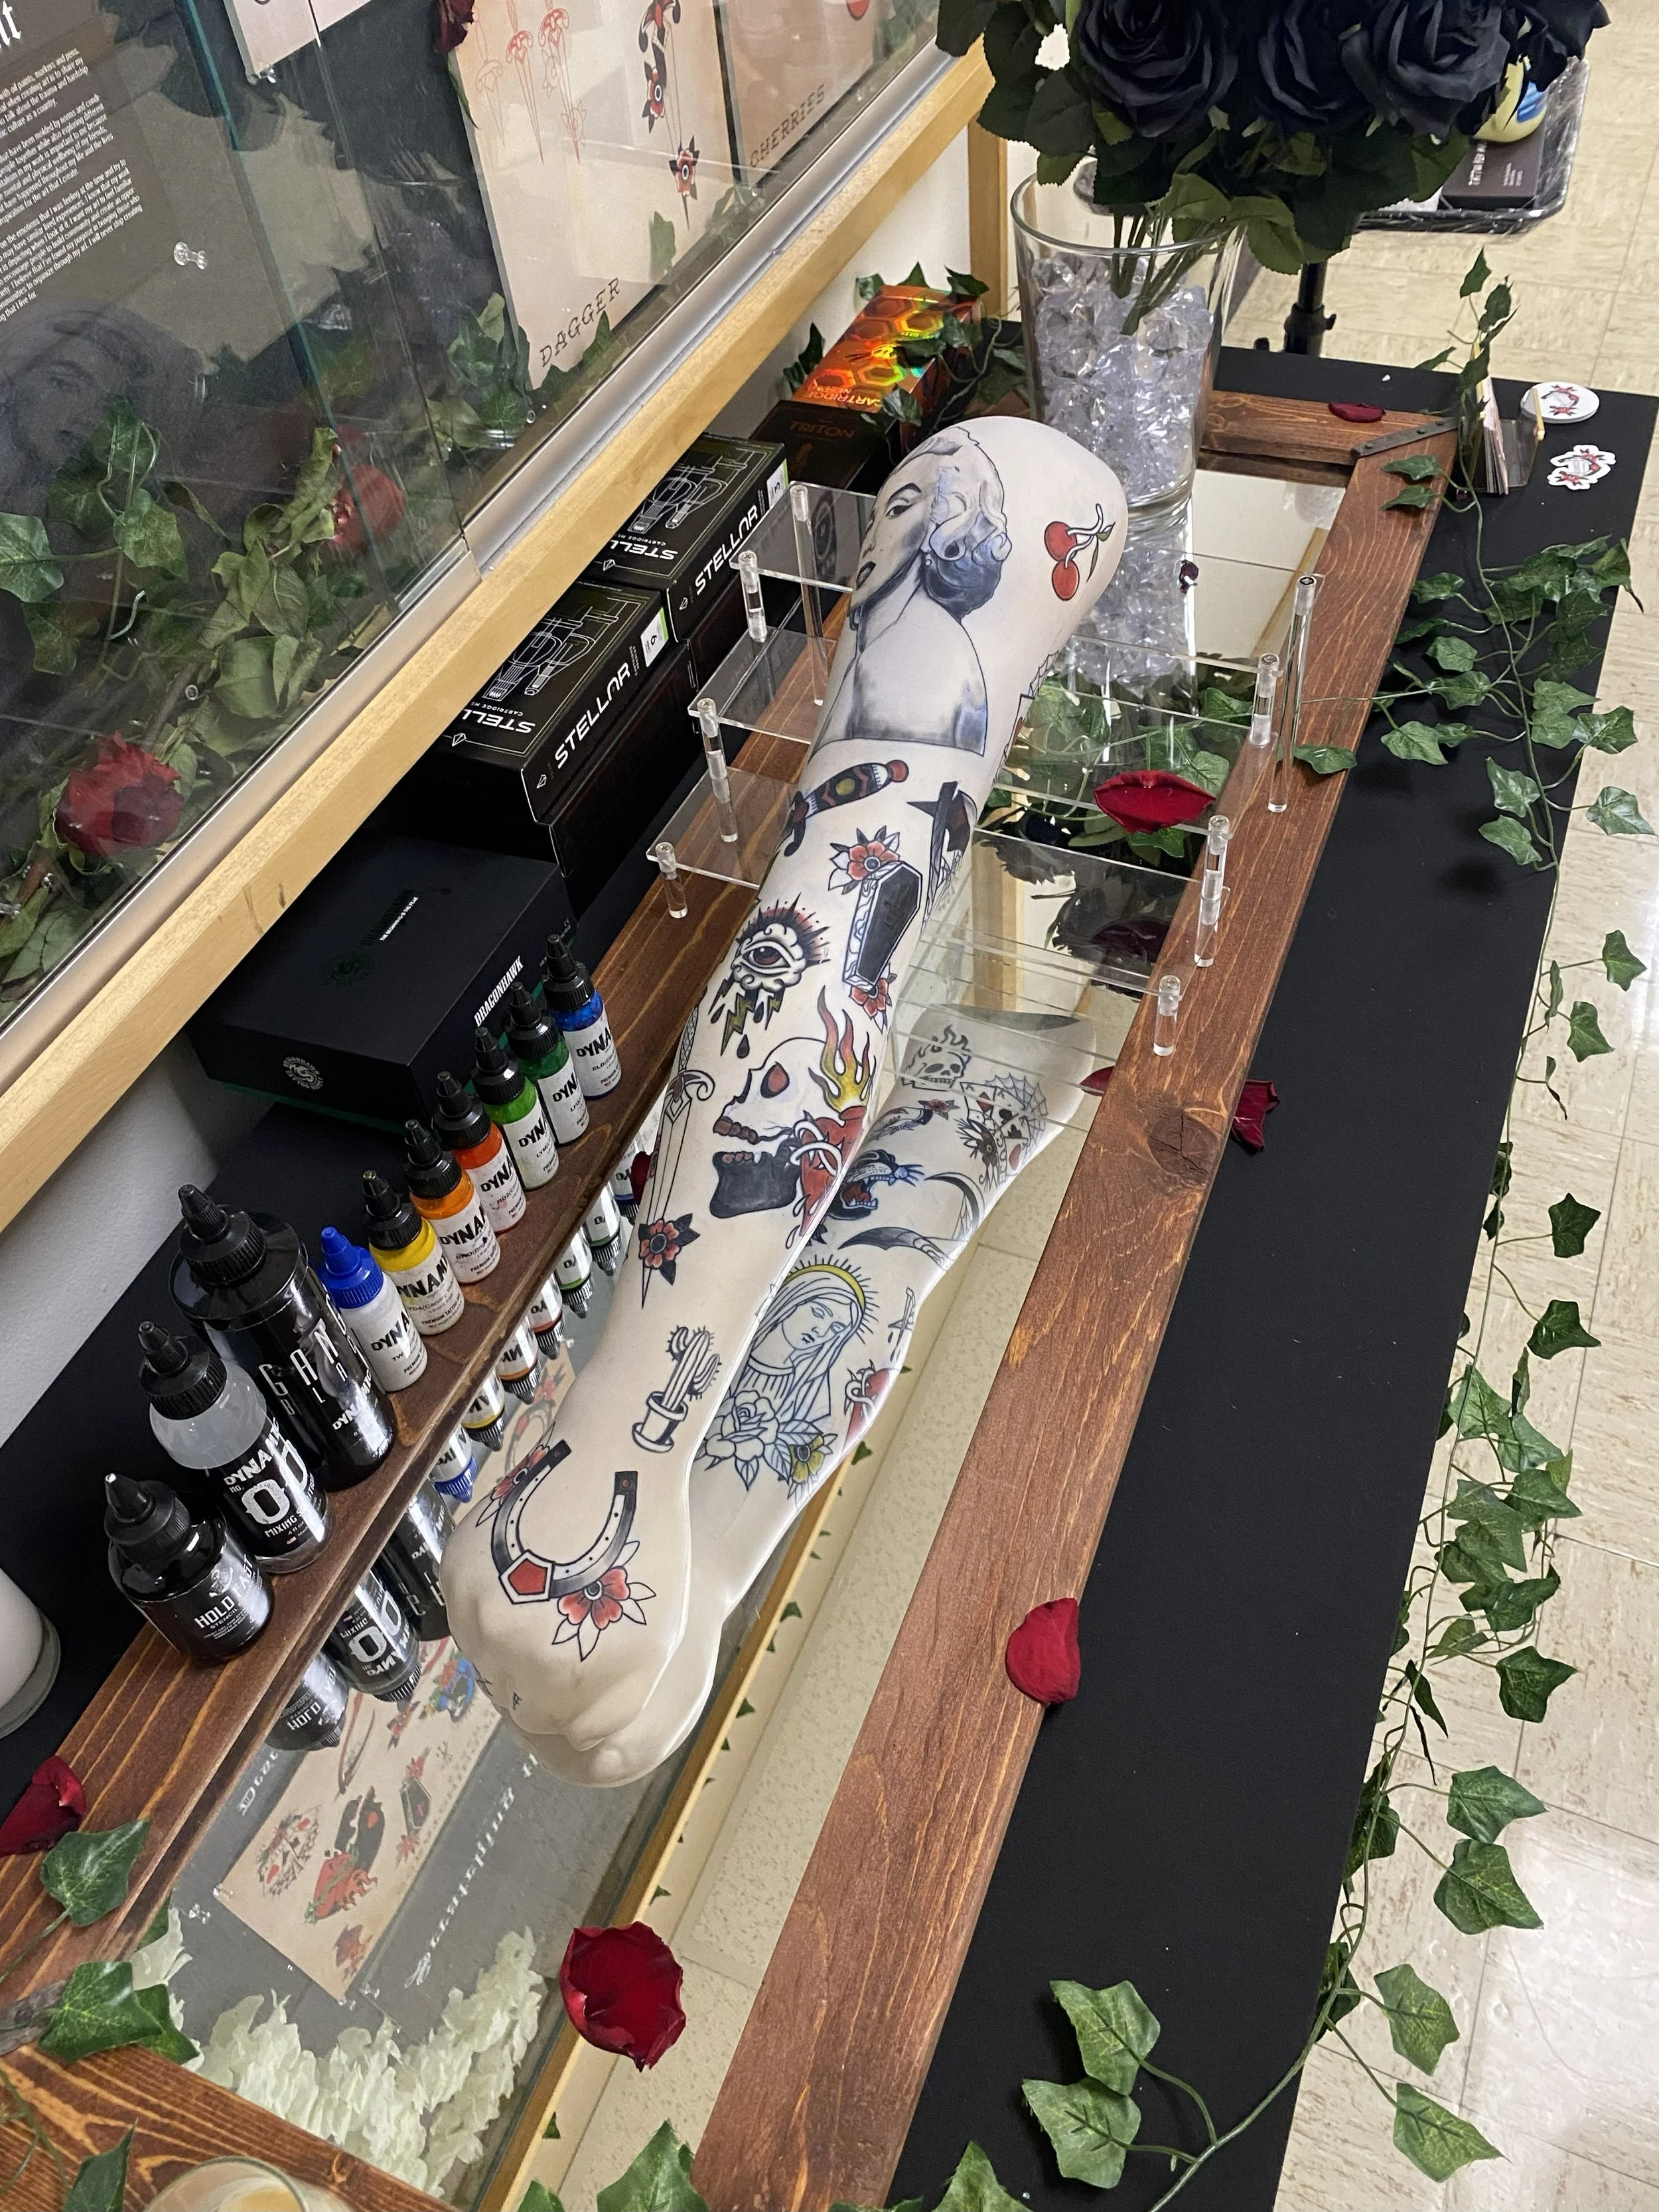
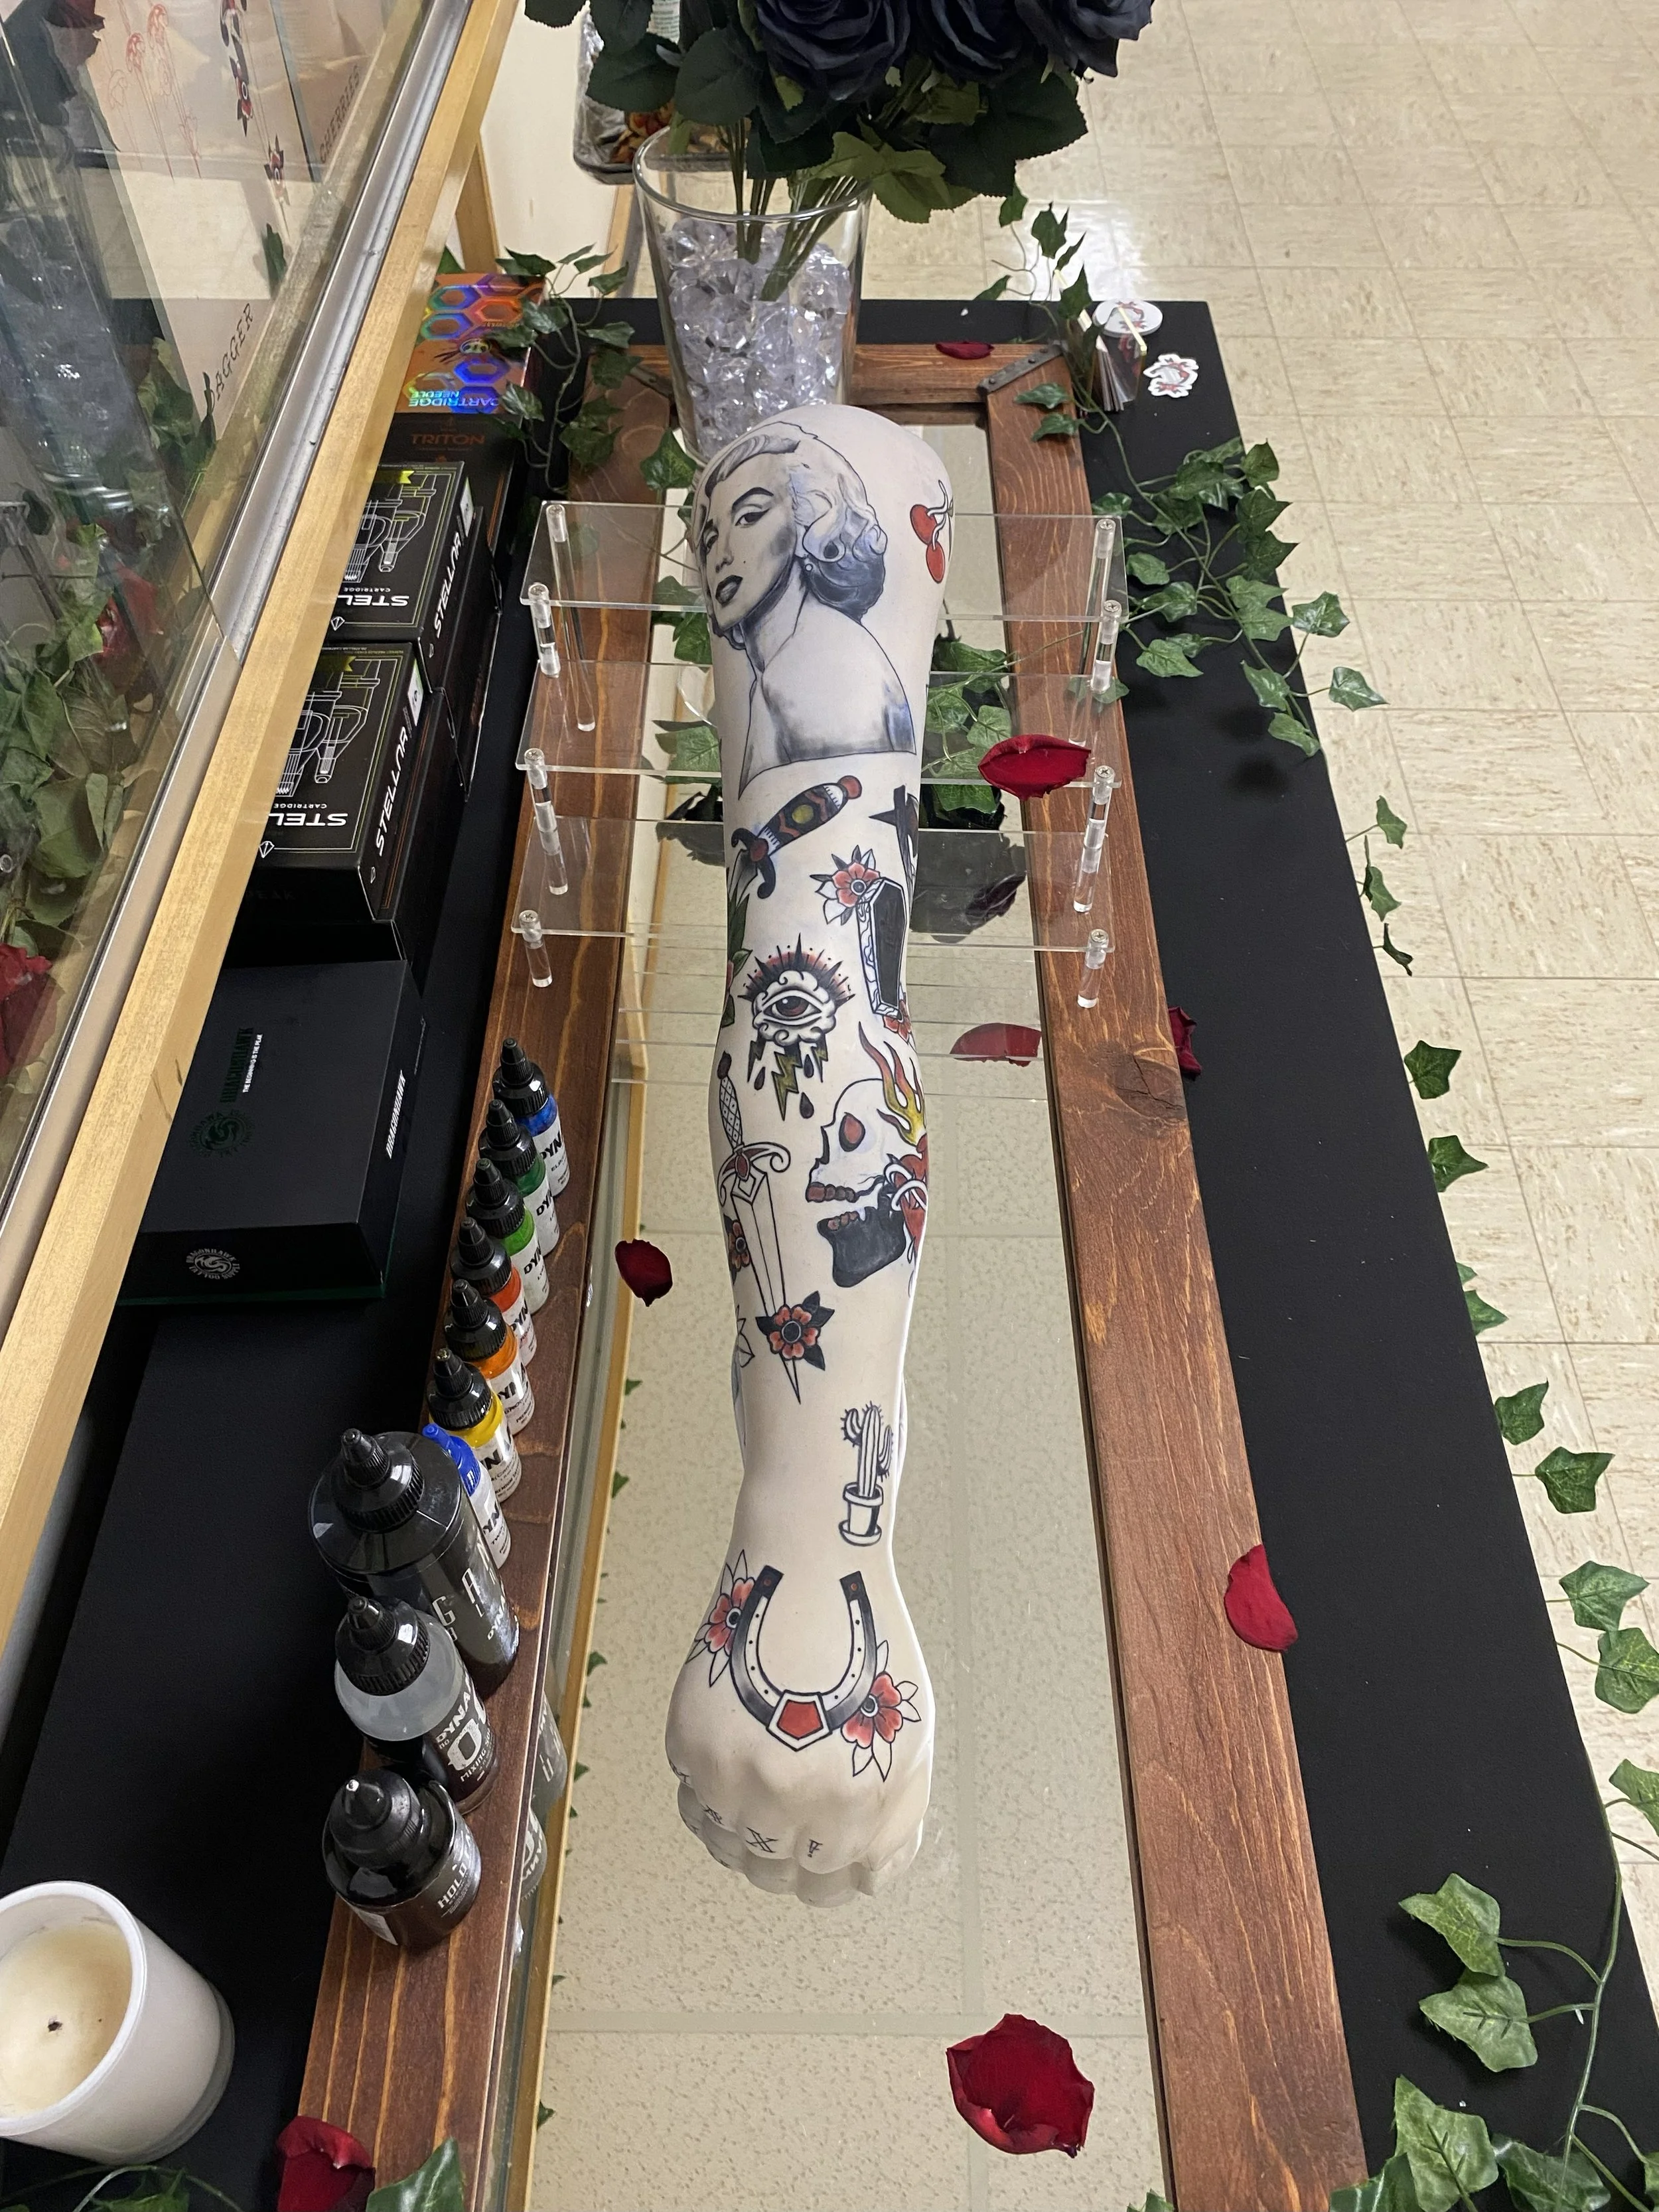
Scratching the Surface is a tattoo project that involves designing and tattooing a full sleeve on a synthetic arm, displaying technical skill and creative ambition. I will be using the experience I’ve gained through the IDA program at the University of Arizona to use a new medium and create a tattoo sleeve consisting of multiple styles to show versatility and to get a taste of what I would like to specialize in (portraiture and American traditional). These styles will include human and animal portraits, American traditional, calligraphy and small flash illustrations.
I chose a tattoo project for my thesis because I intend on pursuing a career in tattooing and this was a great opportunity to prepare for the real world. Just like a real tattoo, the stakes for this project are high and mistakes are unaffordable. Every mark that I make is permanent and every decision made about placement, color, and composition cannot be undone. I believe that this project is an accurate reflection of the pressures and professional atmosphere of a career in the tattoo industry. My favorite part about this project that is unlike the real tattoo industry, is the ability to create and have full control of the tattoos that I design. I am blessed to have the opportunity to work on something that I am passionate about and create a custom piece from start to finish.
Preliminary Work


Tattoo vocabulary
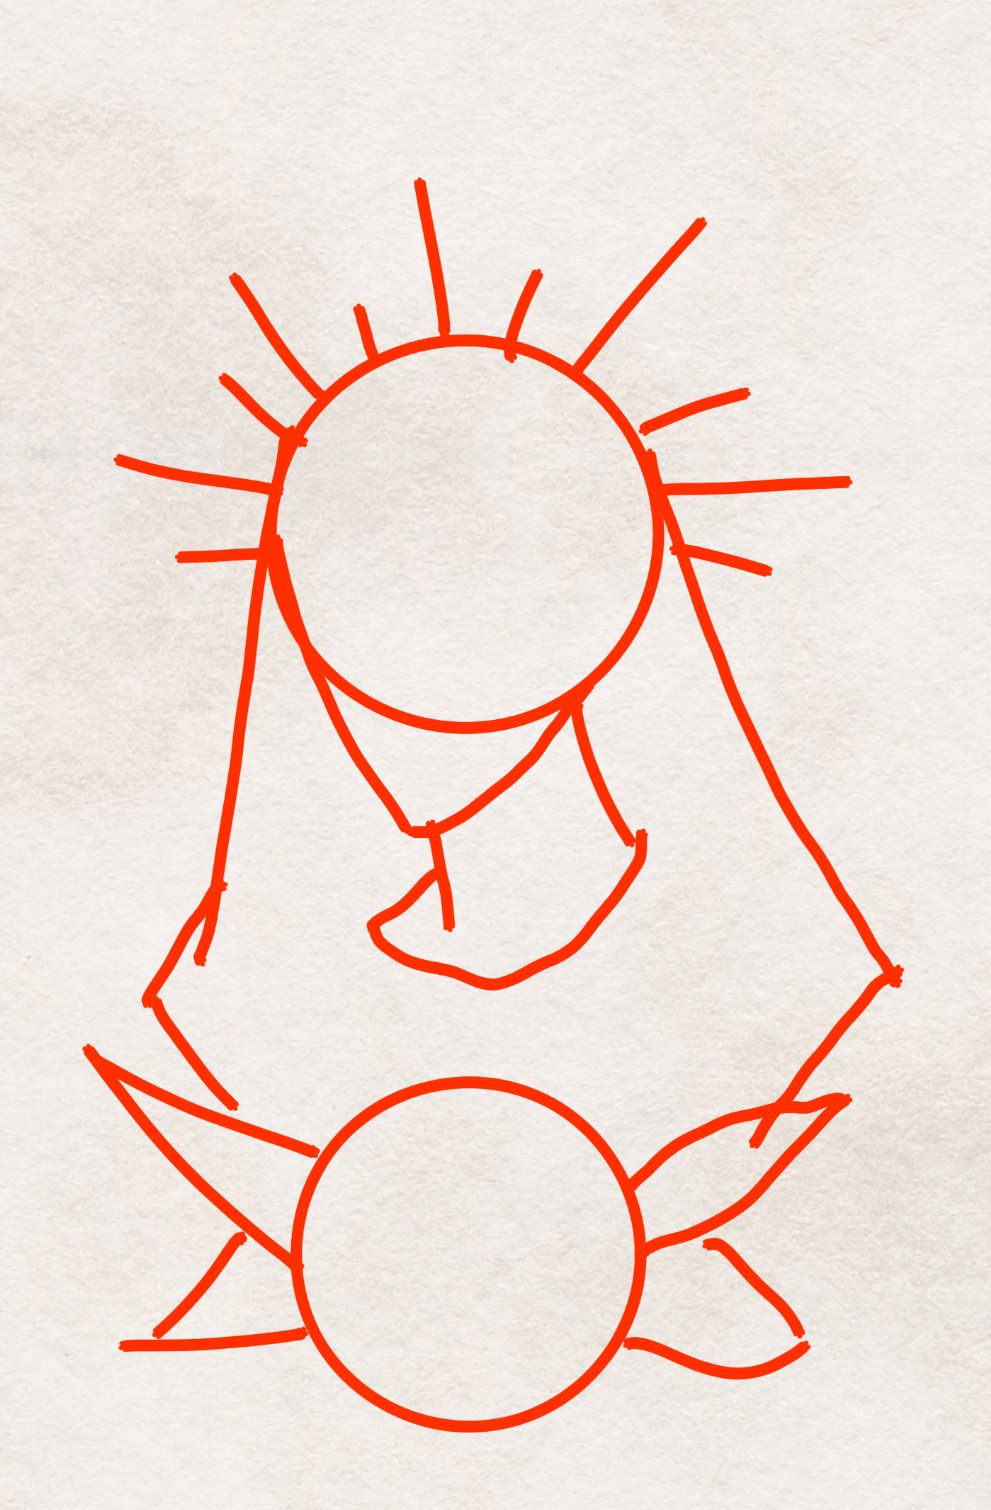
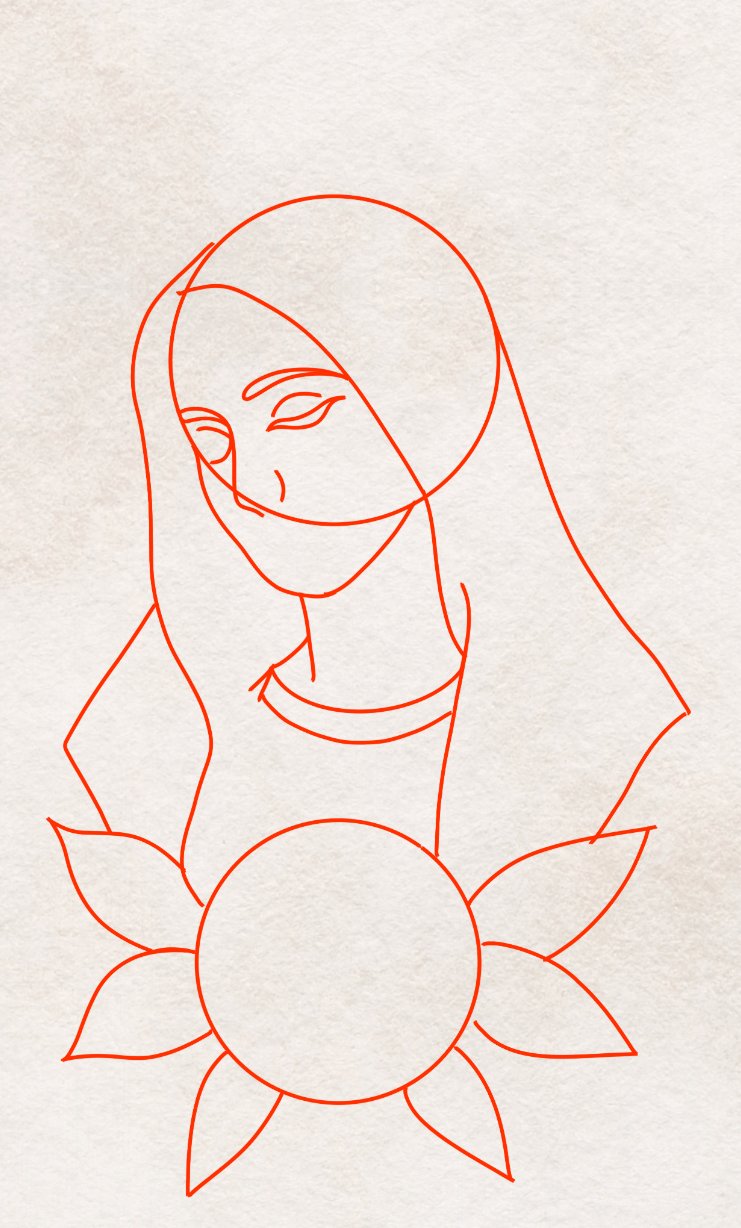
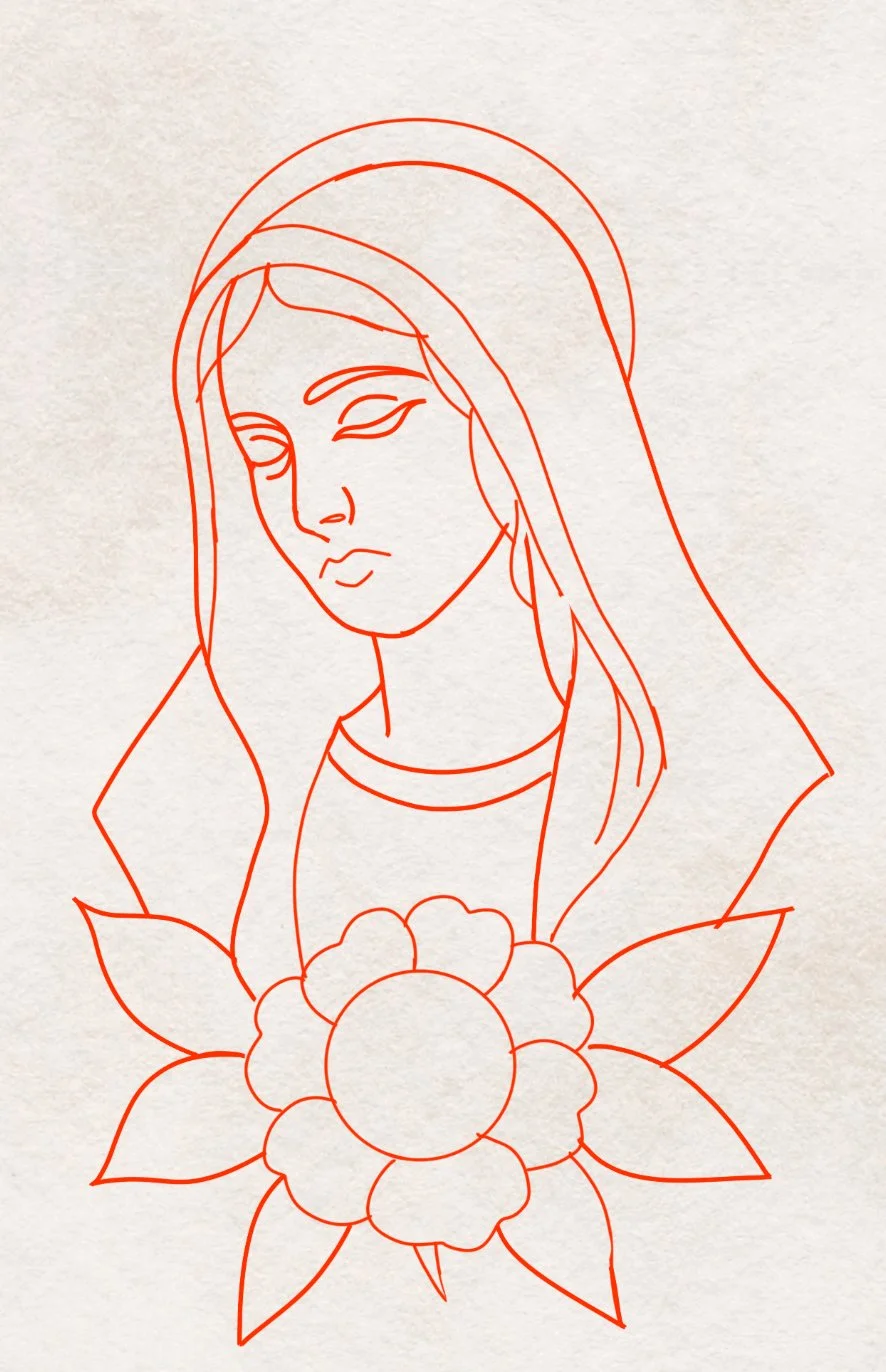
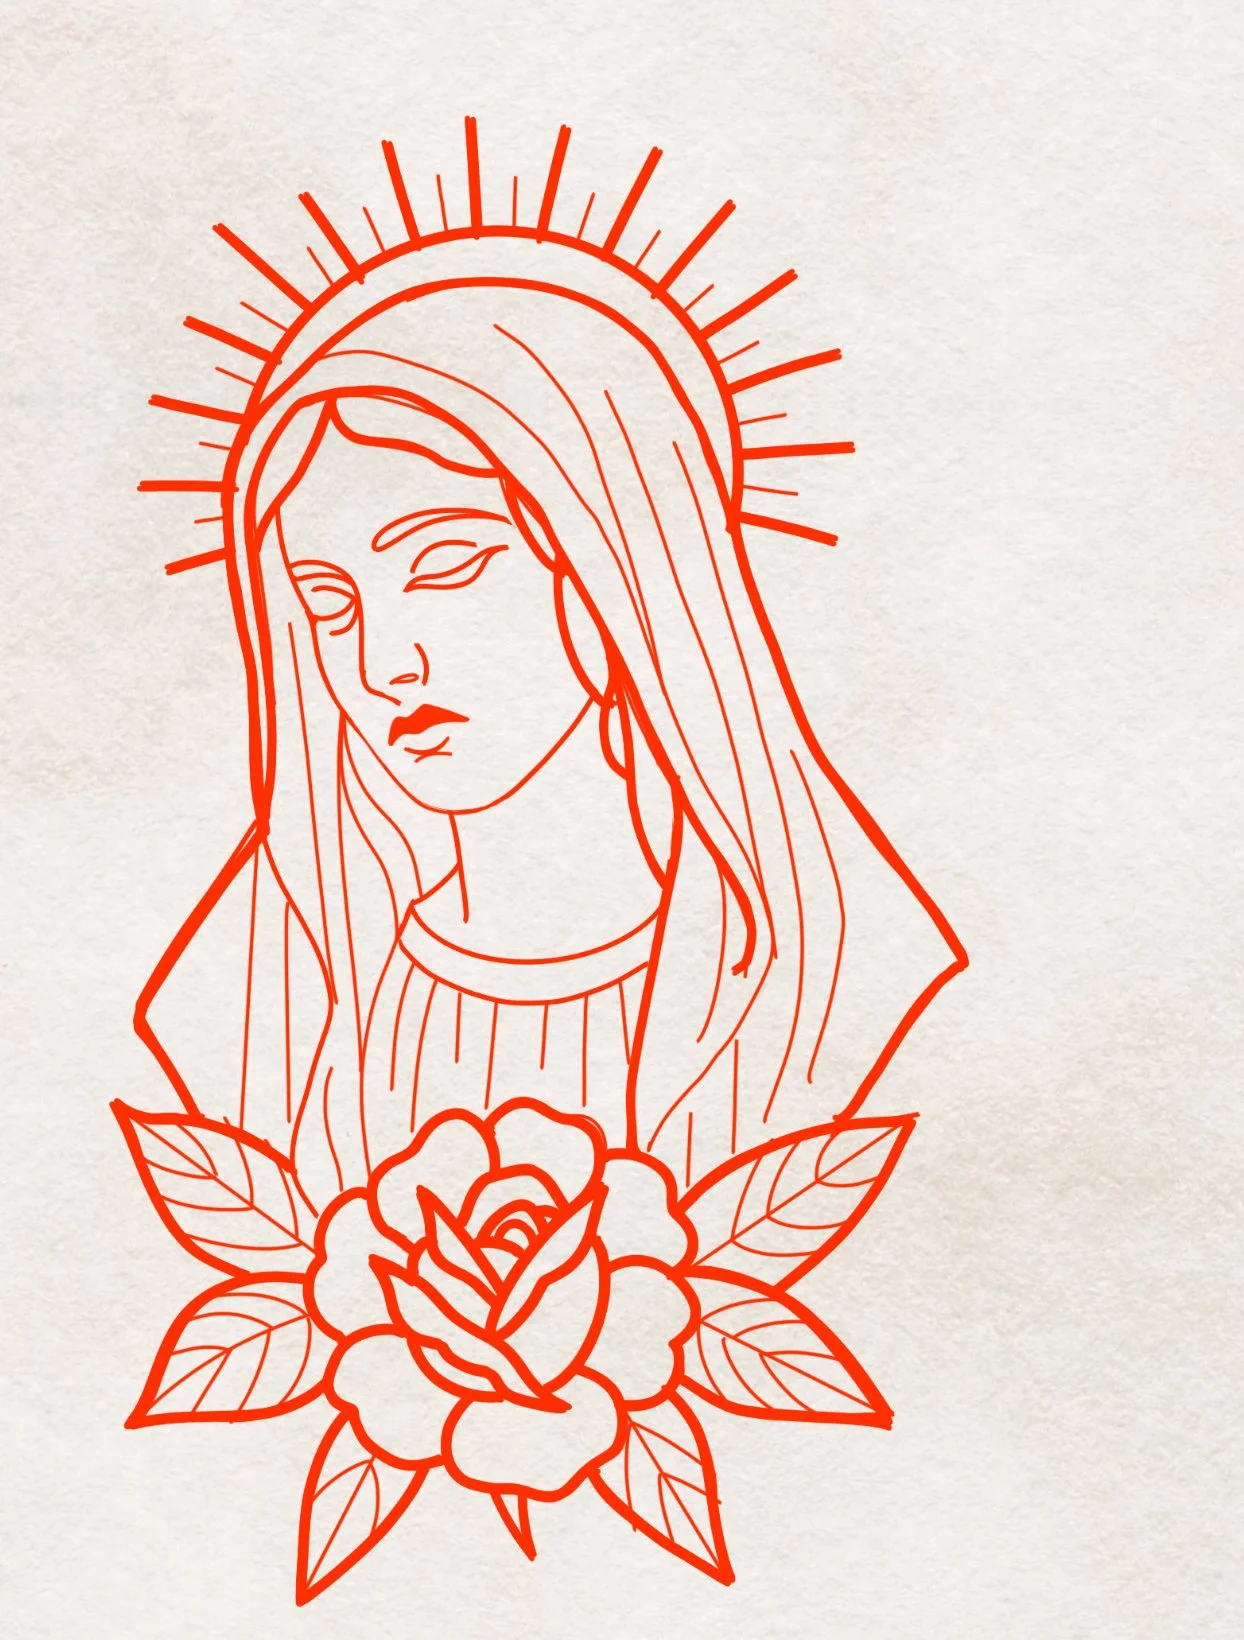
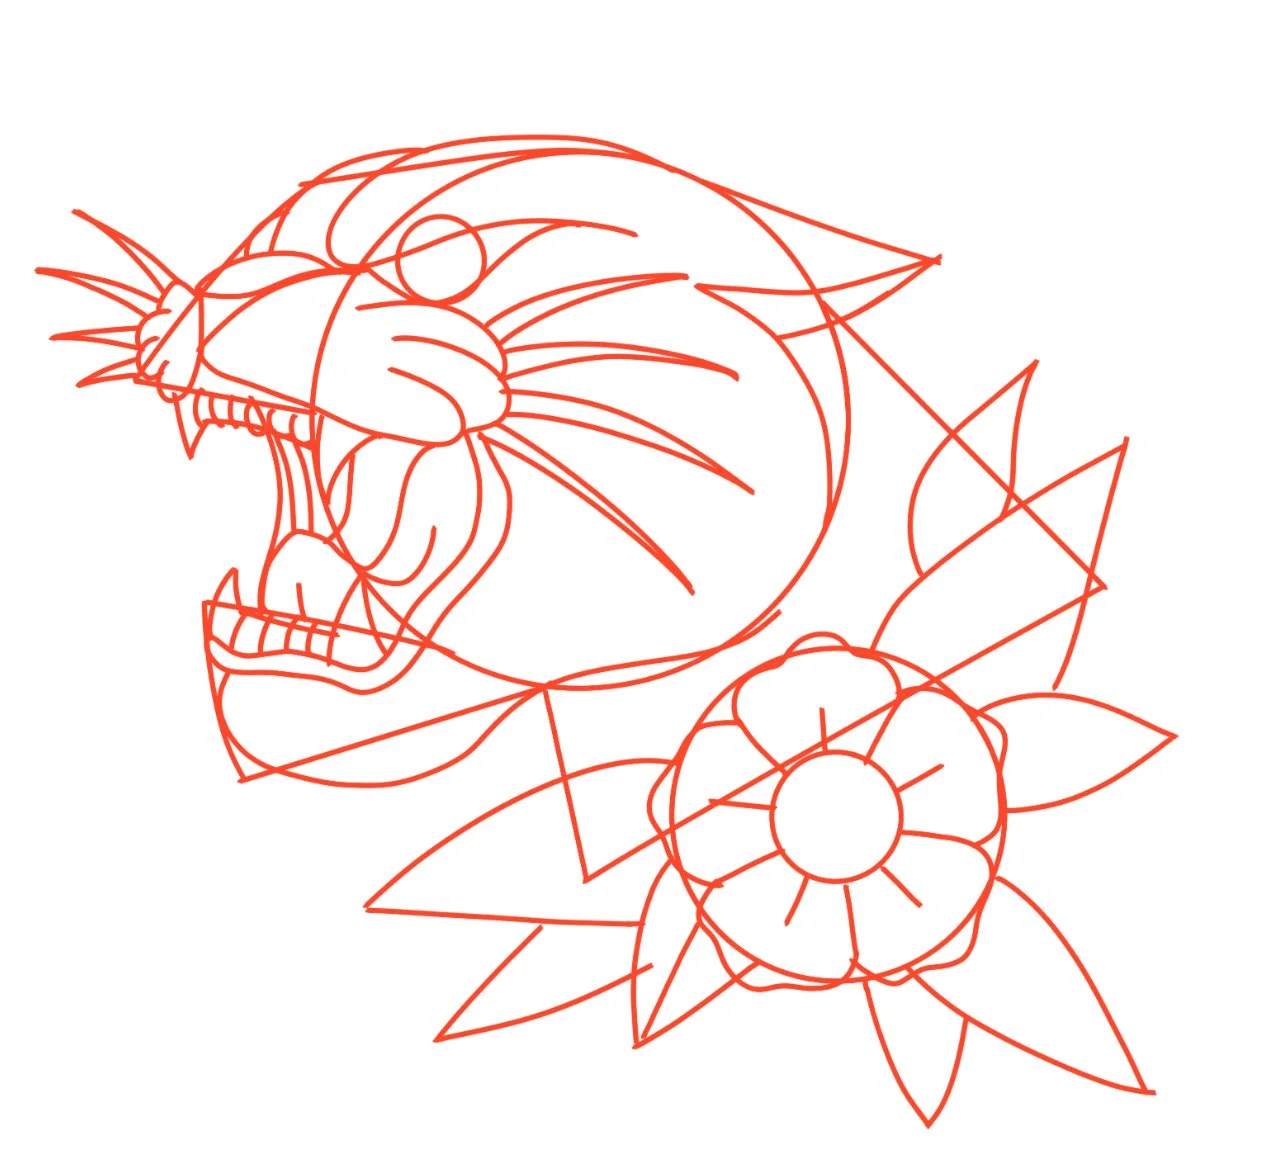
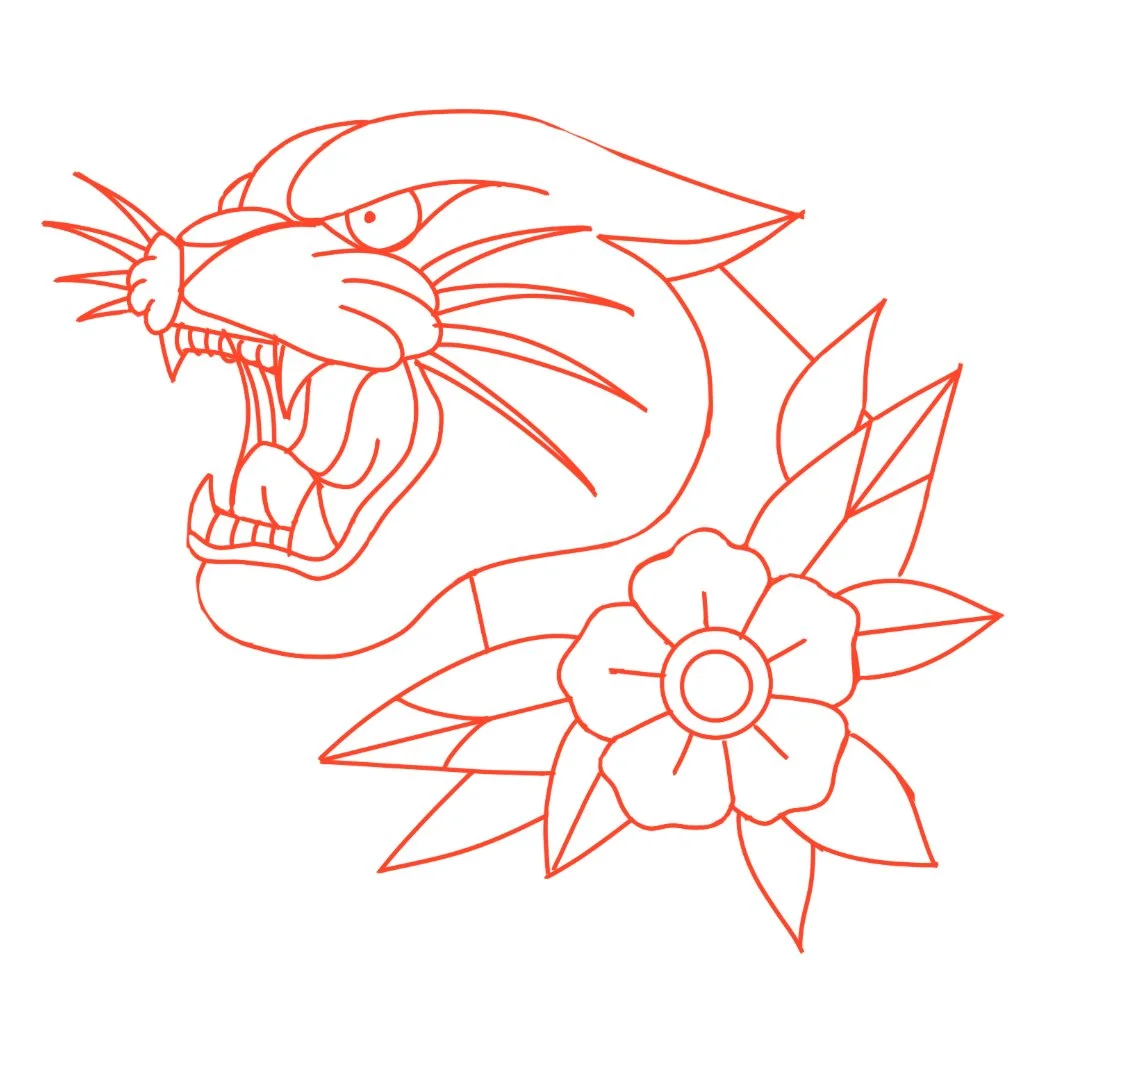
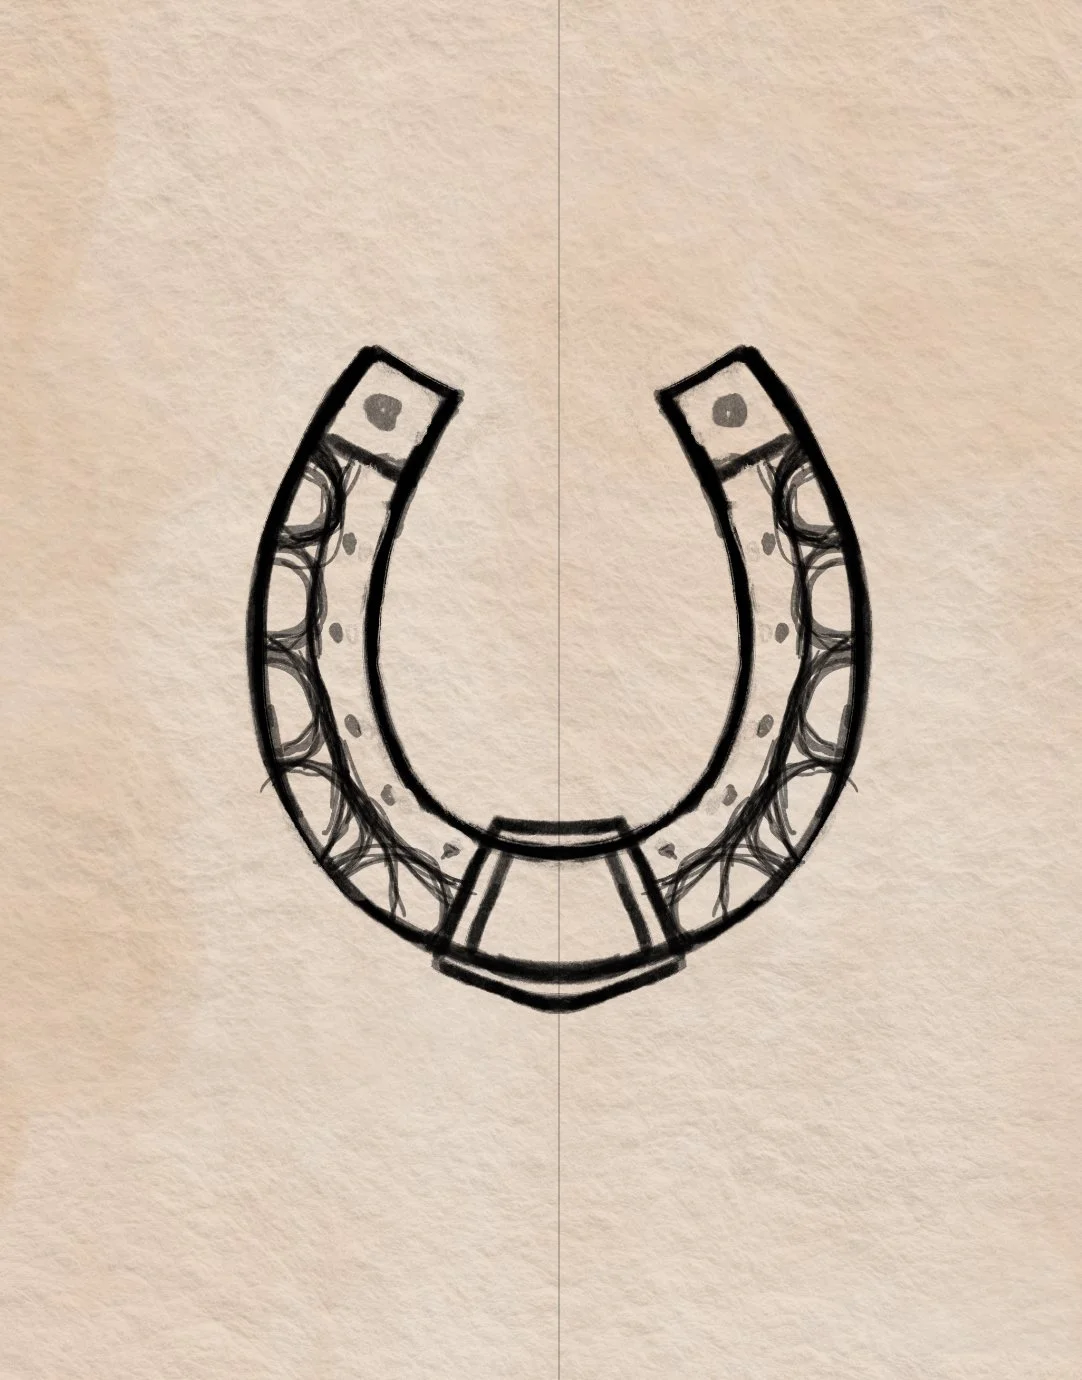
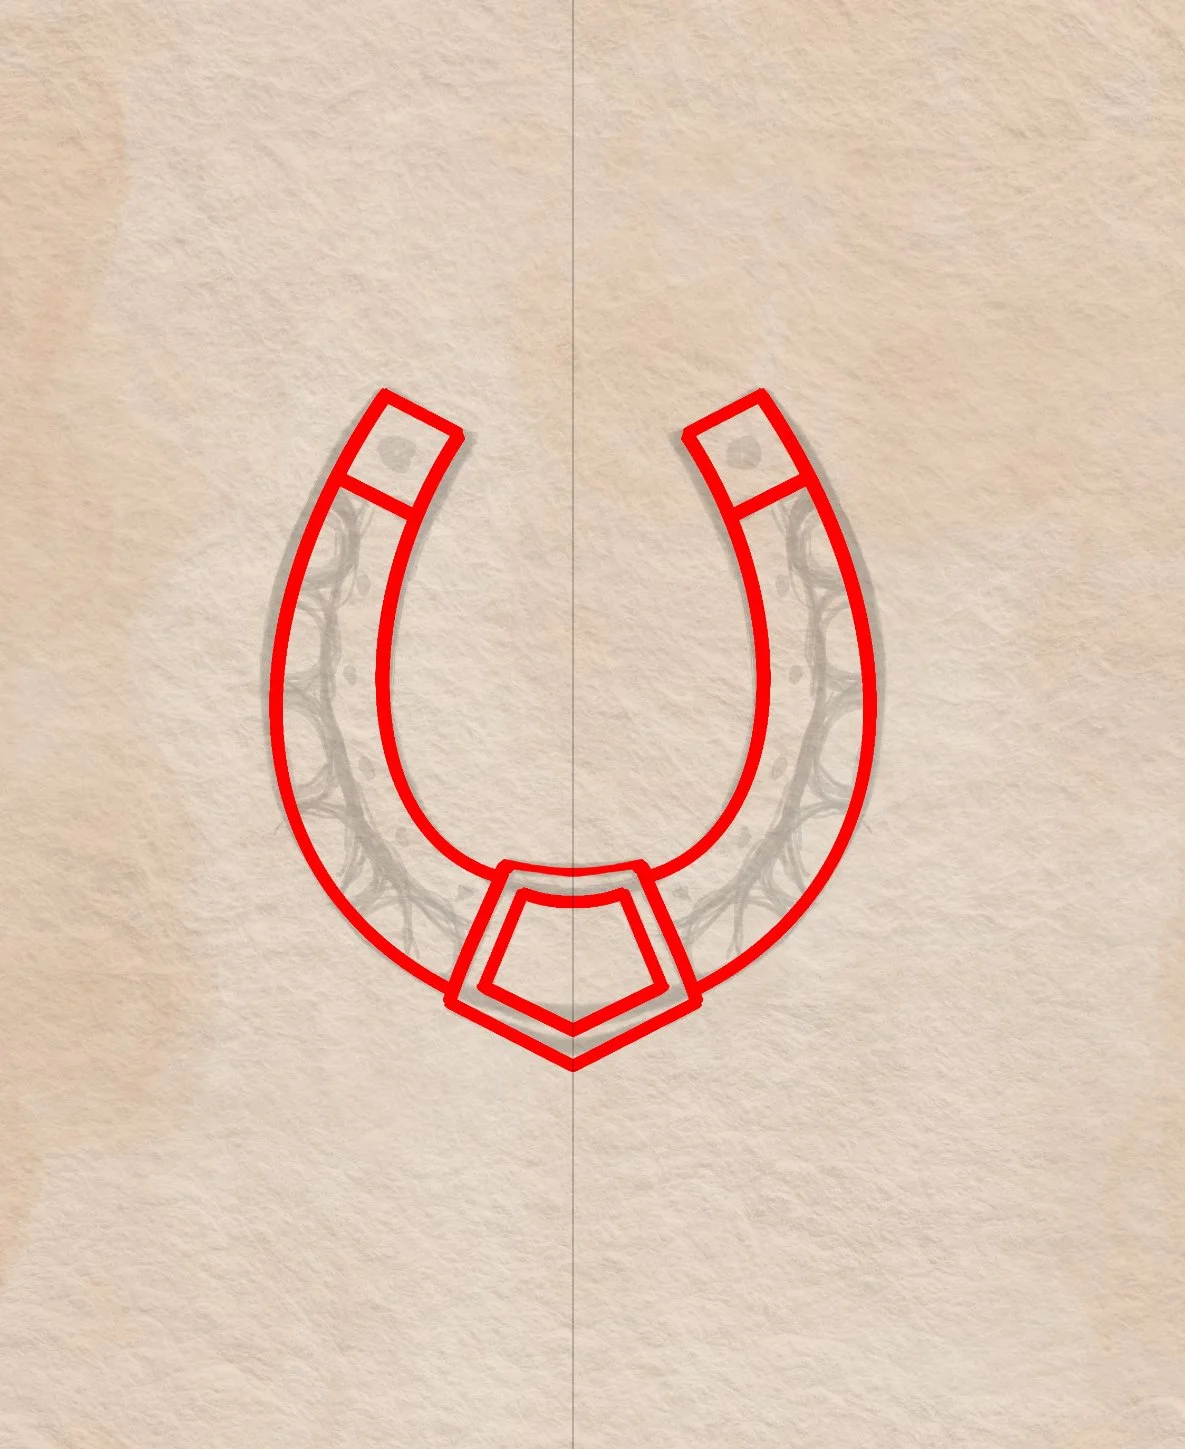
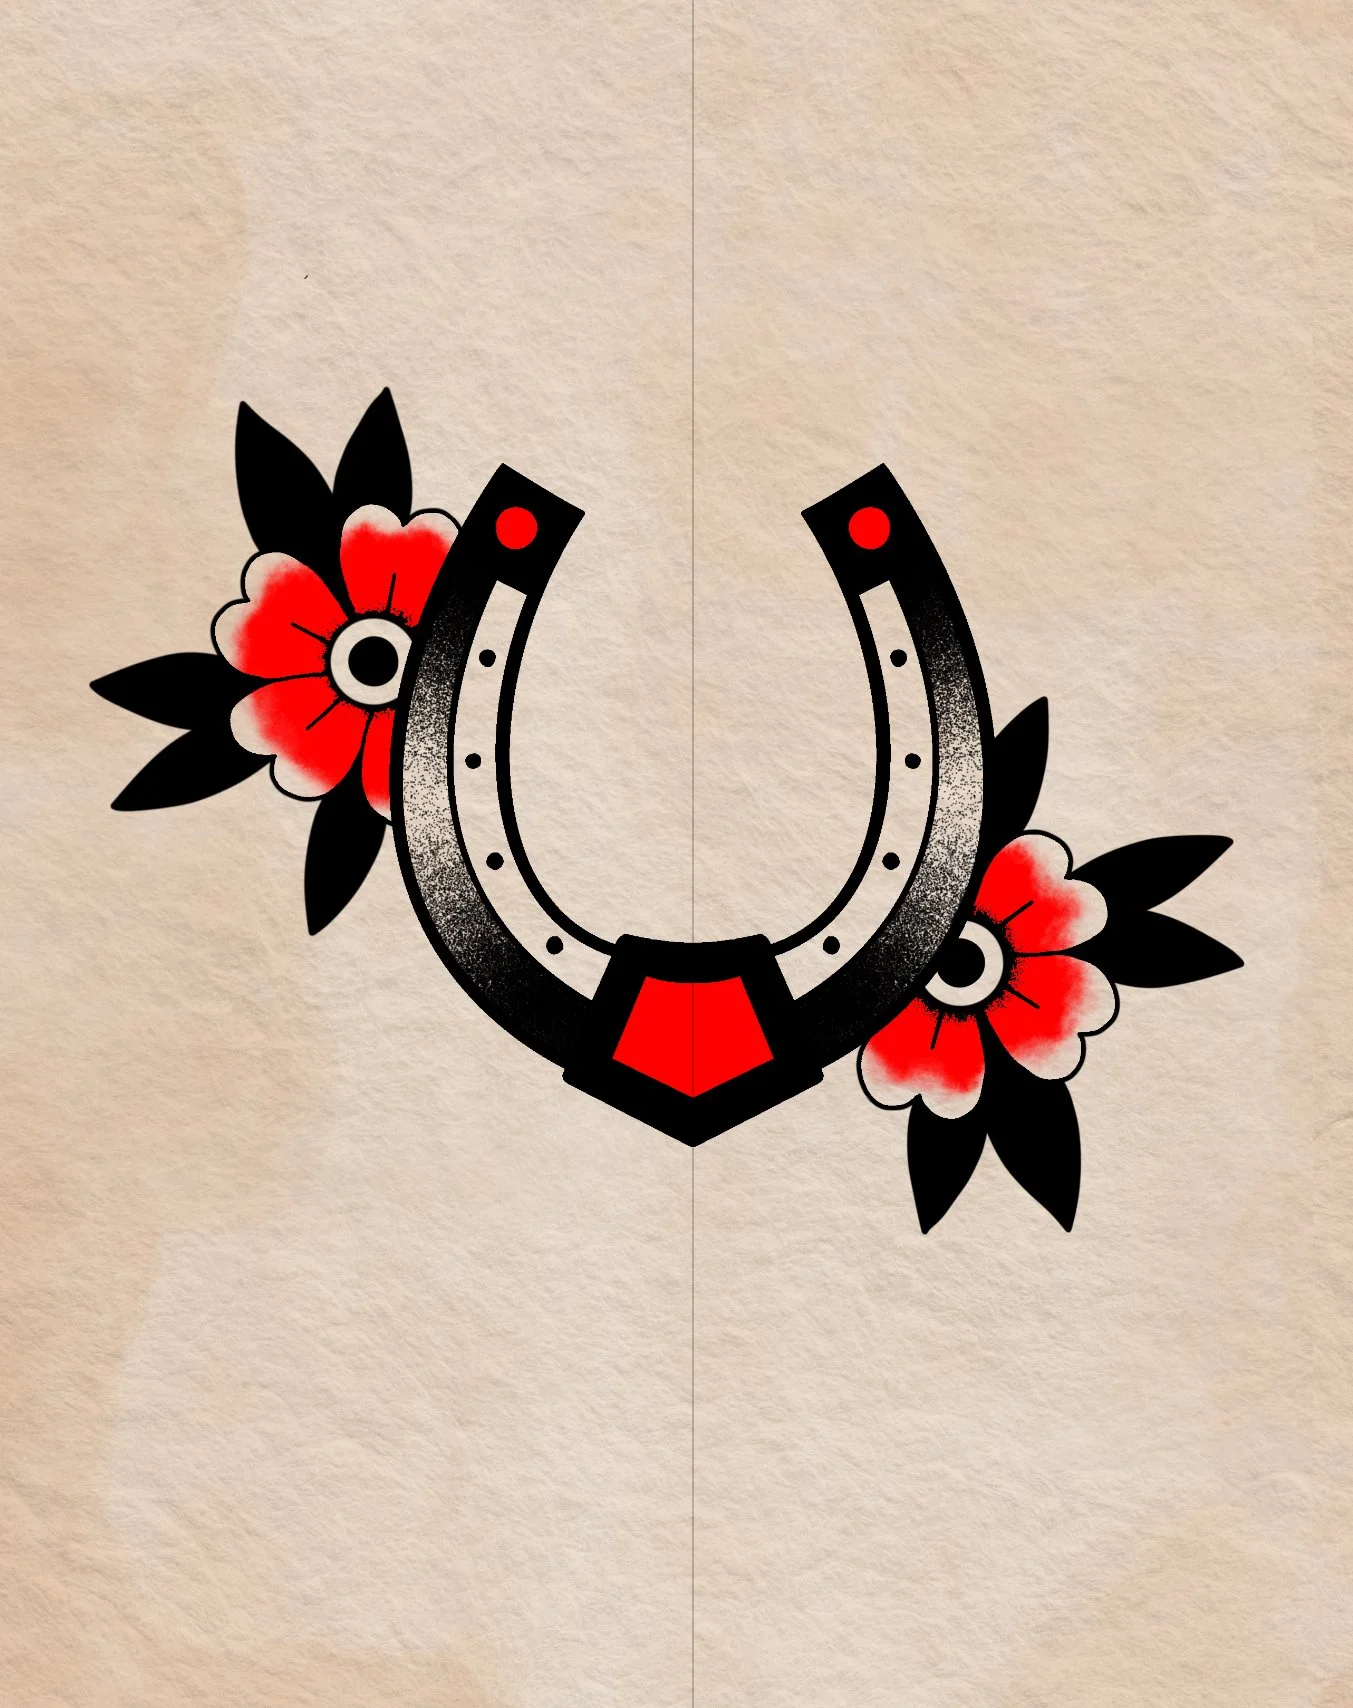
Design
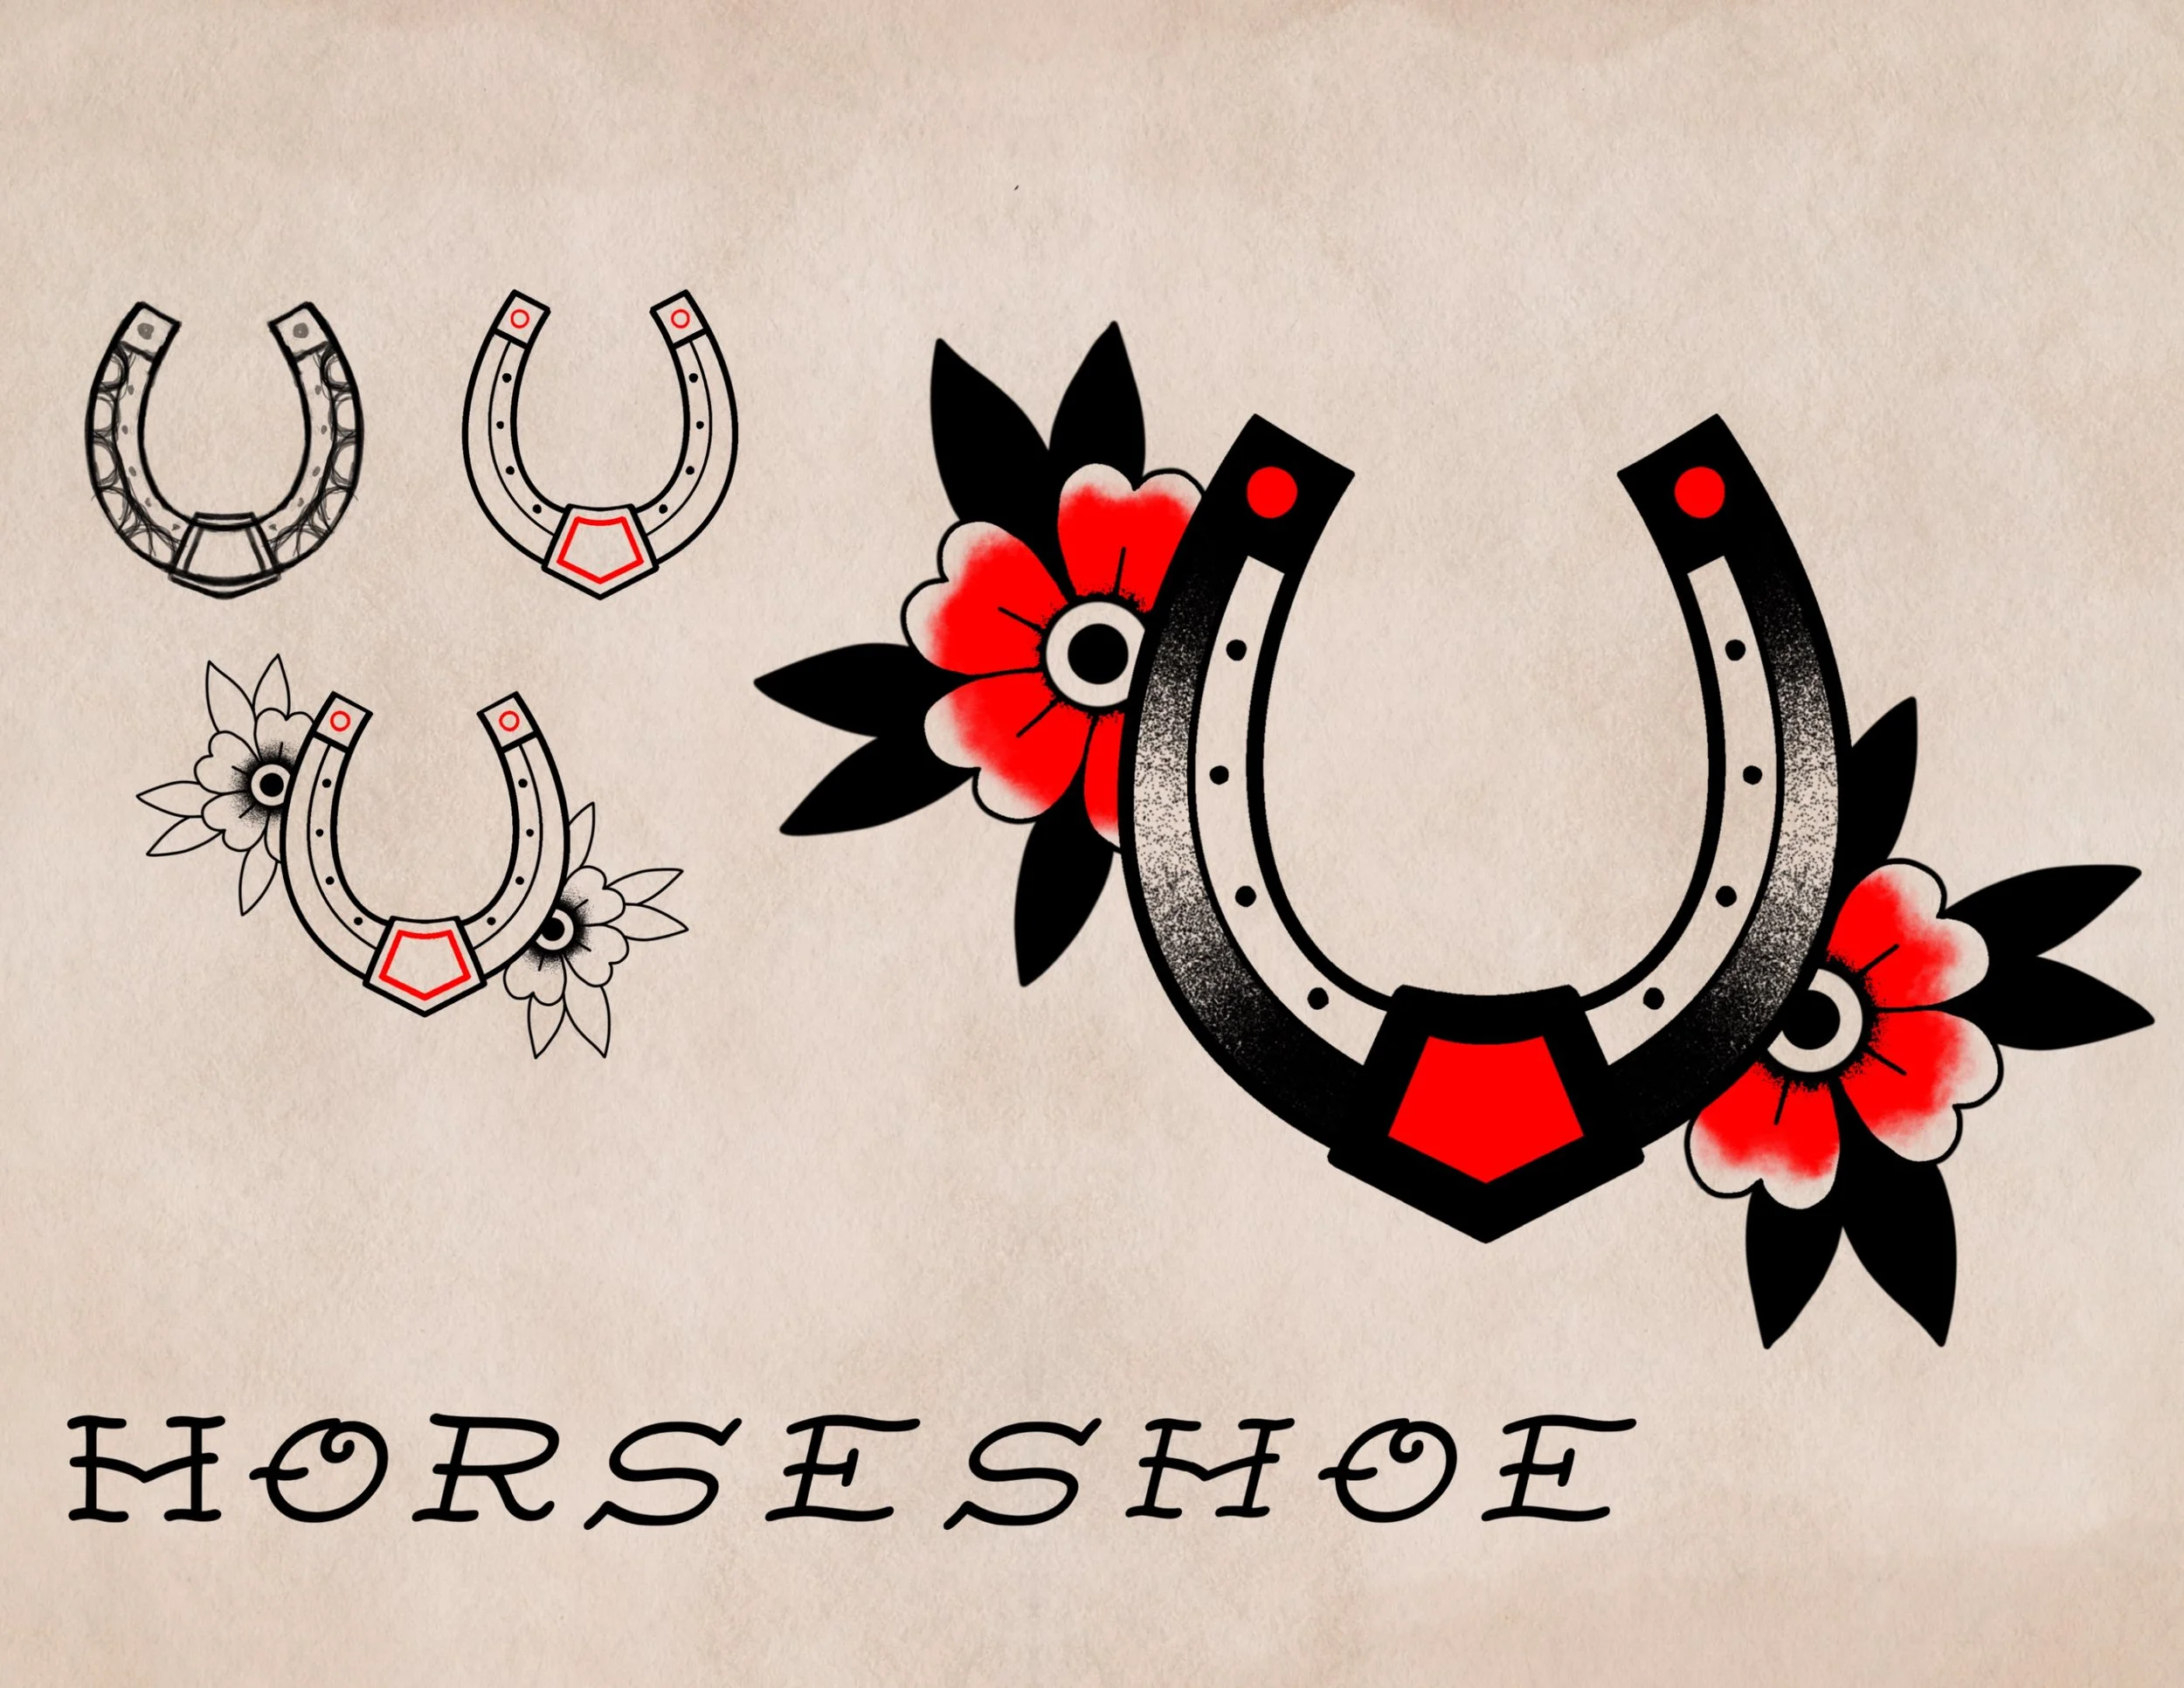
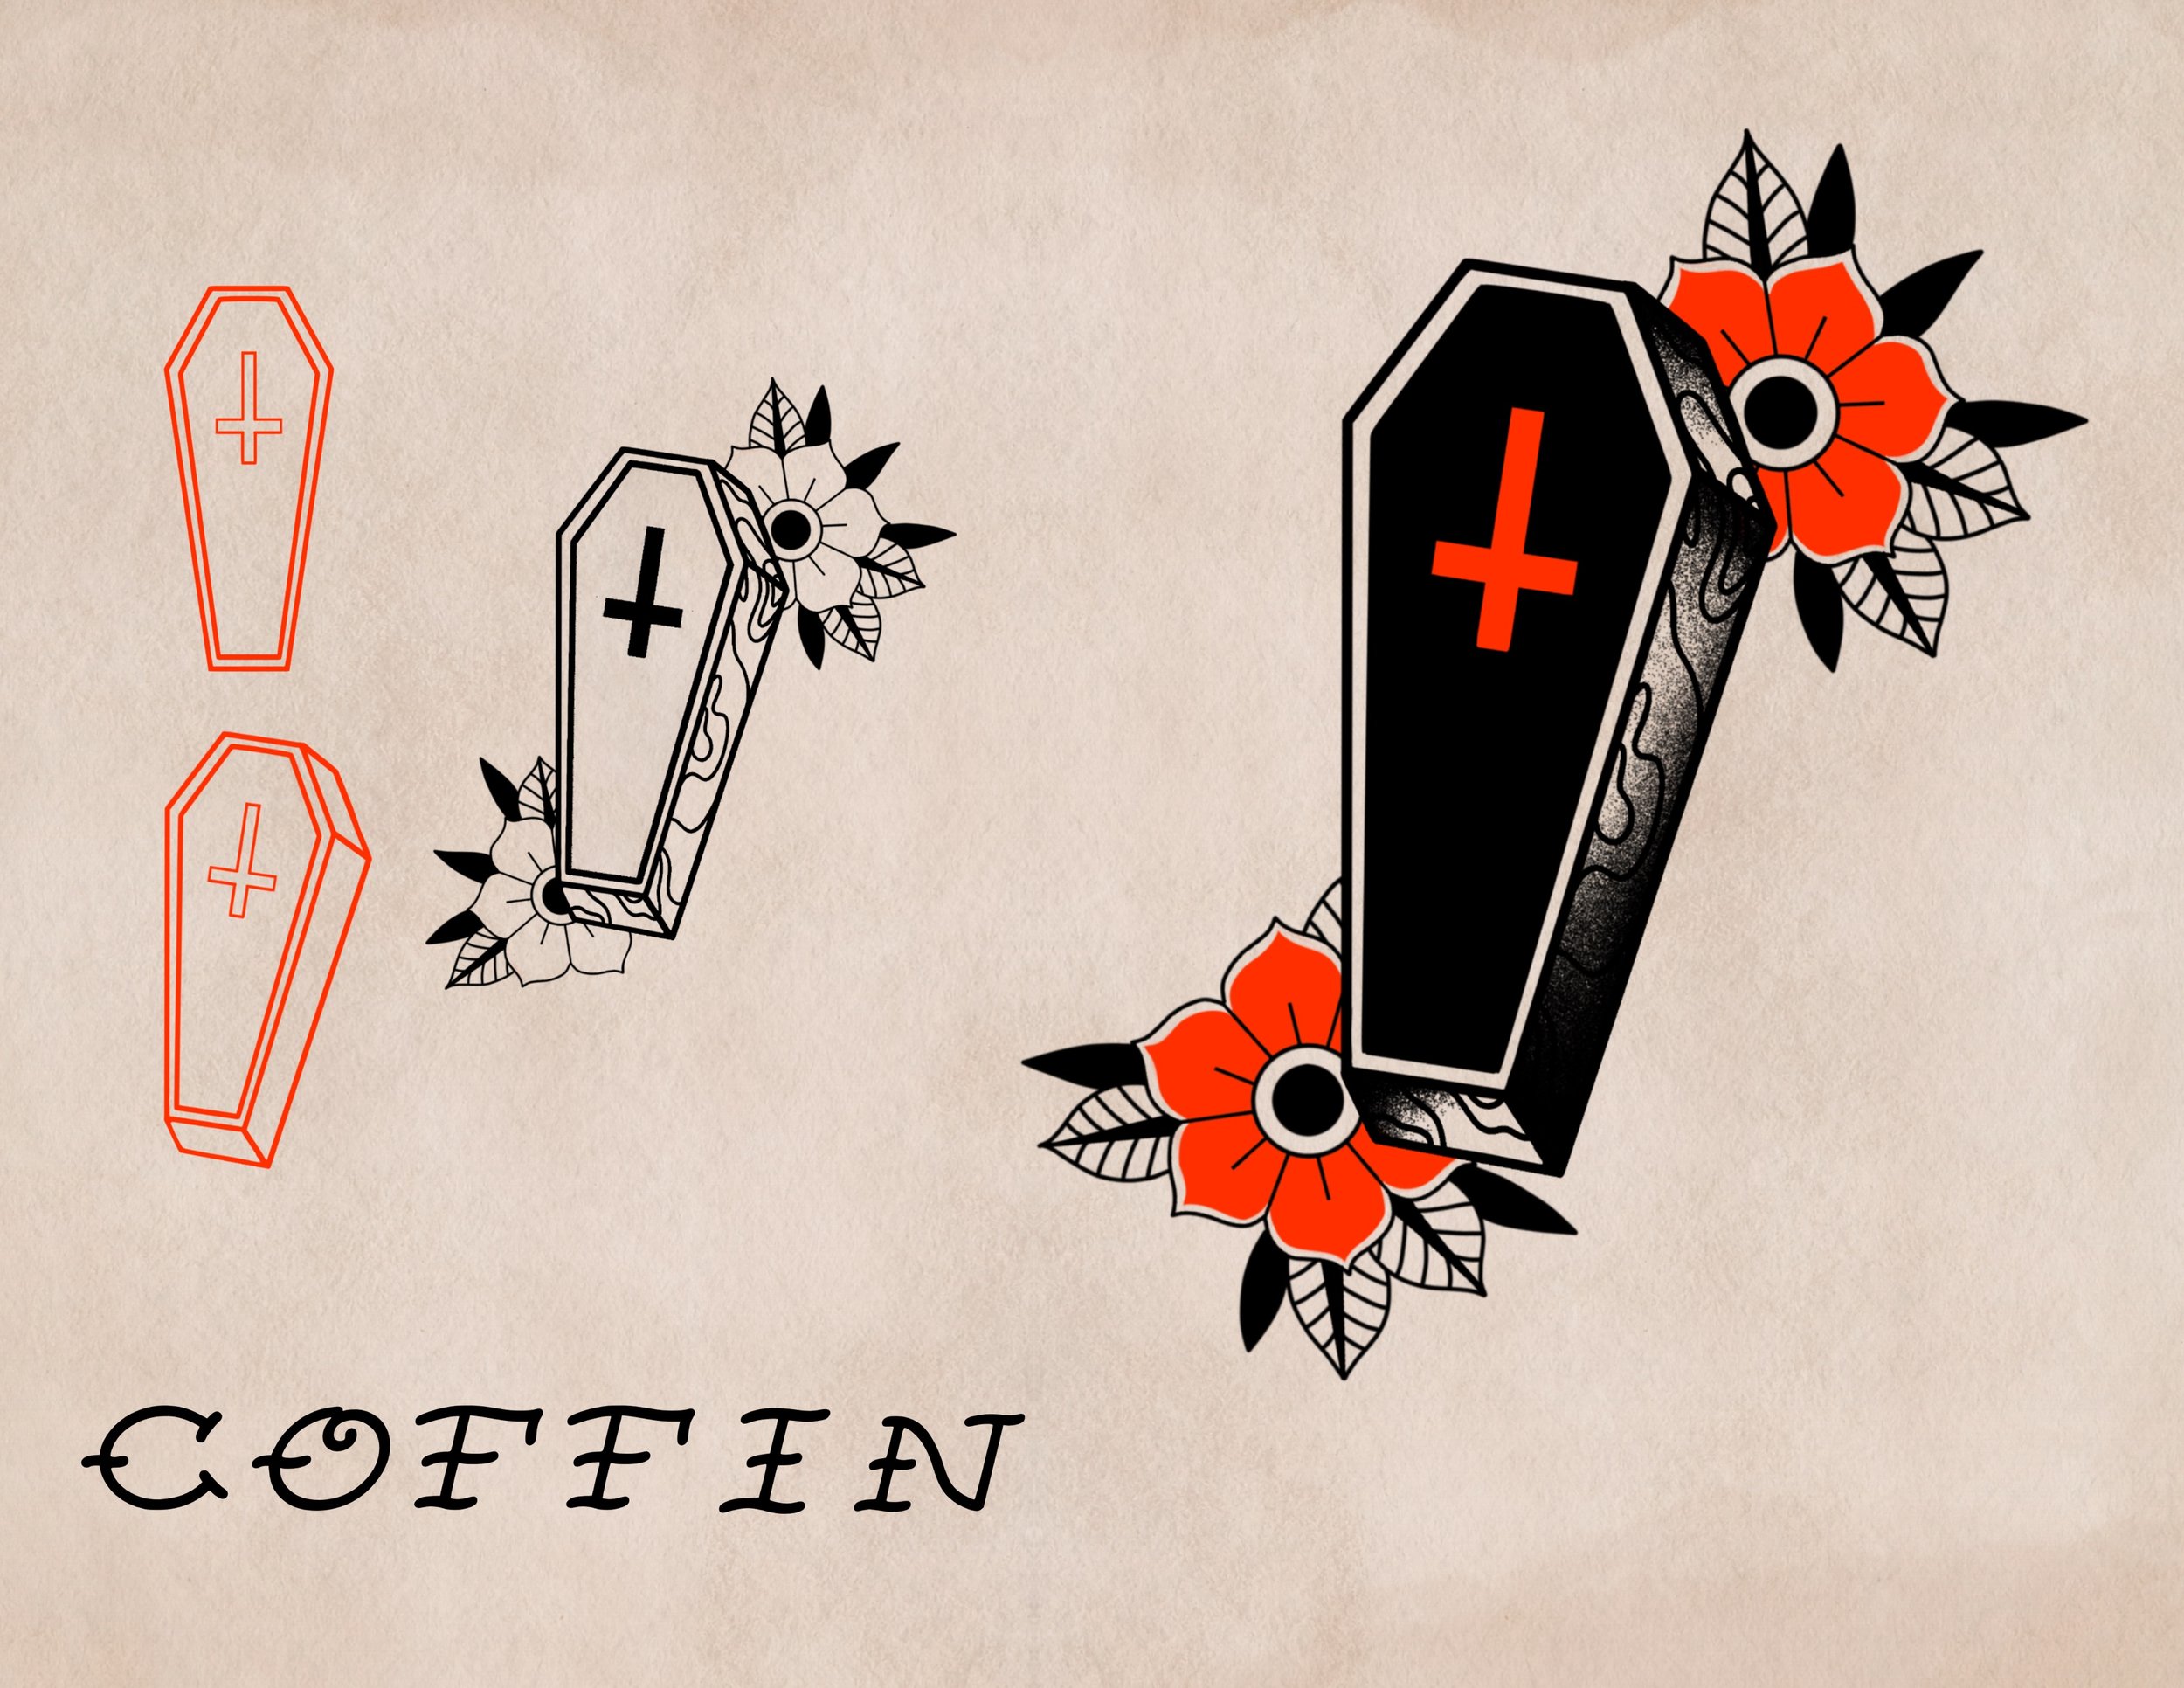
Flash – Pre-drawn tattoo designs available for clients to choose from
Custom piece – A tattoo designed specifically for one client
Linework – The outlines that define the tattoo’s shape and structure
Composition – How design elements are arranged within a tattoo
Flow – How the design follows the body’s natural curves or muscle lines
Motif – A recurring element or symbol within tattoo design
Stencil – The paper or transfer used to outline the tattoo design on the skin
Placement – The area of the body where the tattoo will be applied
Negative space – Untattooed areas that create contrast and definition in the design
Reference – A source image used to inspire or guide the tattoo artwork
Prep and Sanitation
Autoclave – A sterilization machine used to clean tools and equipment
Disposable setup – Single-use materials to prevent cross-contamination
Barrier film – Protective wrap placed over equipment and surfaces
Antiseptic – Solution applied to disinfect the skin before tattooing
Green soap – A mild, antibacterial soap used to clean the skin during tattooing
Shave – Removing hair from the area to ensure a clean surface
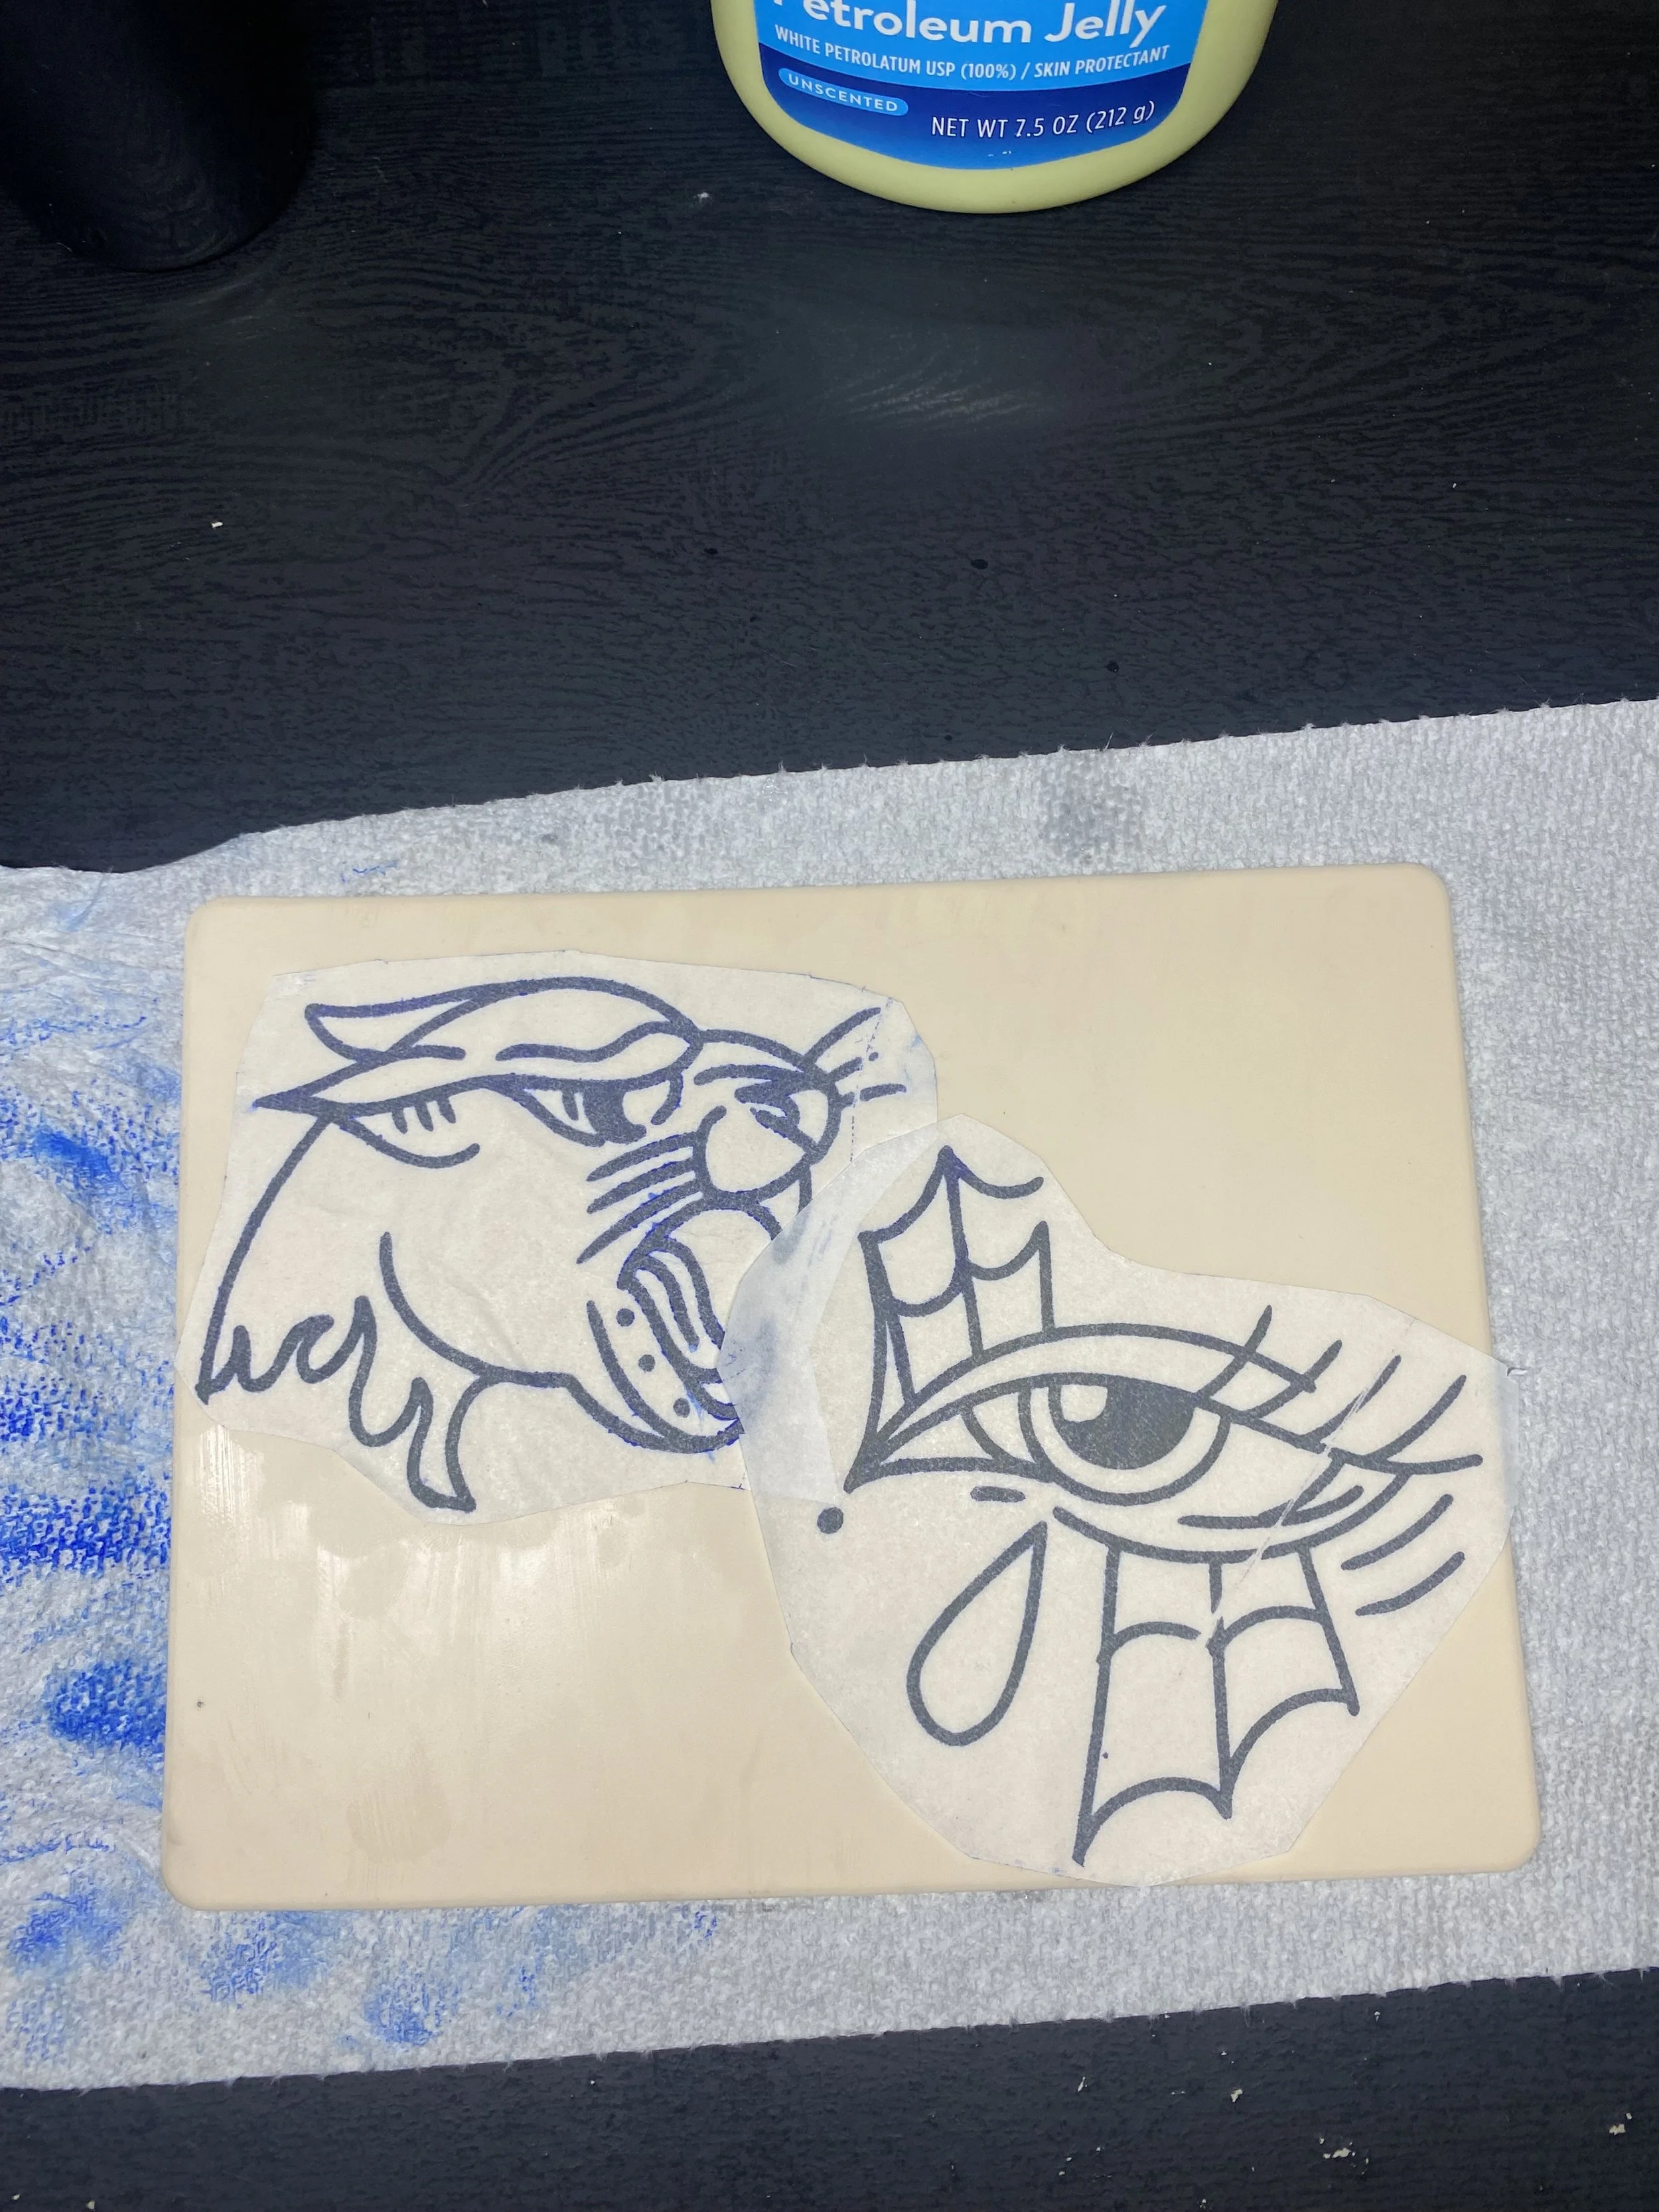
Transfer paper – Paper used to apply the stencil design to the skin
Gloves – Worn to maintain hygiene and prevent contamination
Machine
Tattoo machine (or tattoo gun) – The handheld device that inserts ink into the skin
Coil machine – A traditional machine that uses electromagnetic coils
Rotary machine – Uses a motor rather than coils for smoother operation
Needle configuration – The arrangement of needles for different effects
• Round liner (RL) – For precise linework
• Round shader (RS) – For small shading areas
• Magnum (M1 or M2) – For shading or coloring large areasCartridge – A needle-and-tip assembly used in modern machines for quick changes
Tube/Grip – The part held by the artist that guides the needle
Power supply – Provides consistent voltage to the tattoo machine
Foot pedal – Controls when the machine is active
Ink caps – Small disposable cups that hold tattoo ink
Clip cord – The wire that connects the machine to the power source
Process
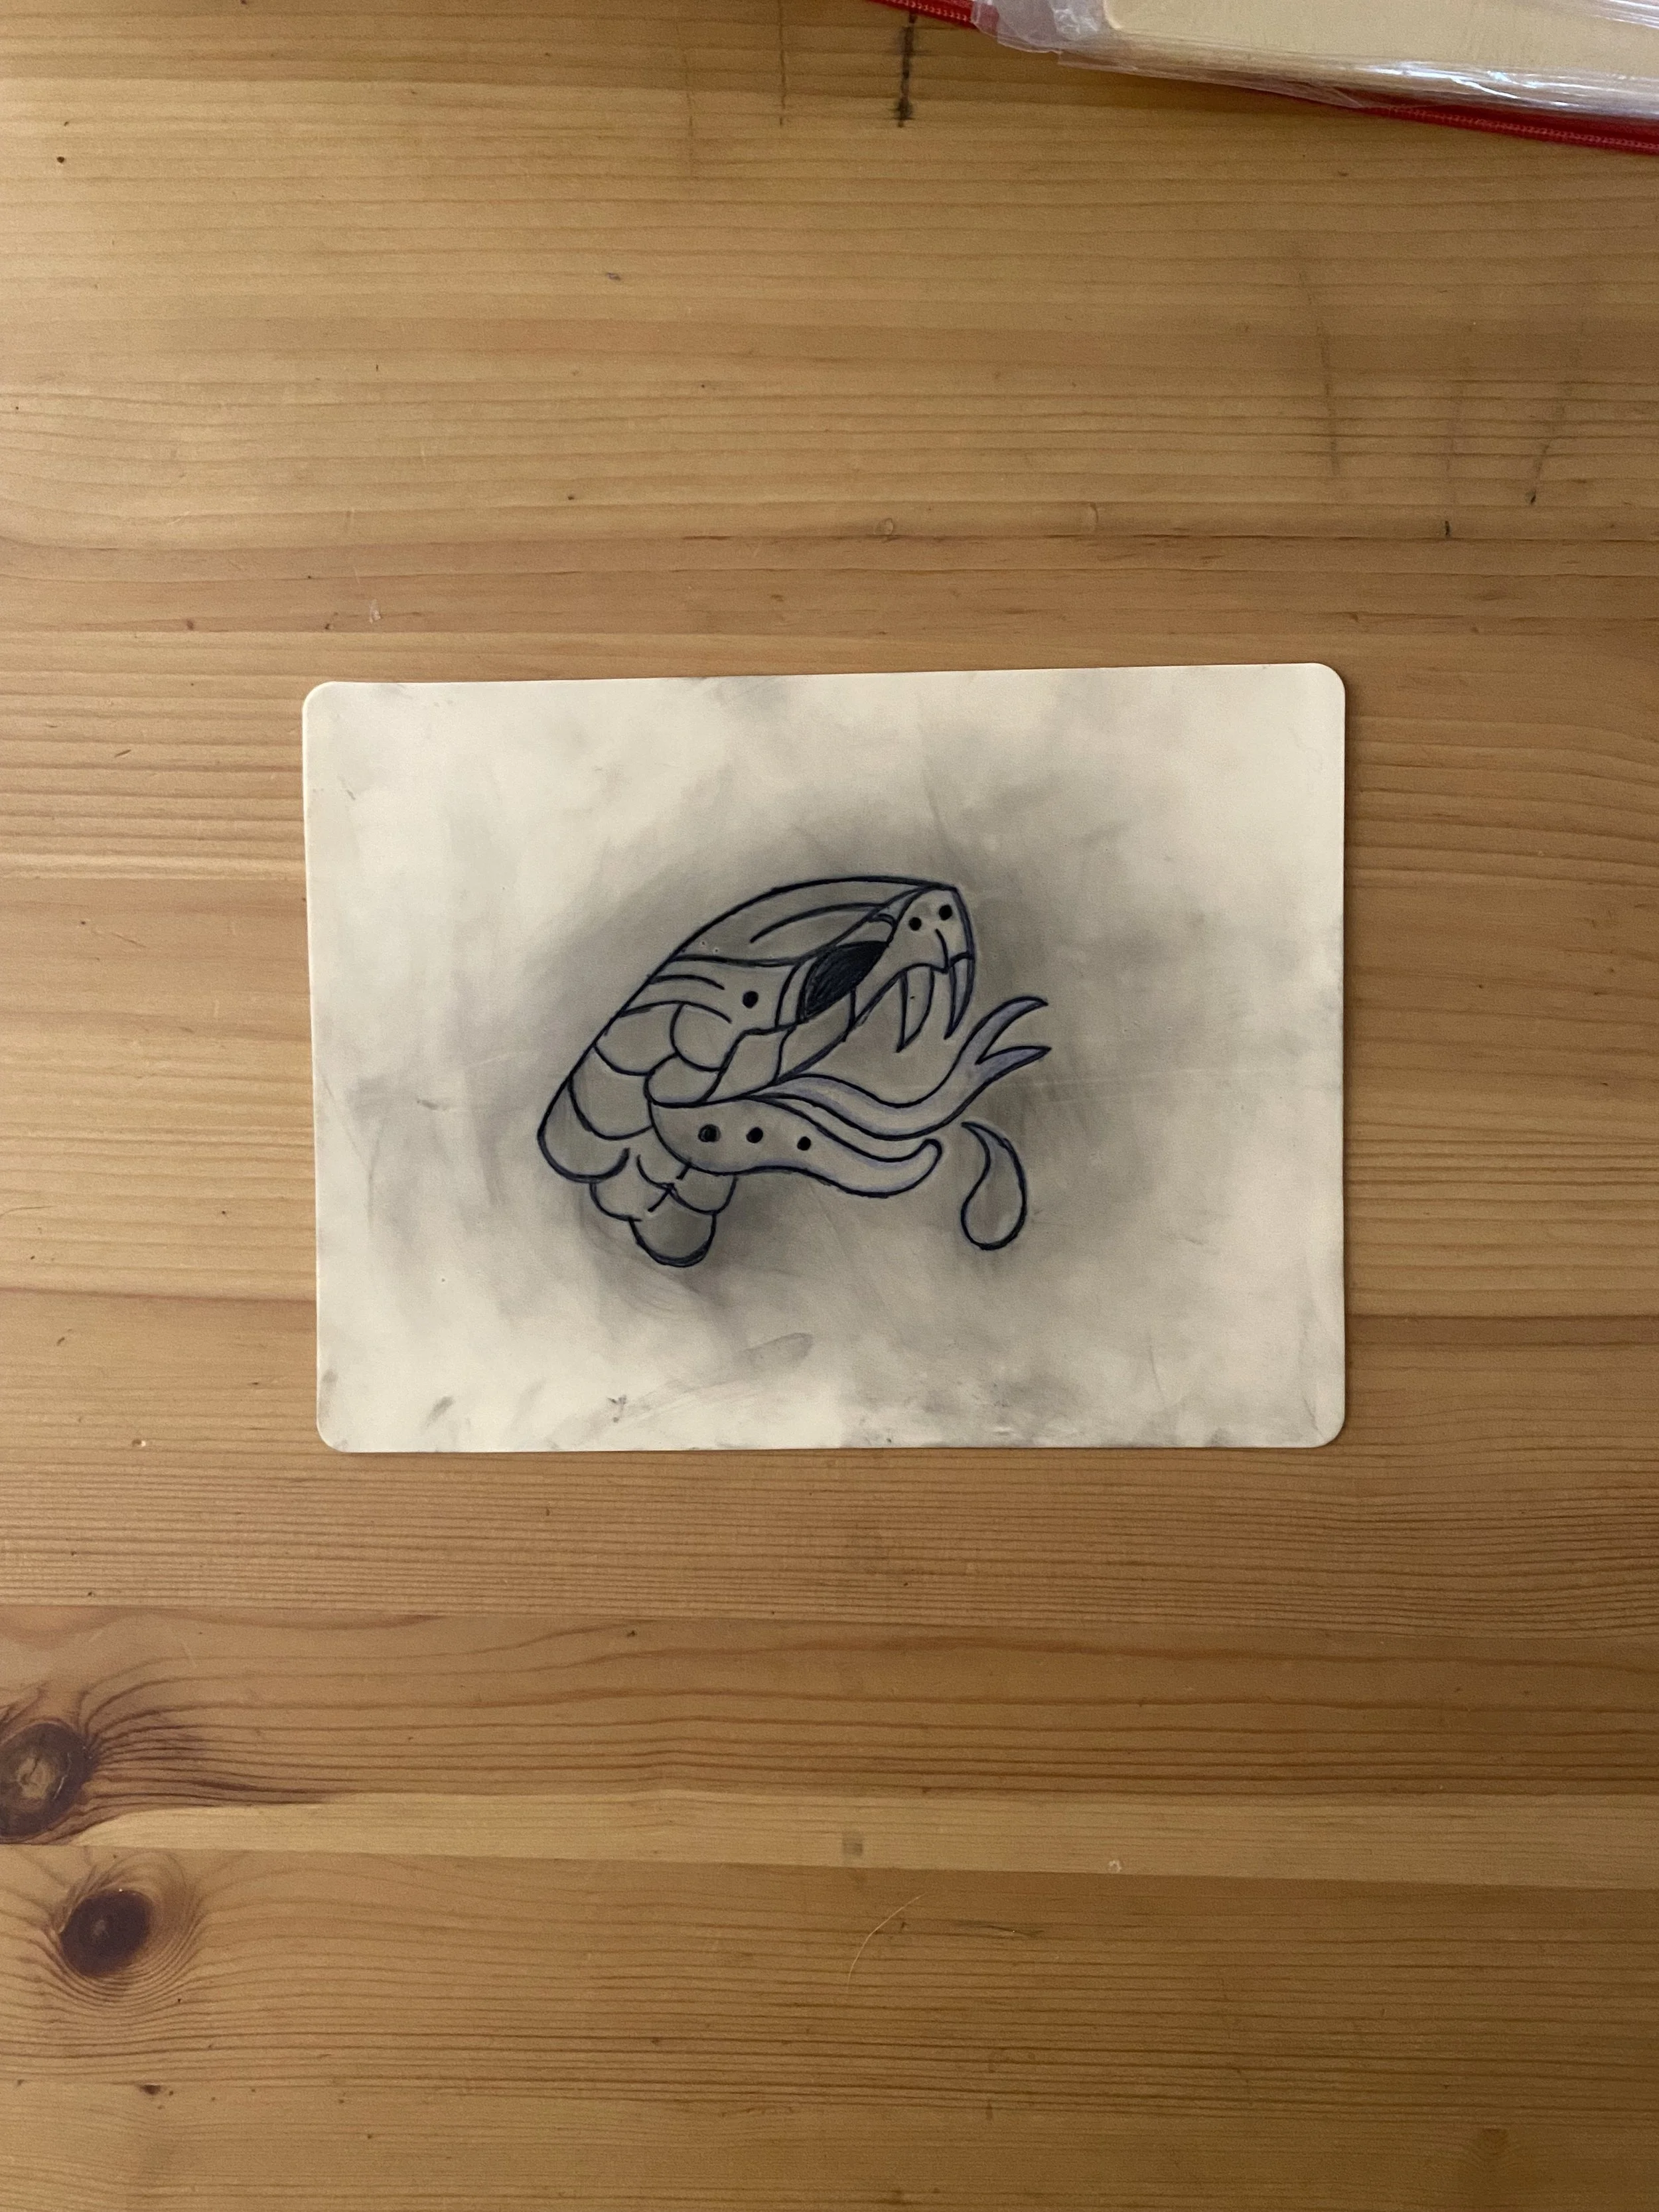
Linework – First step of tattooing; outlining the design
Packing – Filling in areas with solid color or black
Shading – Creating gradients or tonal depth with diluted ink
Whip shading – A flicking motion used to create soft gradients
Color blending – Gradually merging one hue into another
Saturation – Ensuring the ink is fully and evenly embedded in the skin
Layering – Building up tones and details by working in multiple passes
Stretching – Pulling the skin taut to help the needle penetrate evenly
Ink dilution – Mixing ink with water or solution to create lighter tones (especially for black and gray work)
Blowout – When ink spreads under the skin due to improper depth or movement
Healing
Plasma – Clear fluid that leaks from a fresh tattoo
Bandage/wrap – Protective covering applied immediately after tattooing
Saniderm (or second skin) – A breathable adhesive film that aids healing
Ointment – Moisturizer used to prevent scabbing and promote healing
Scabbing – The natural healing process where dried plasma forms over the tattoo
Peeling – The shedding of old skin layers as the tattoo heals
Touch-up – A later session to fix faded or uneven ink
Healing time – The period (usually 2–4 weeks) required for the tattoo to fully settle
Sun protection – Essential for preventing fading and damage post-healing
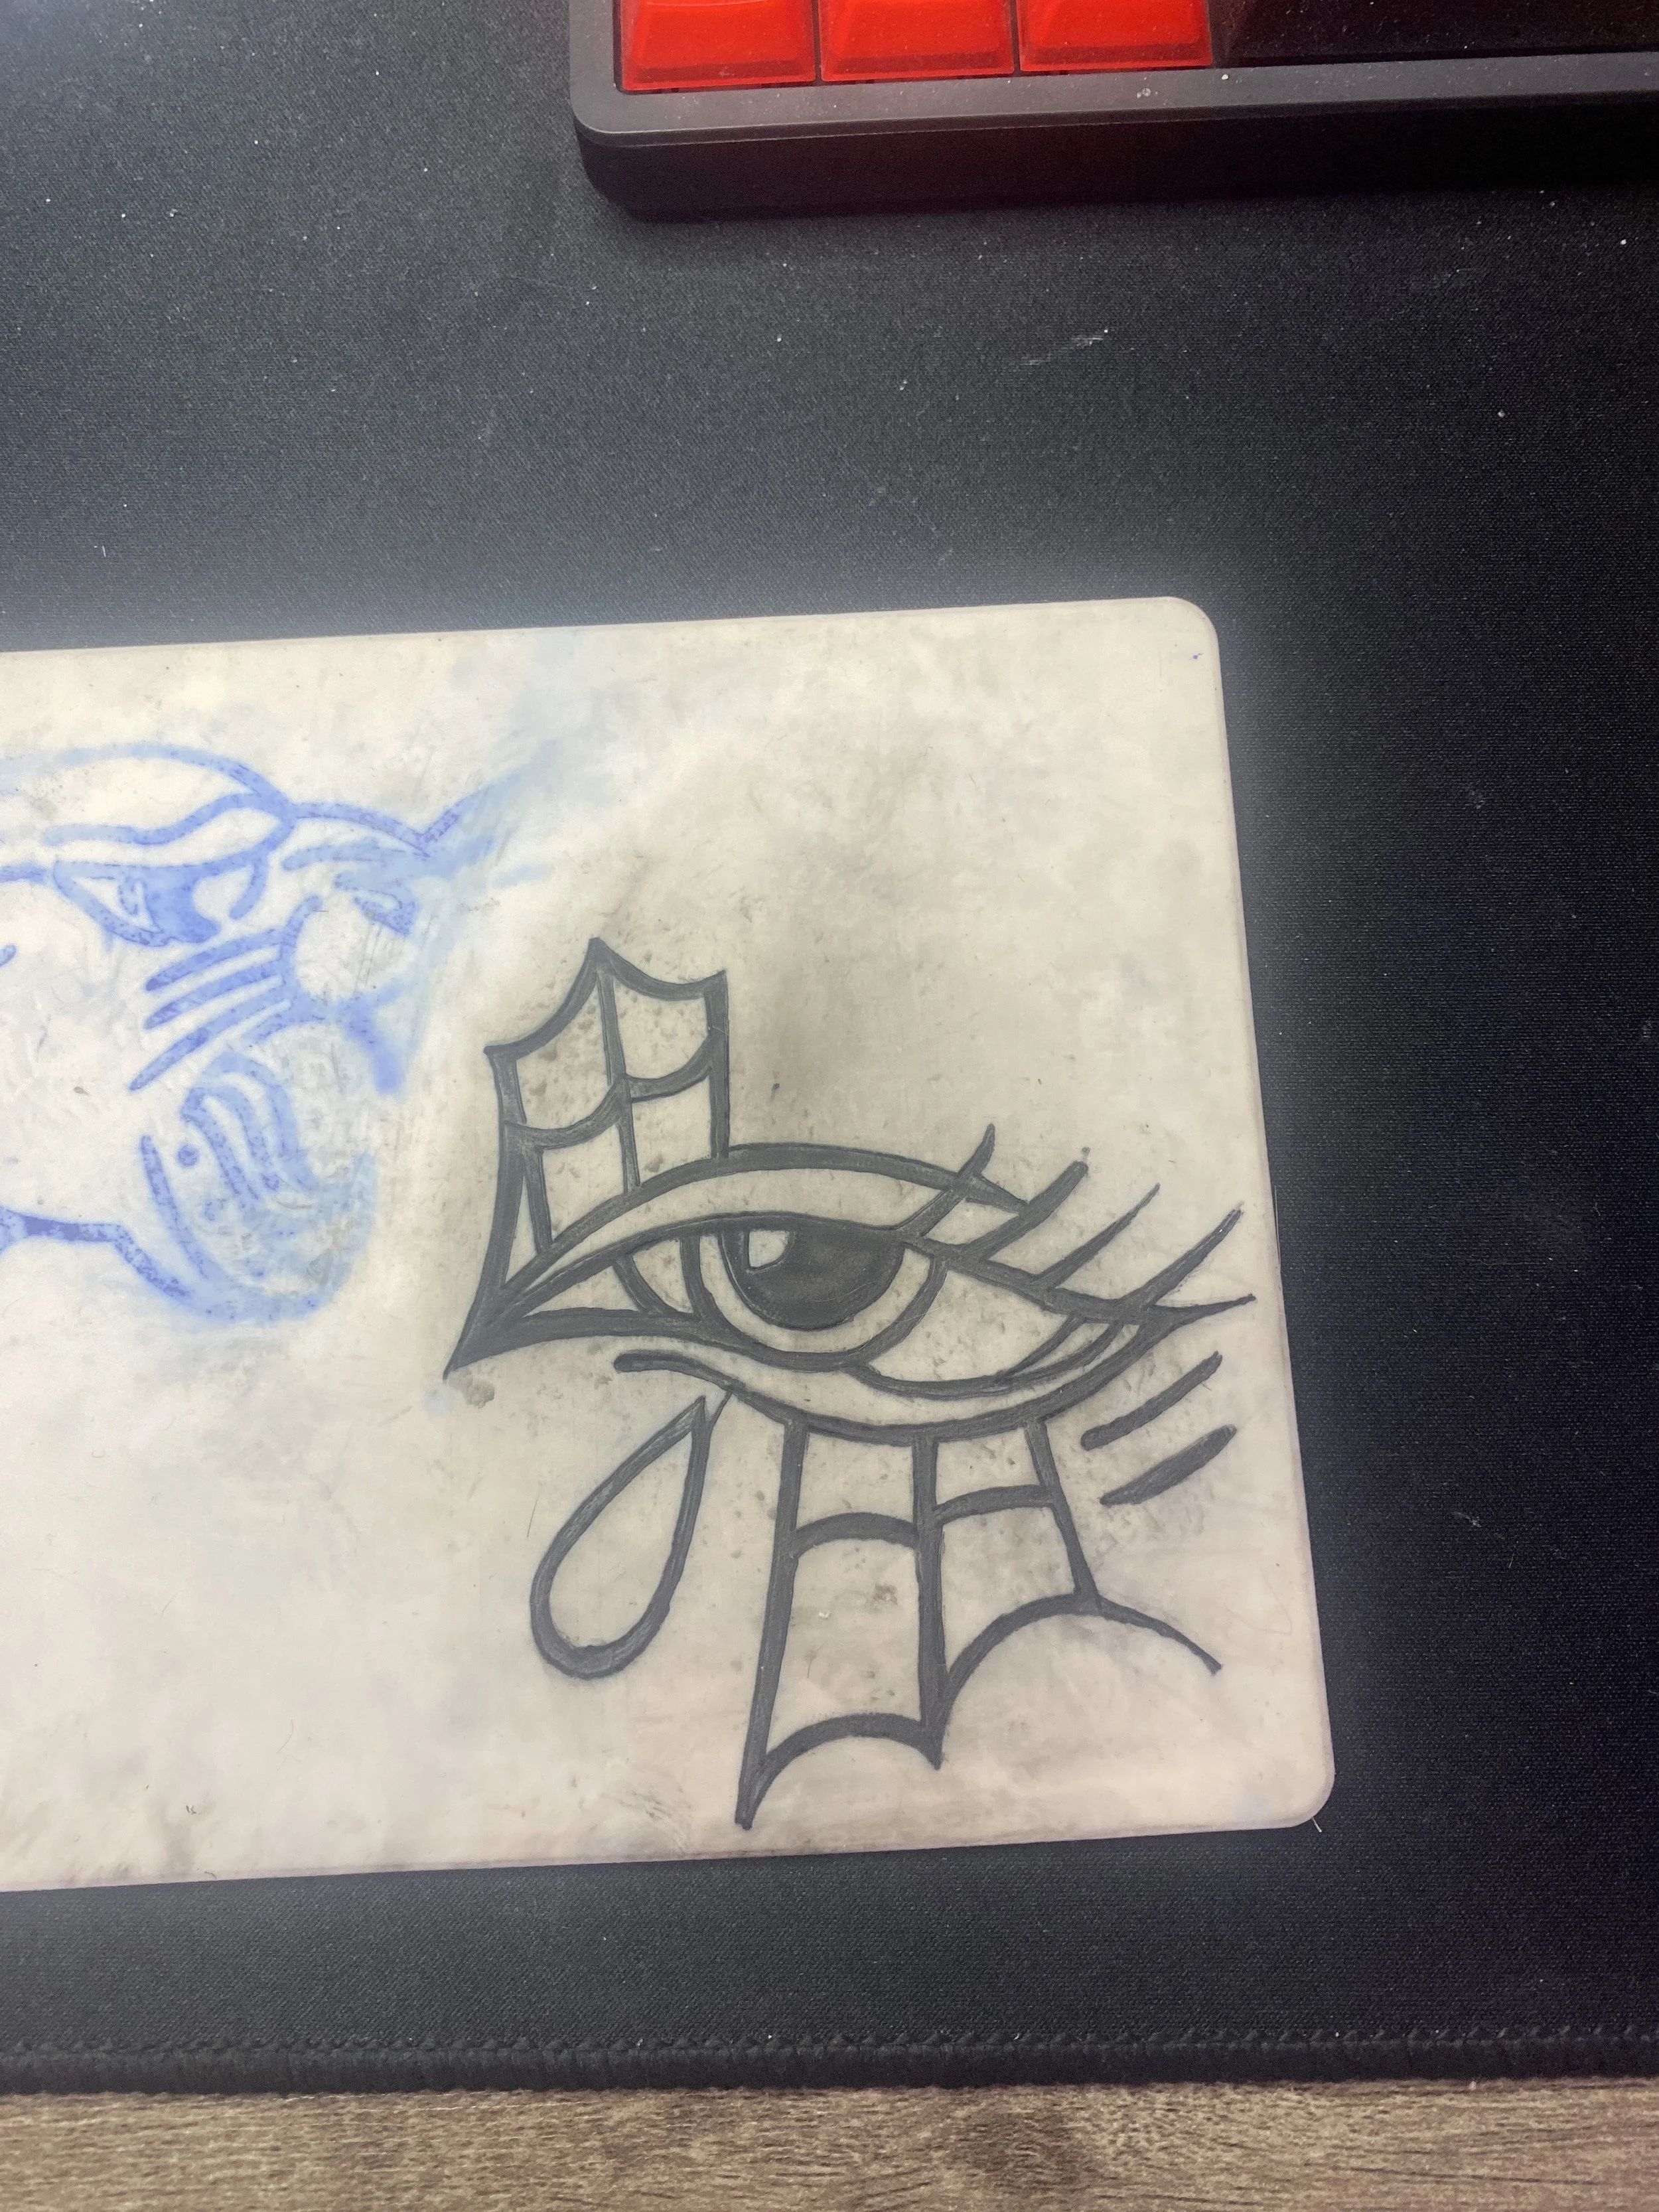
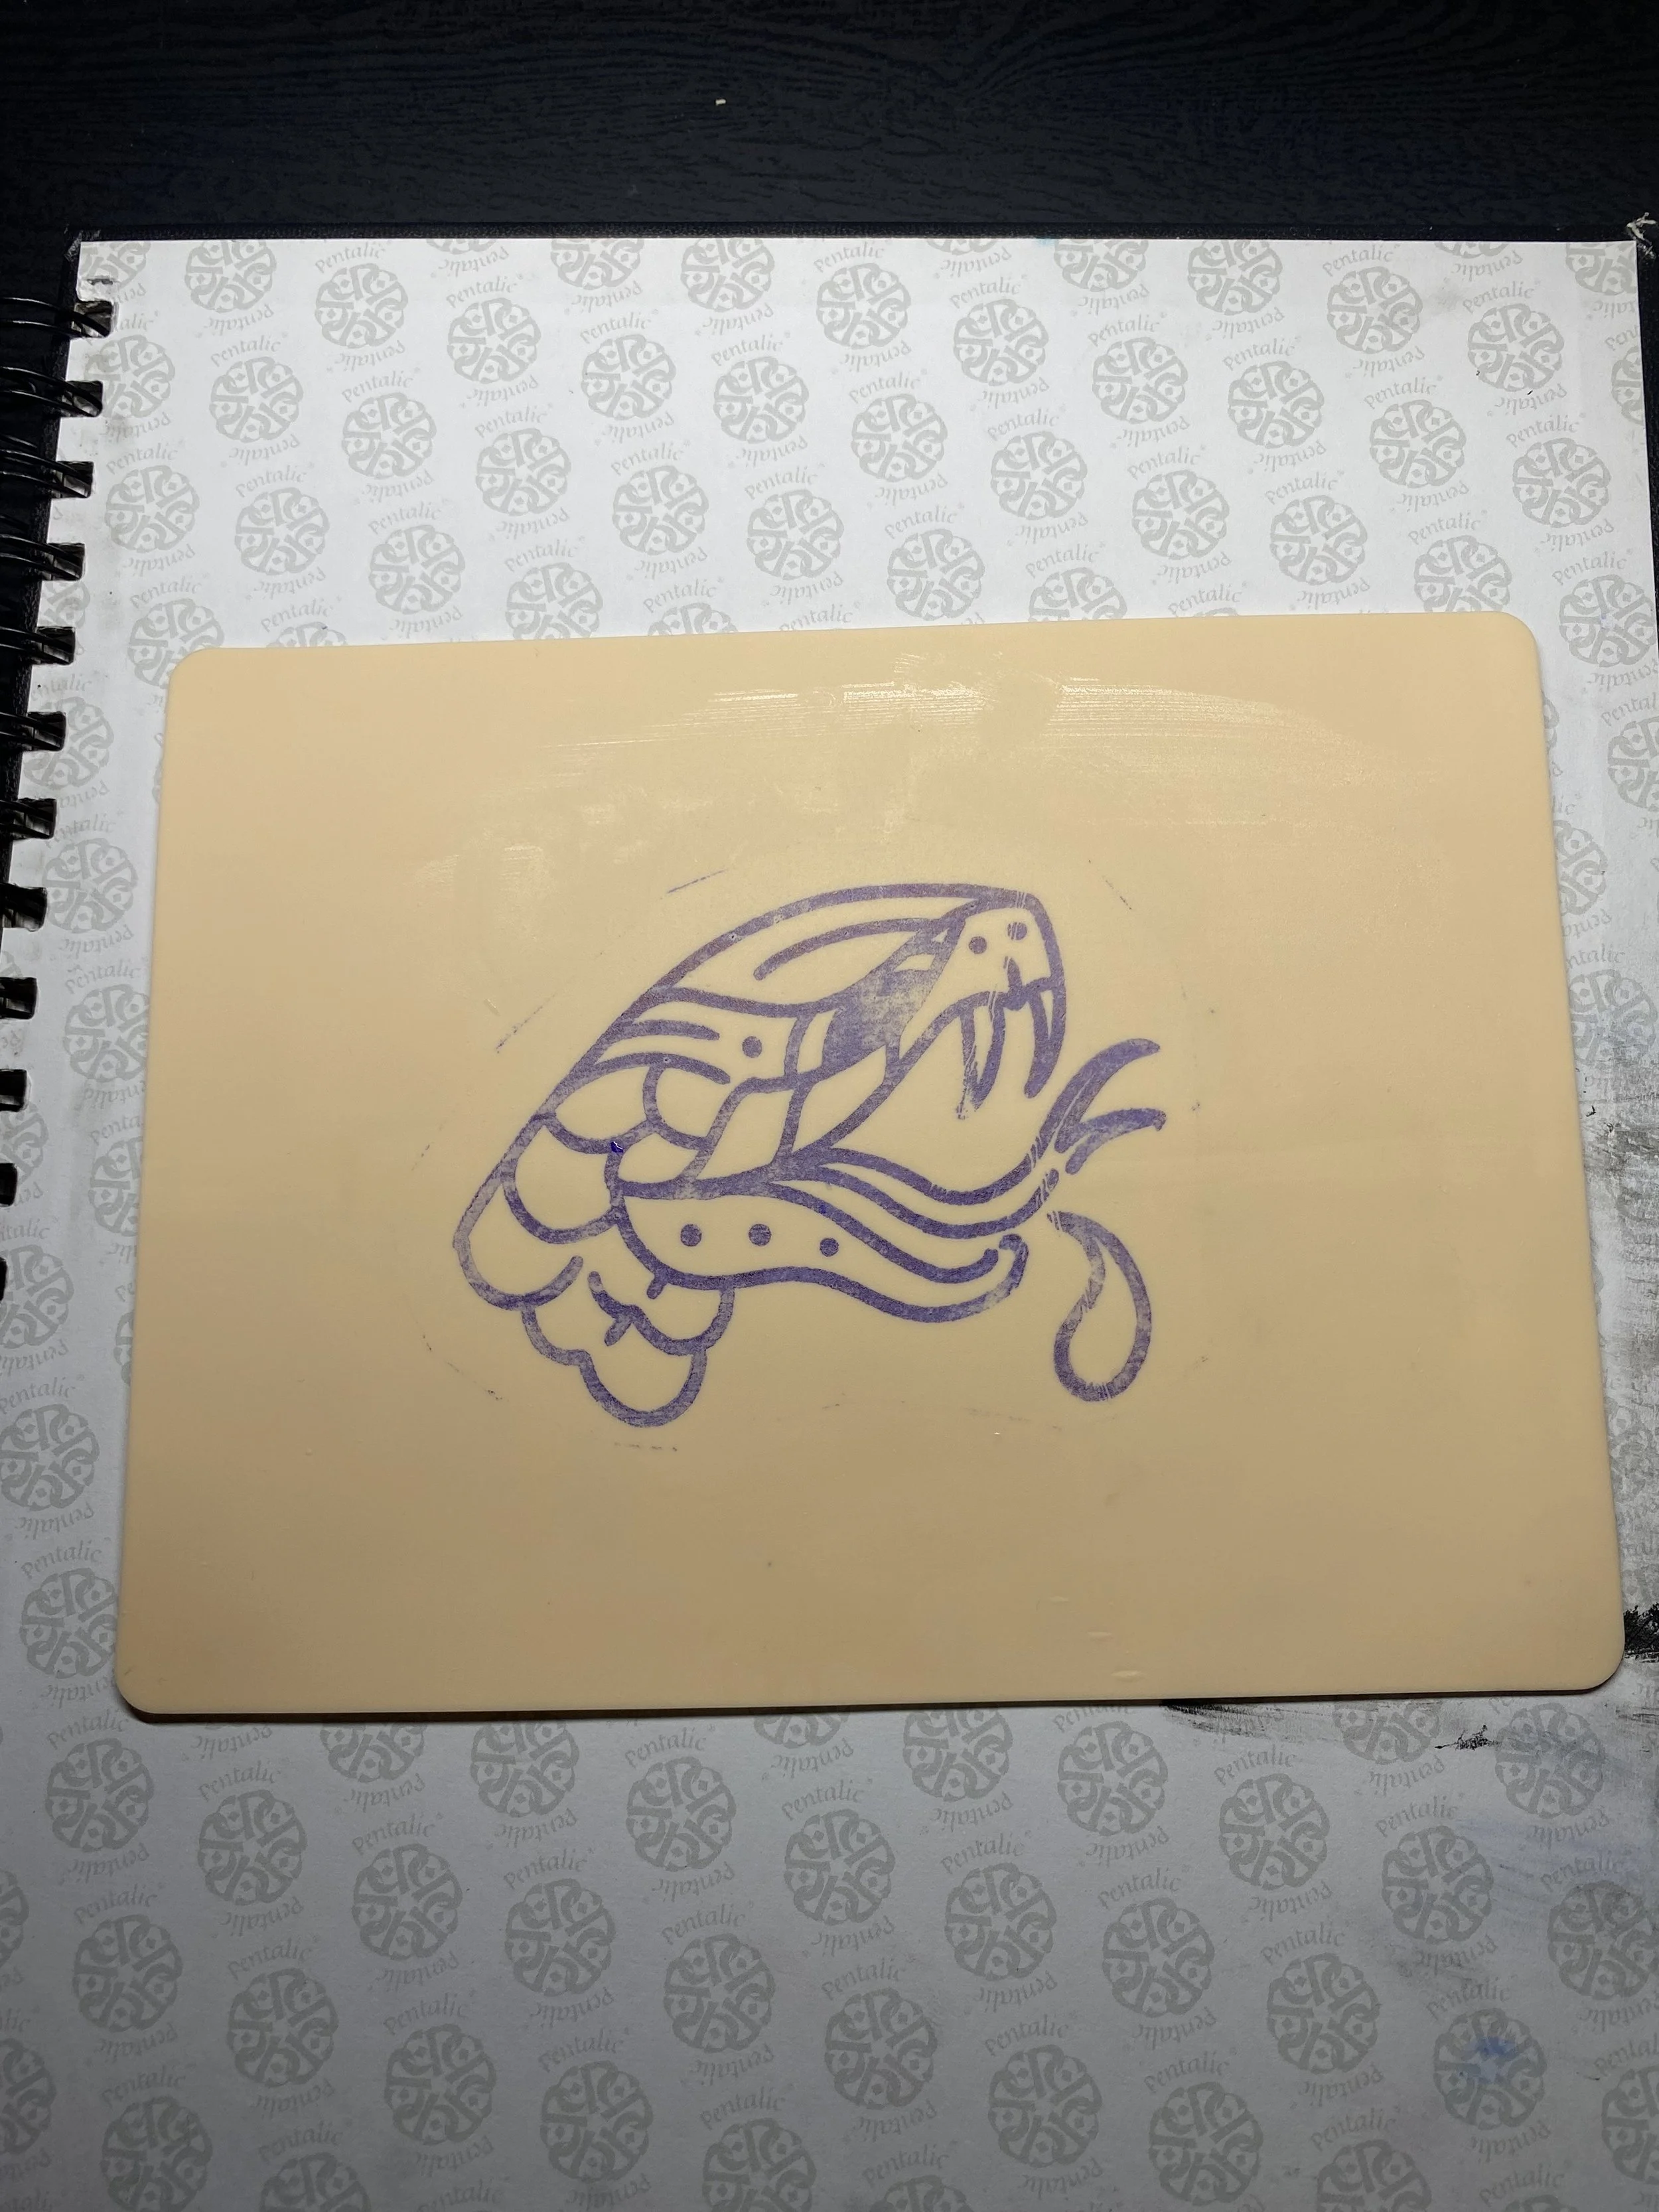
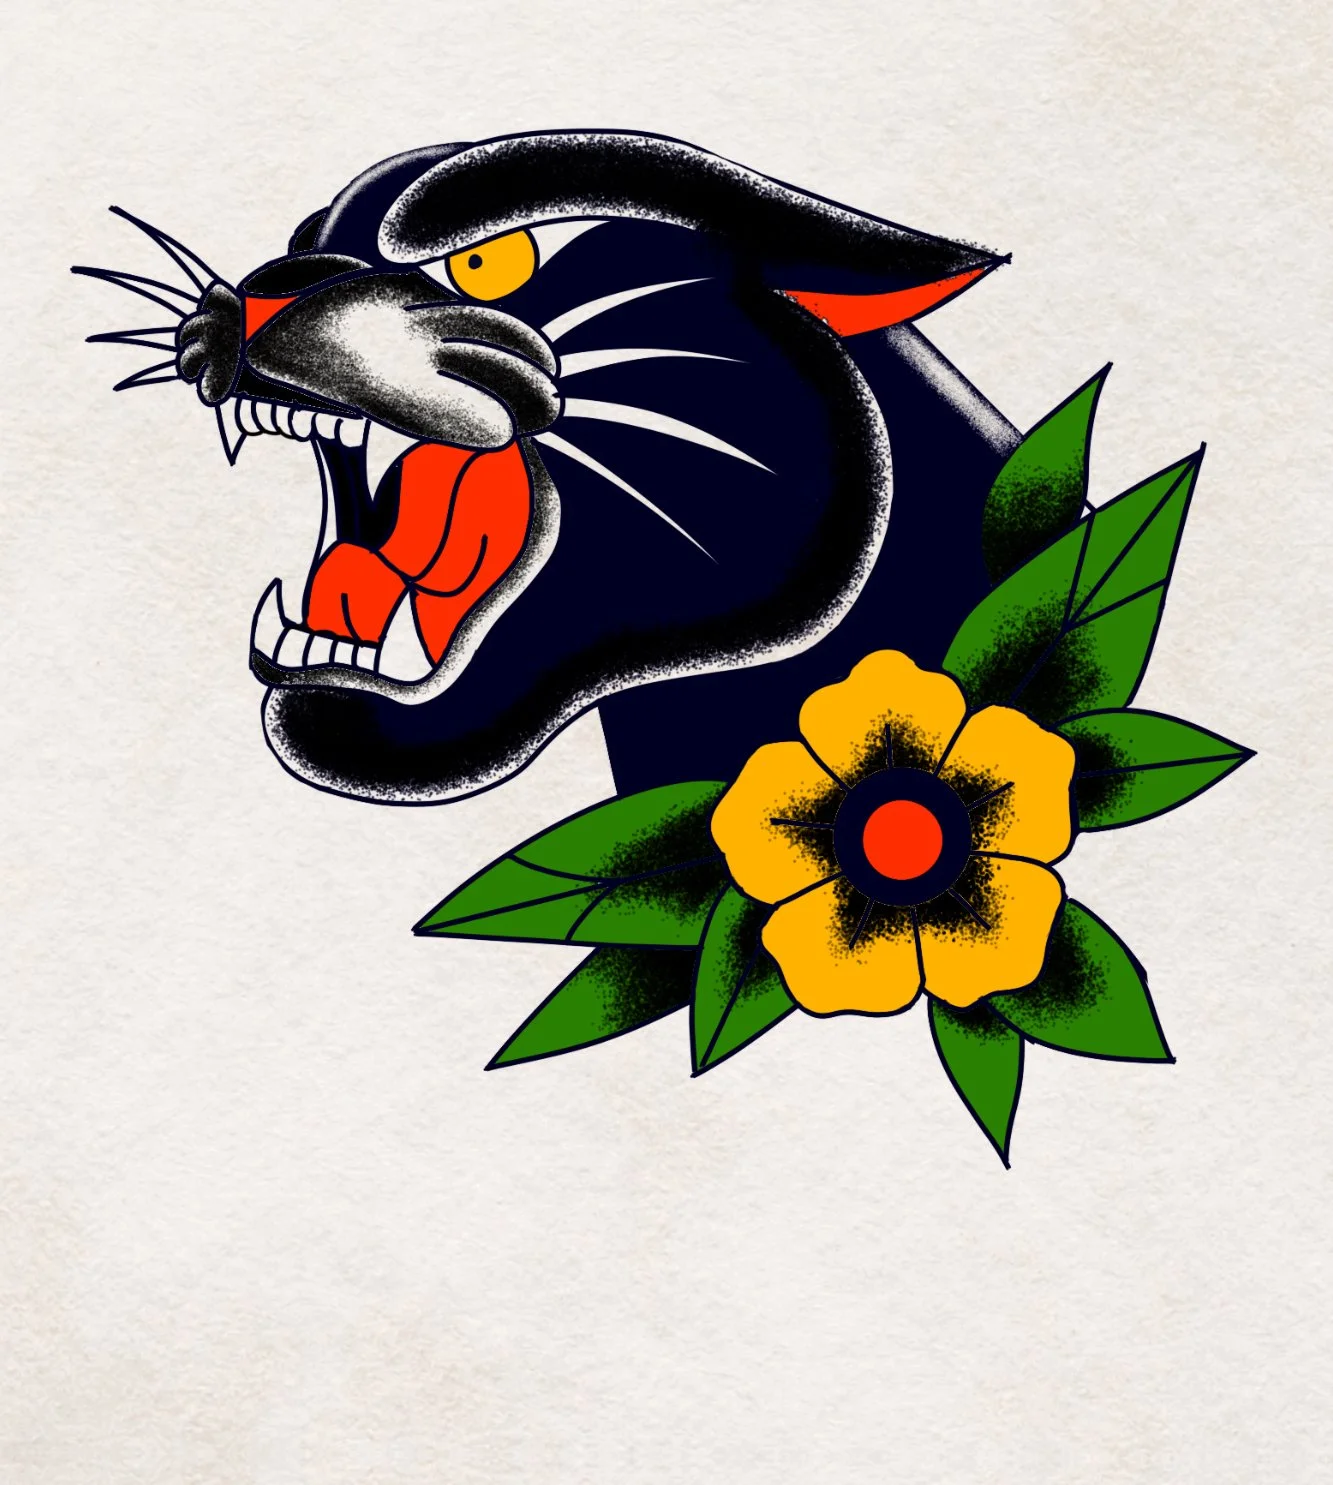
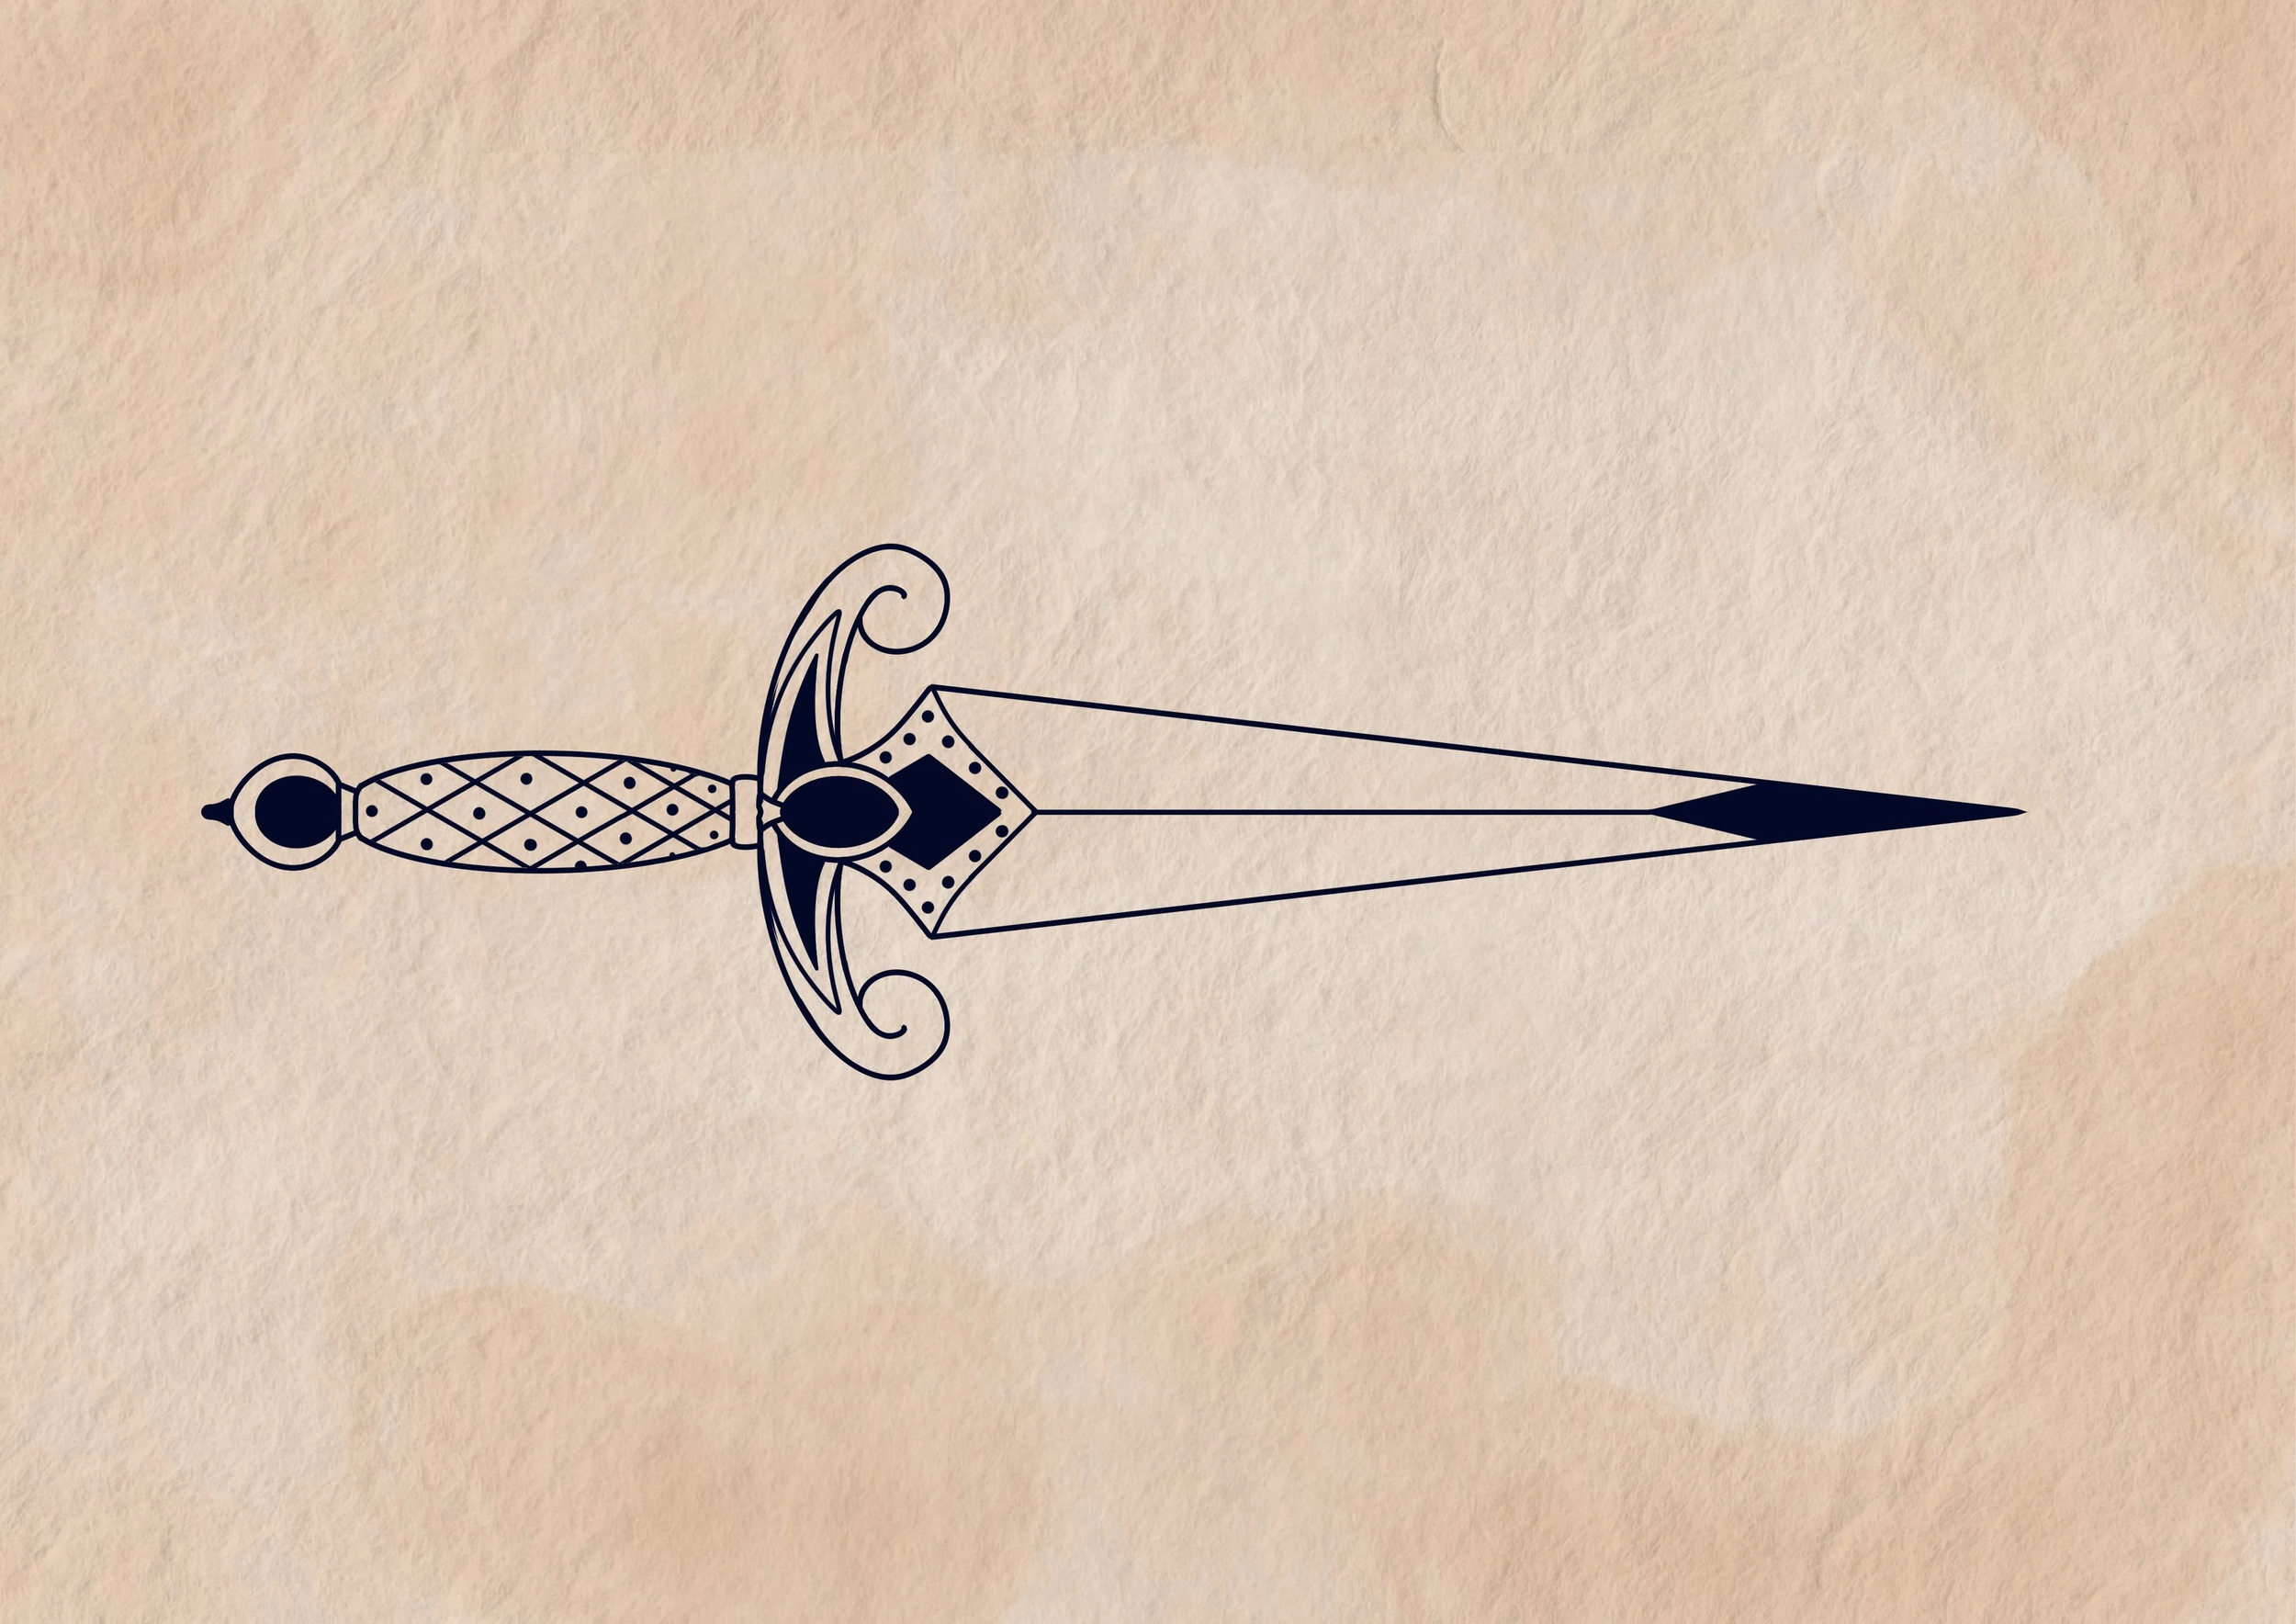
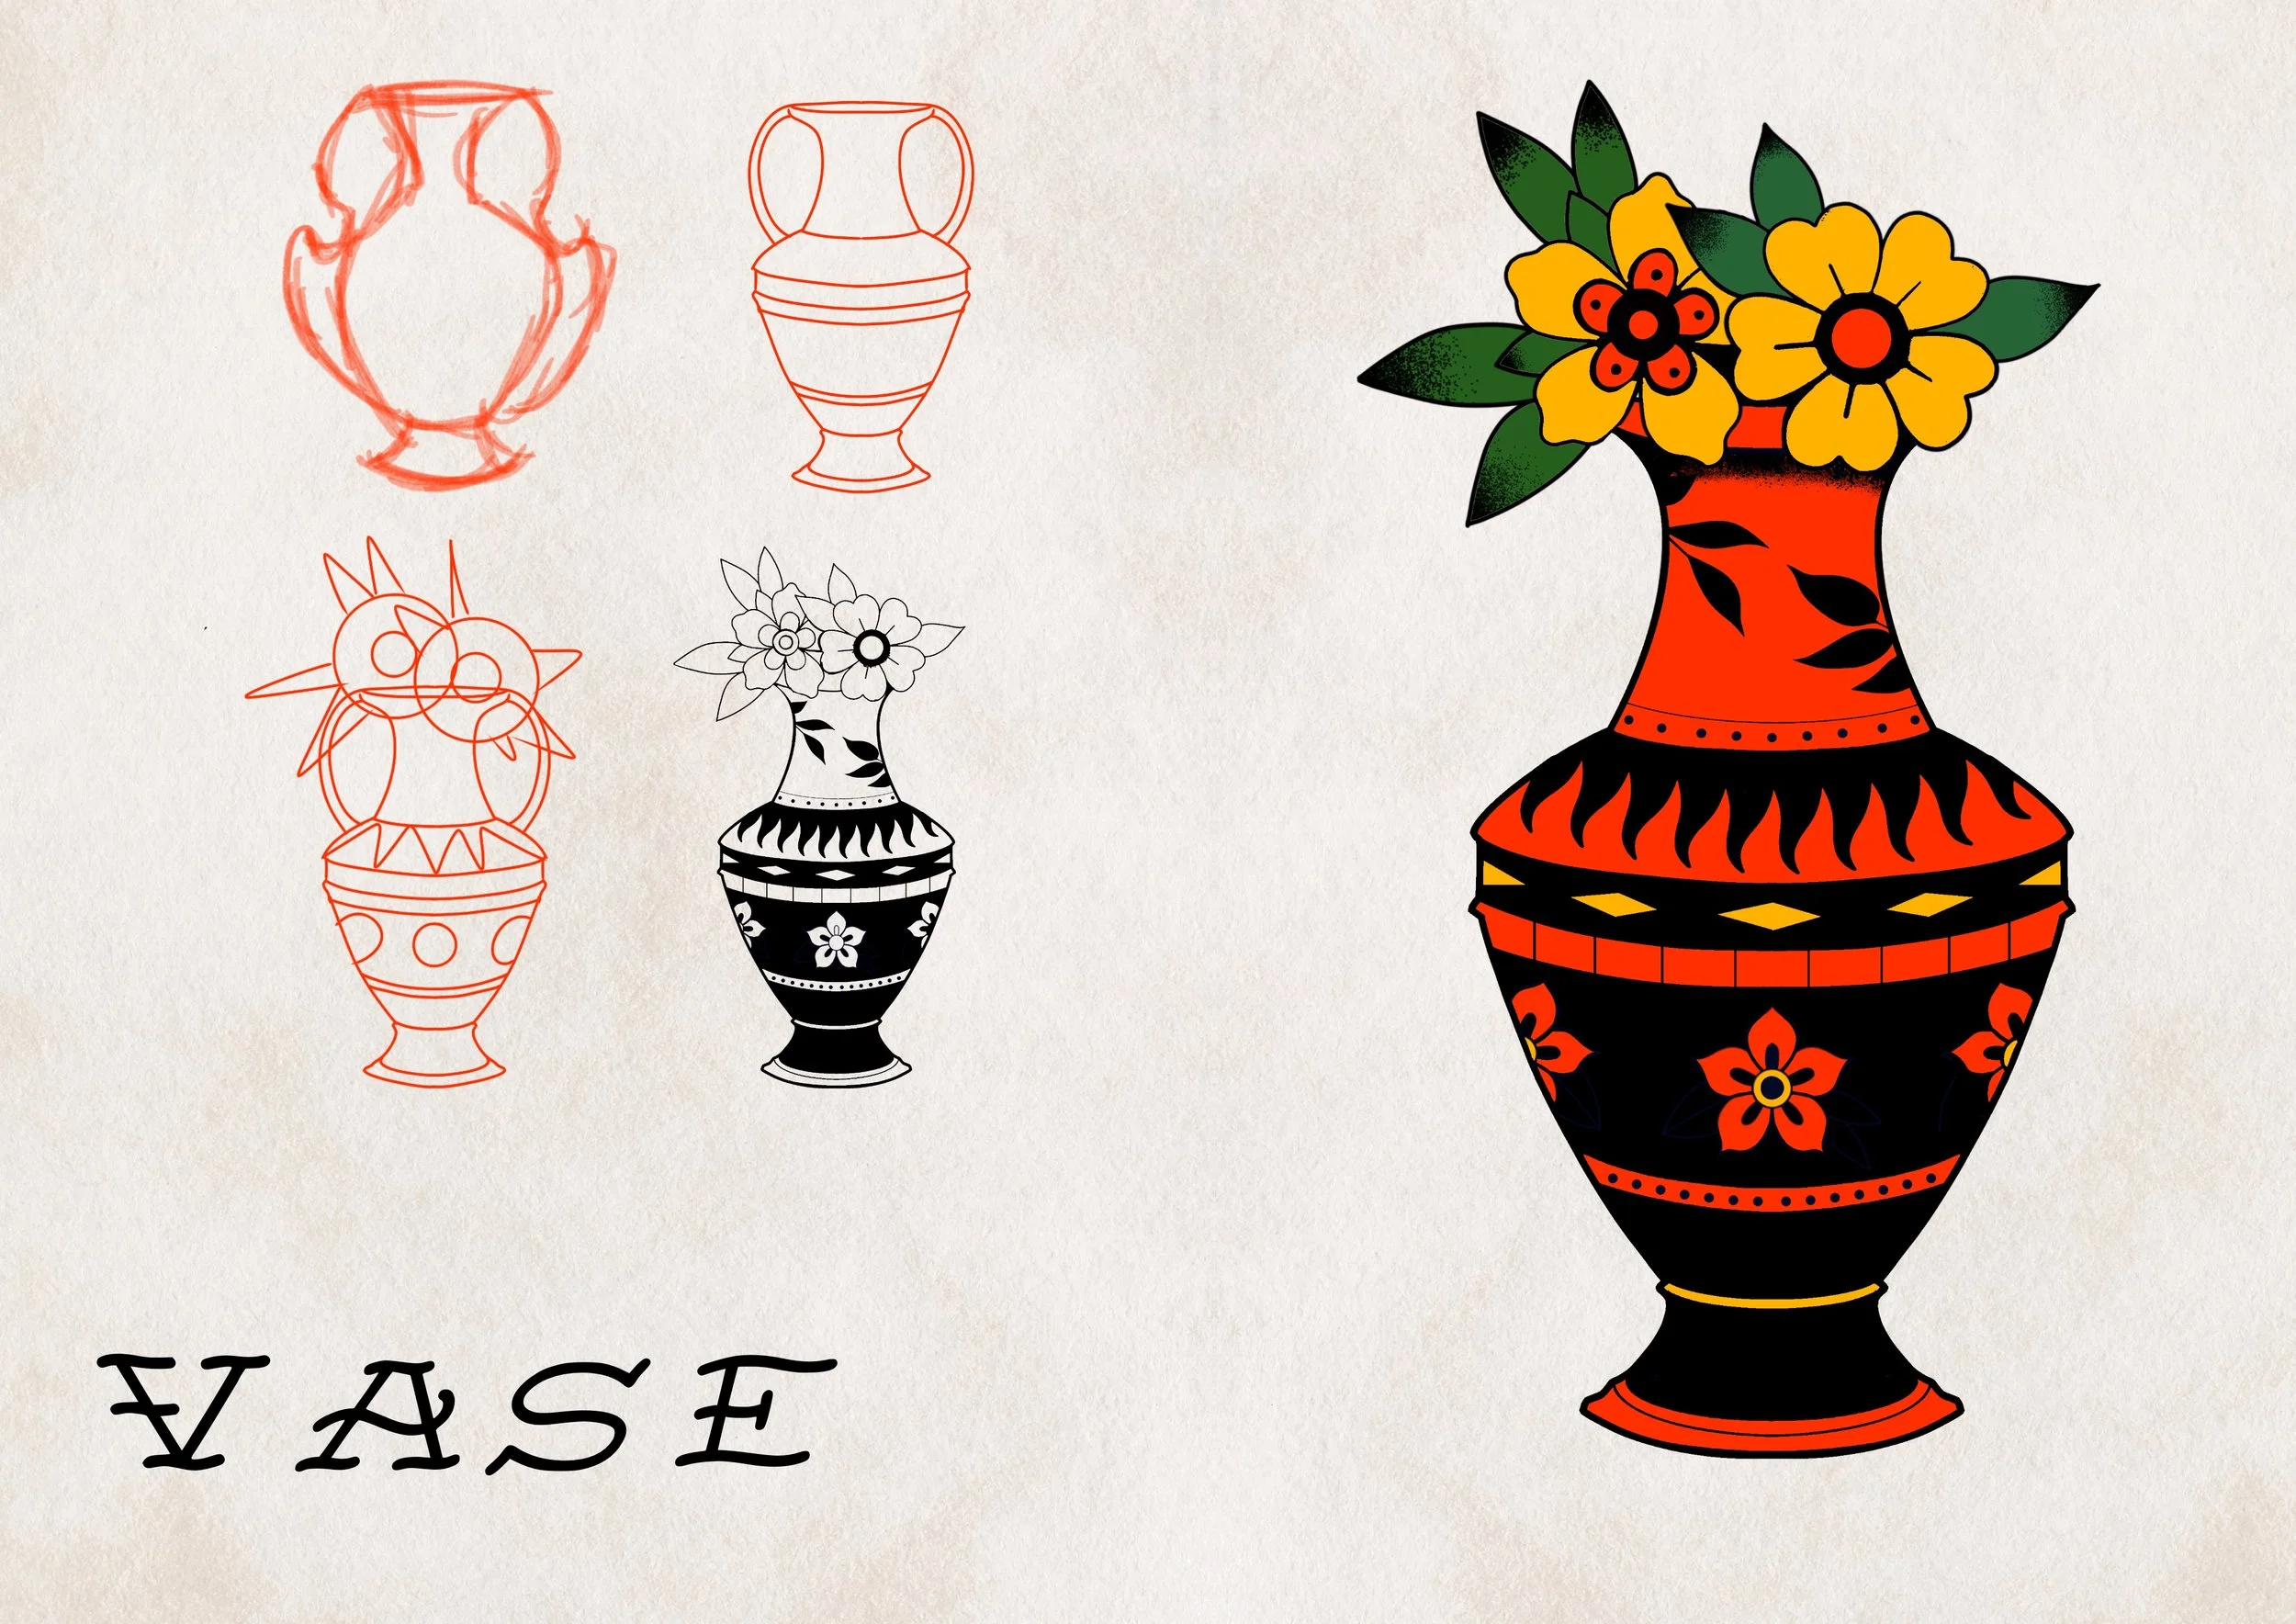
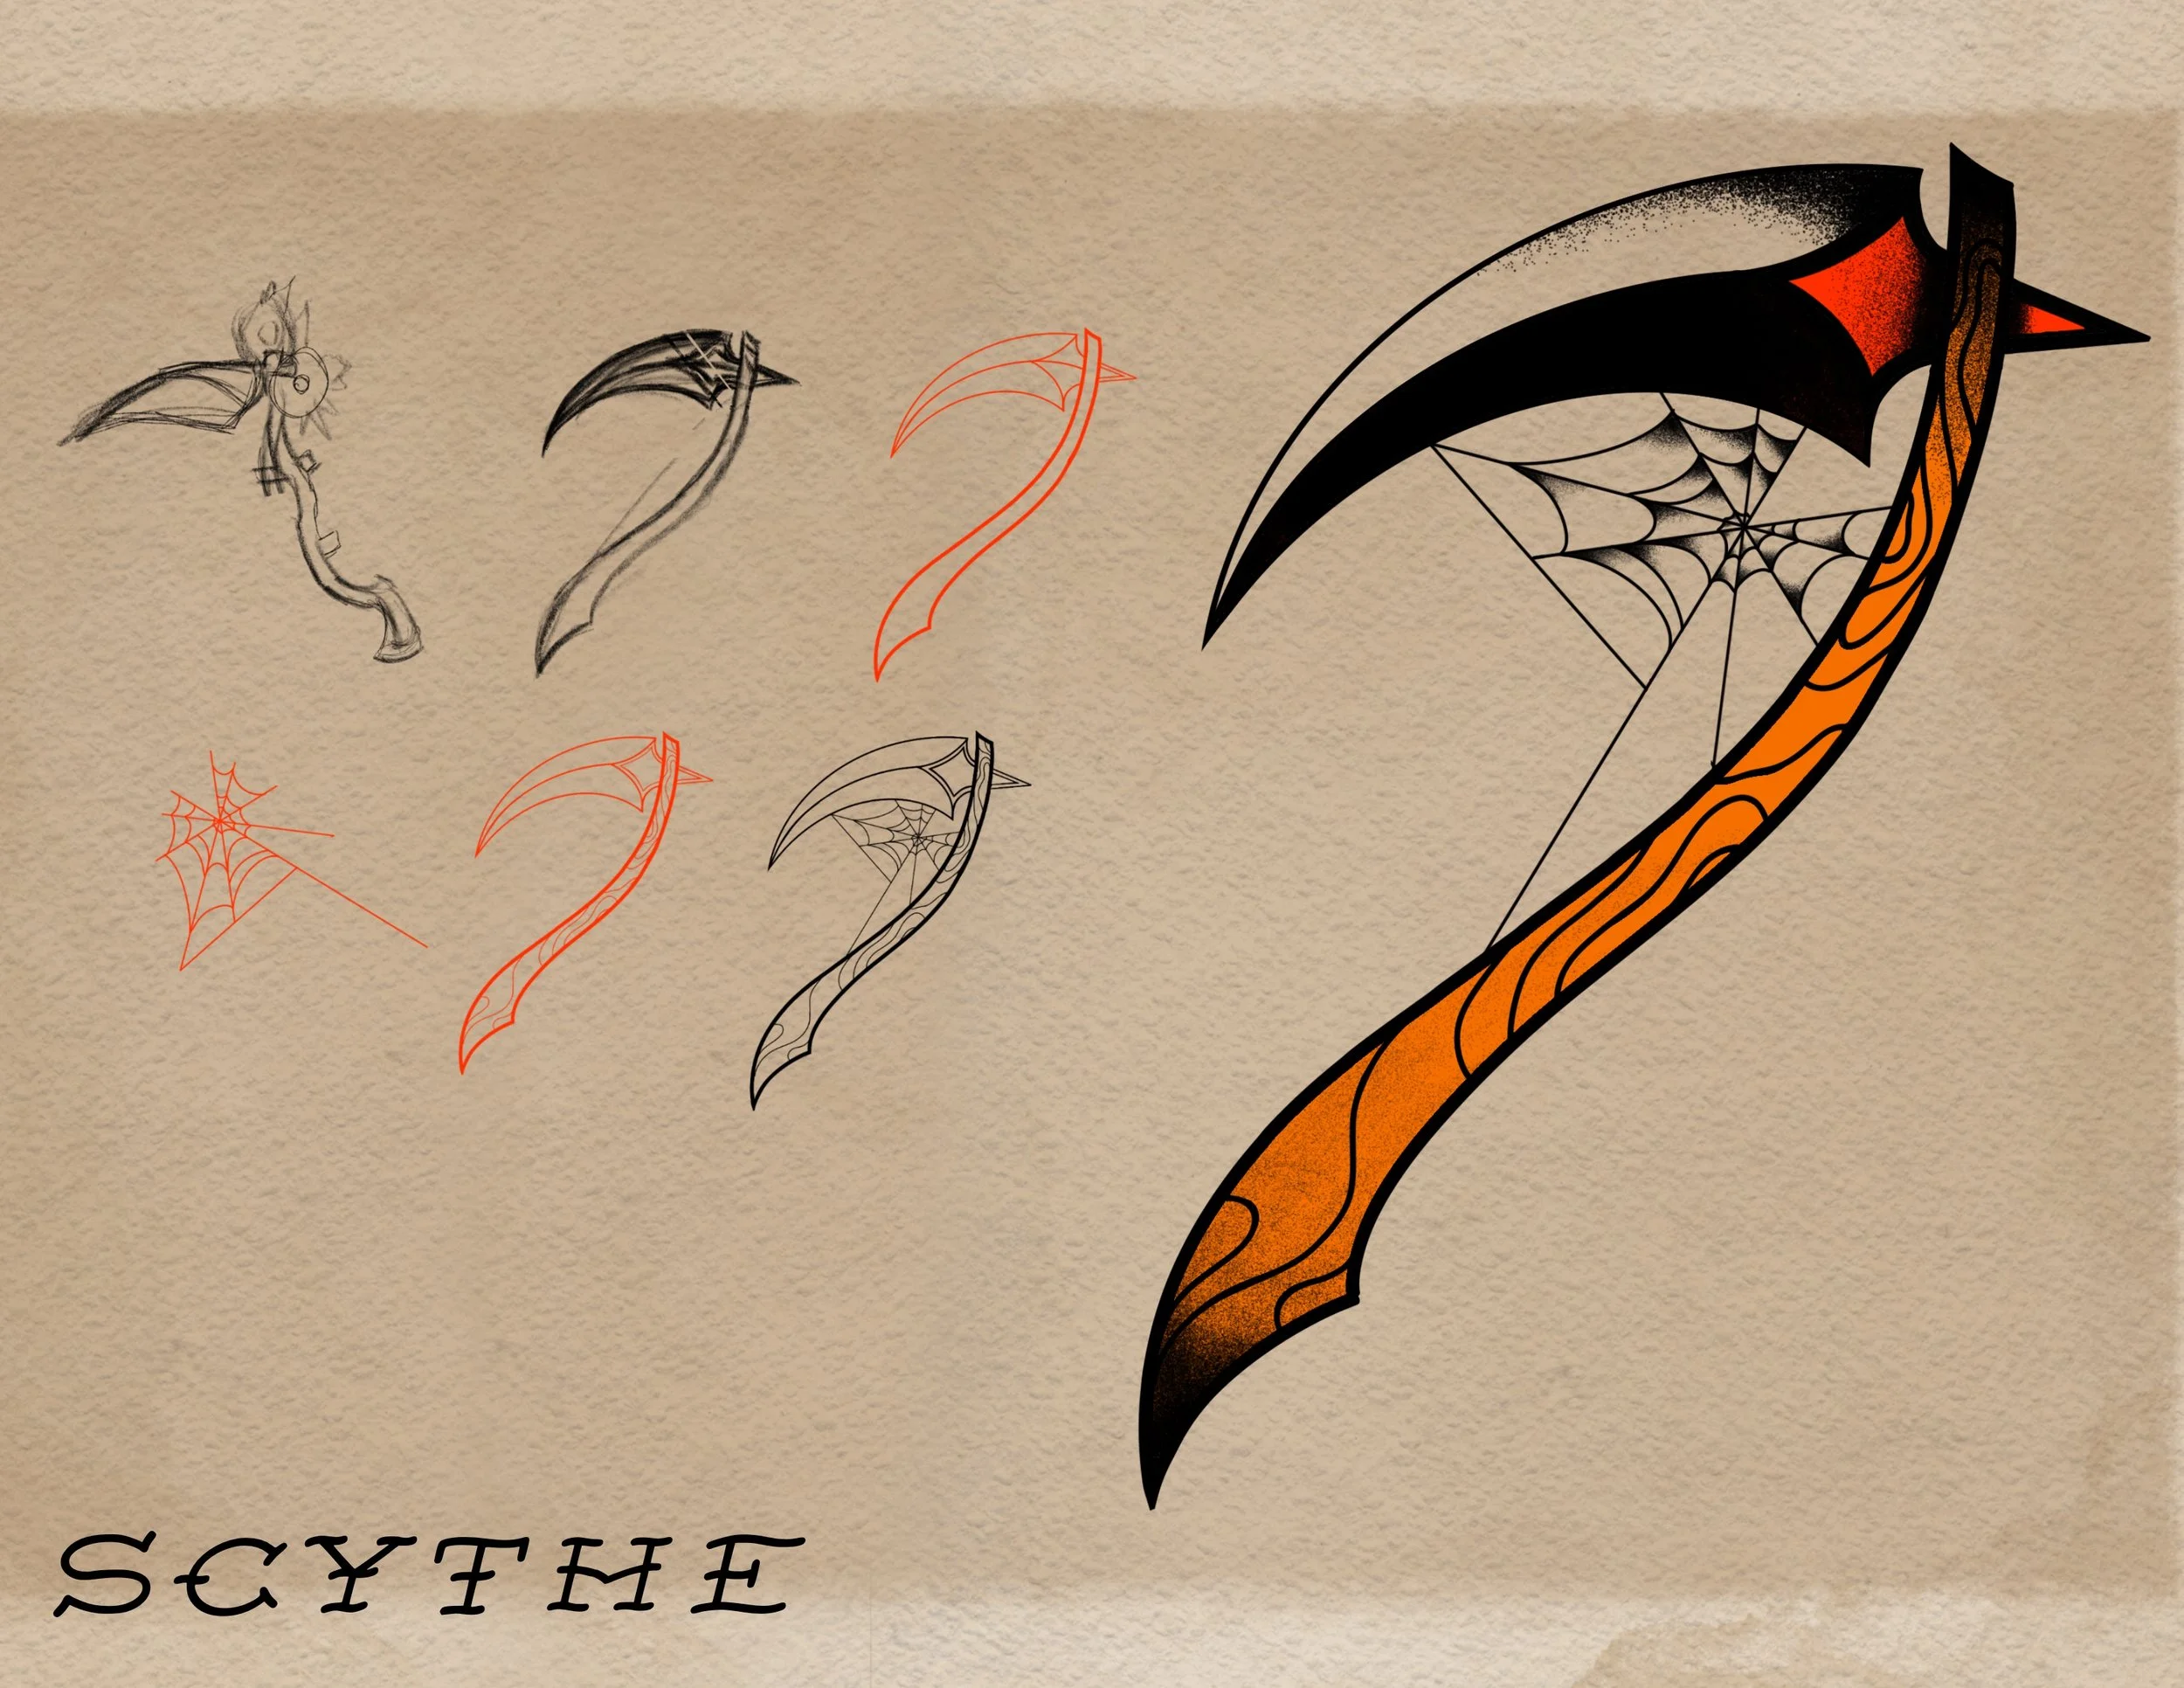
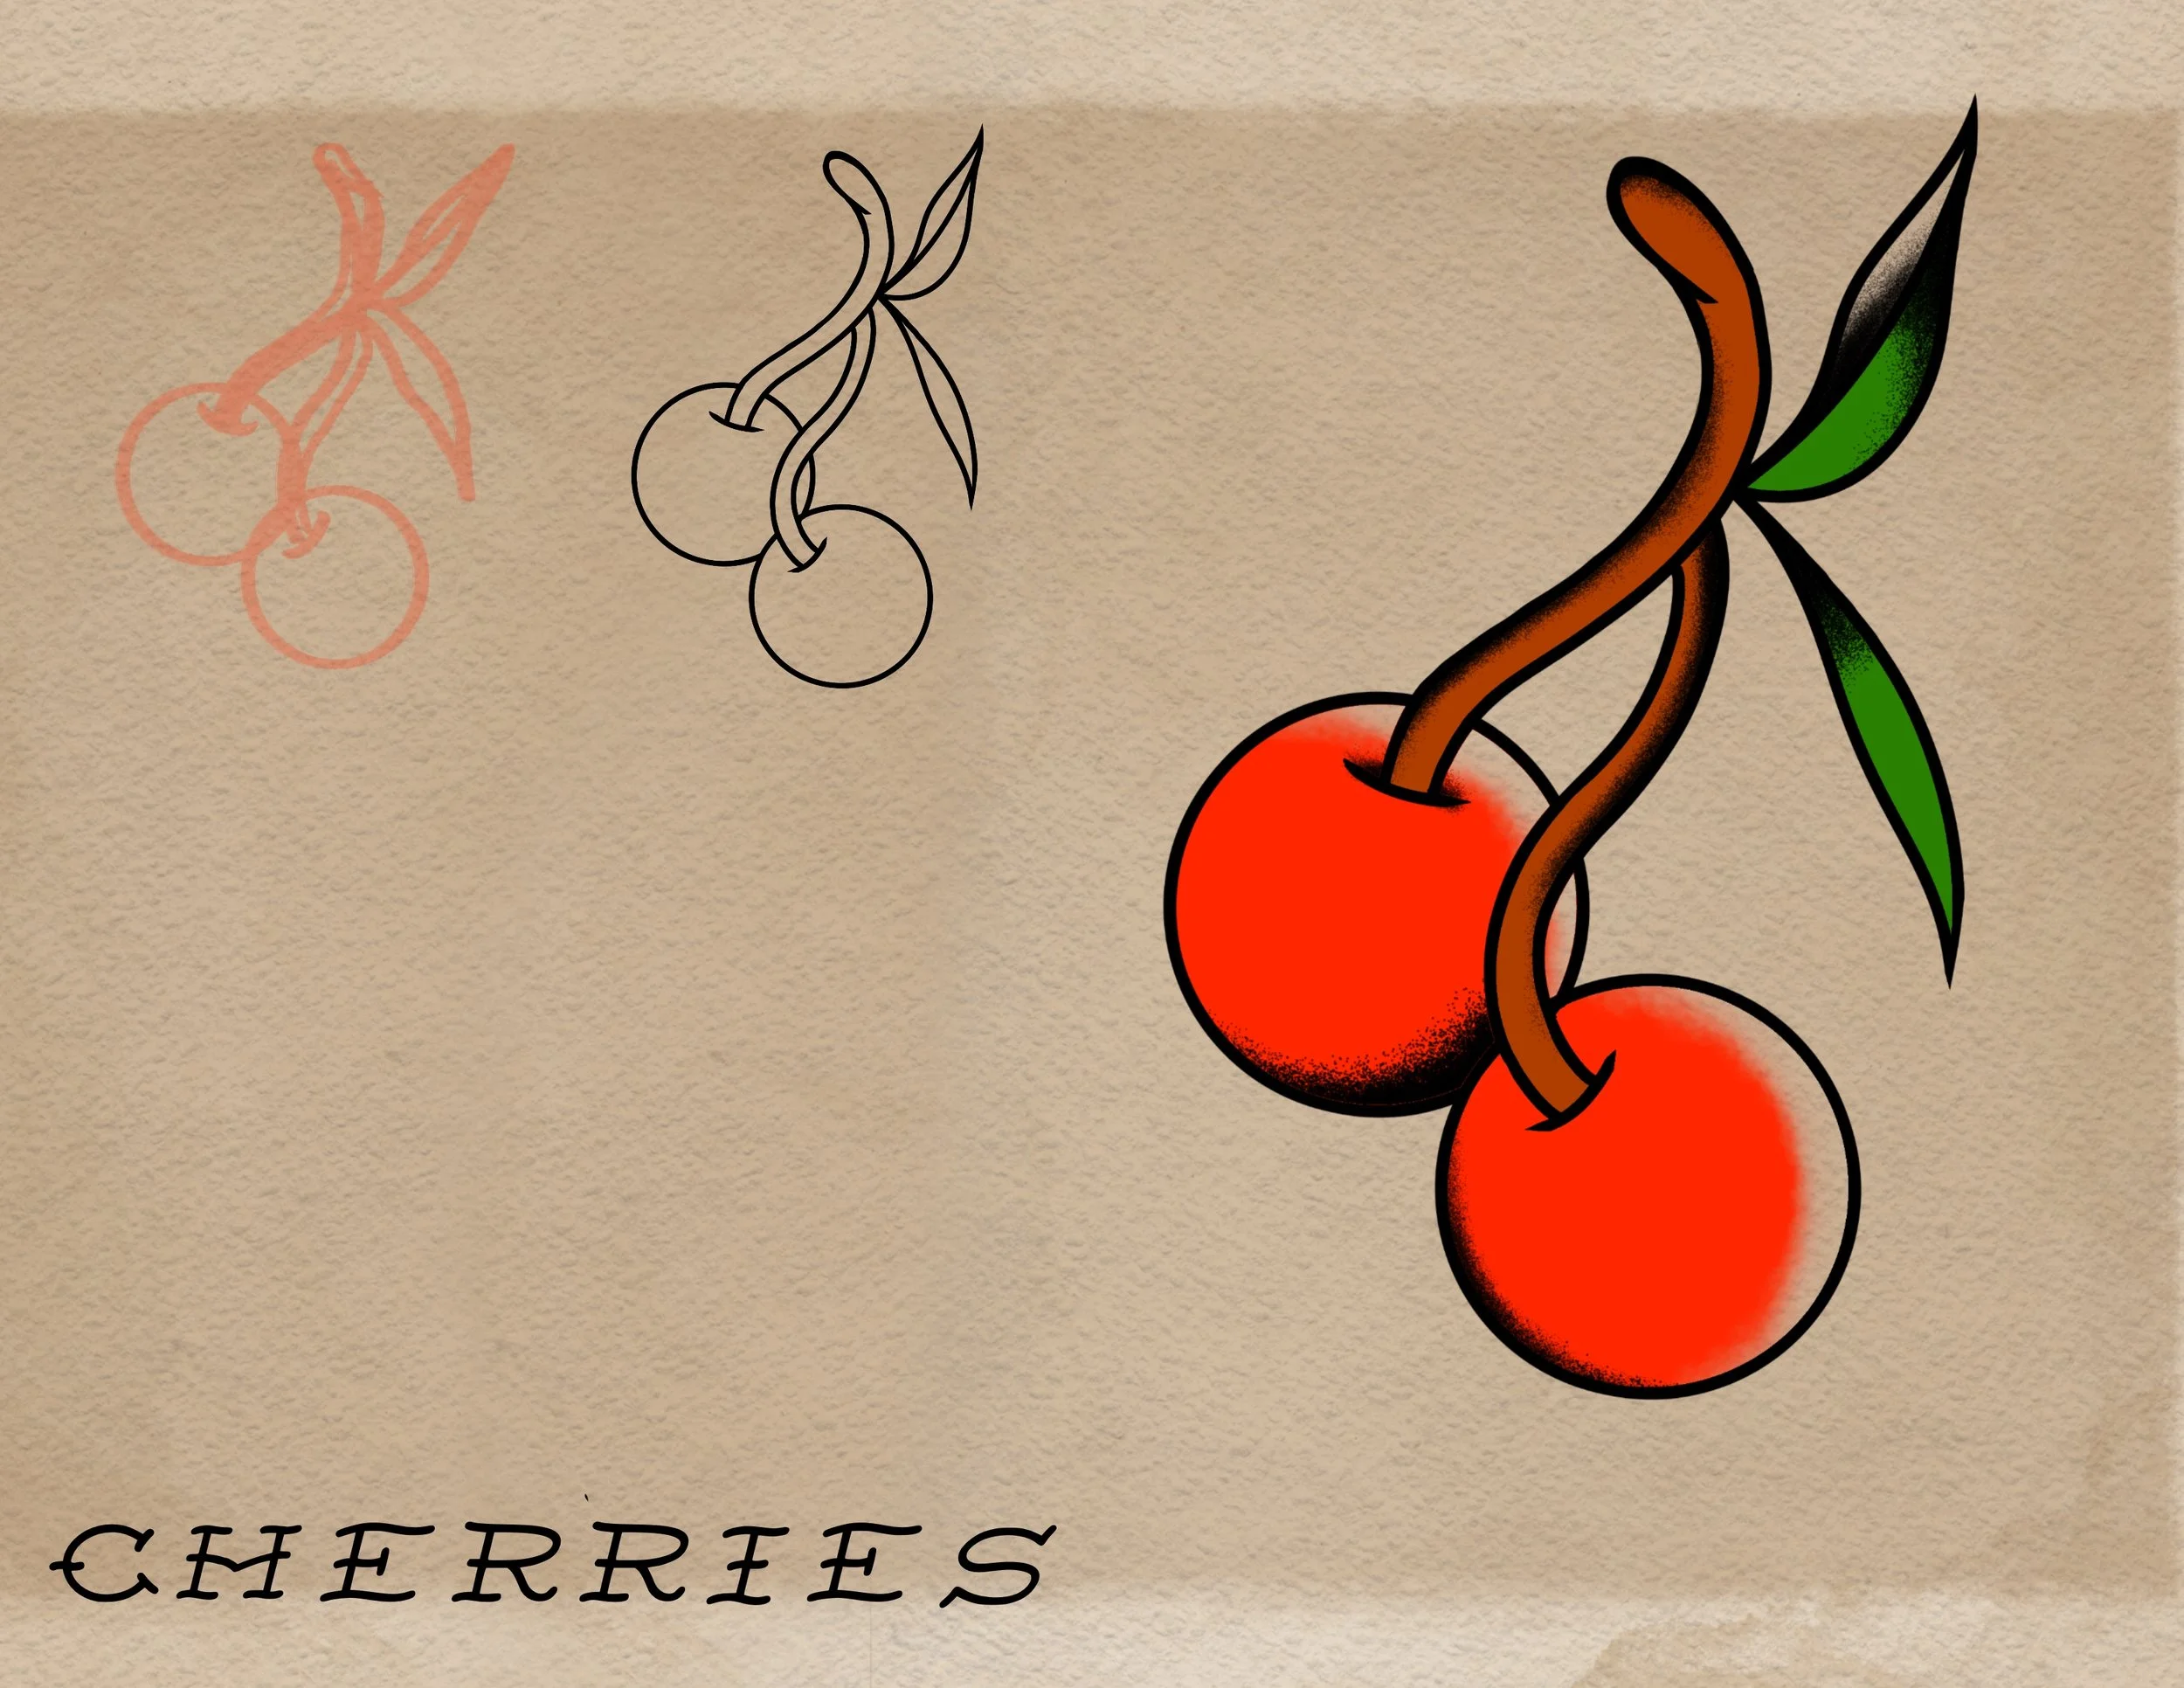
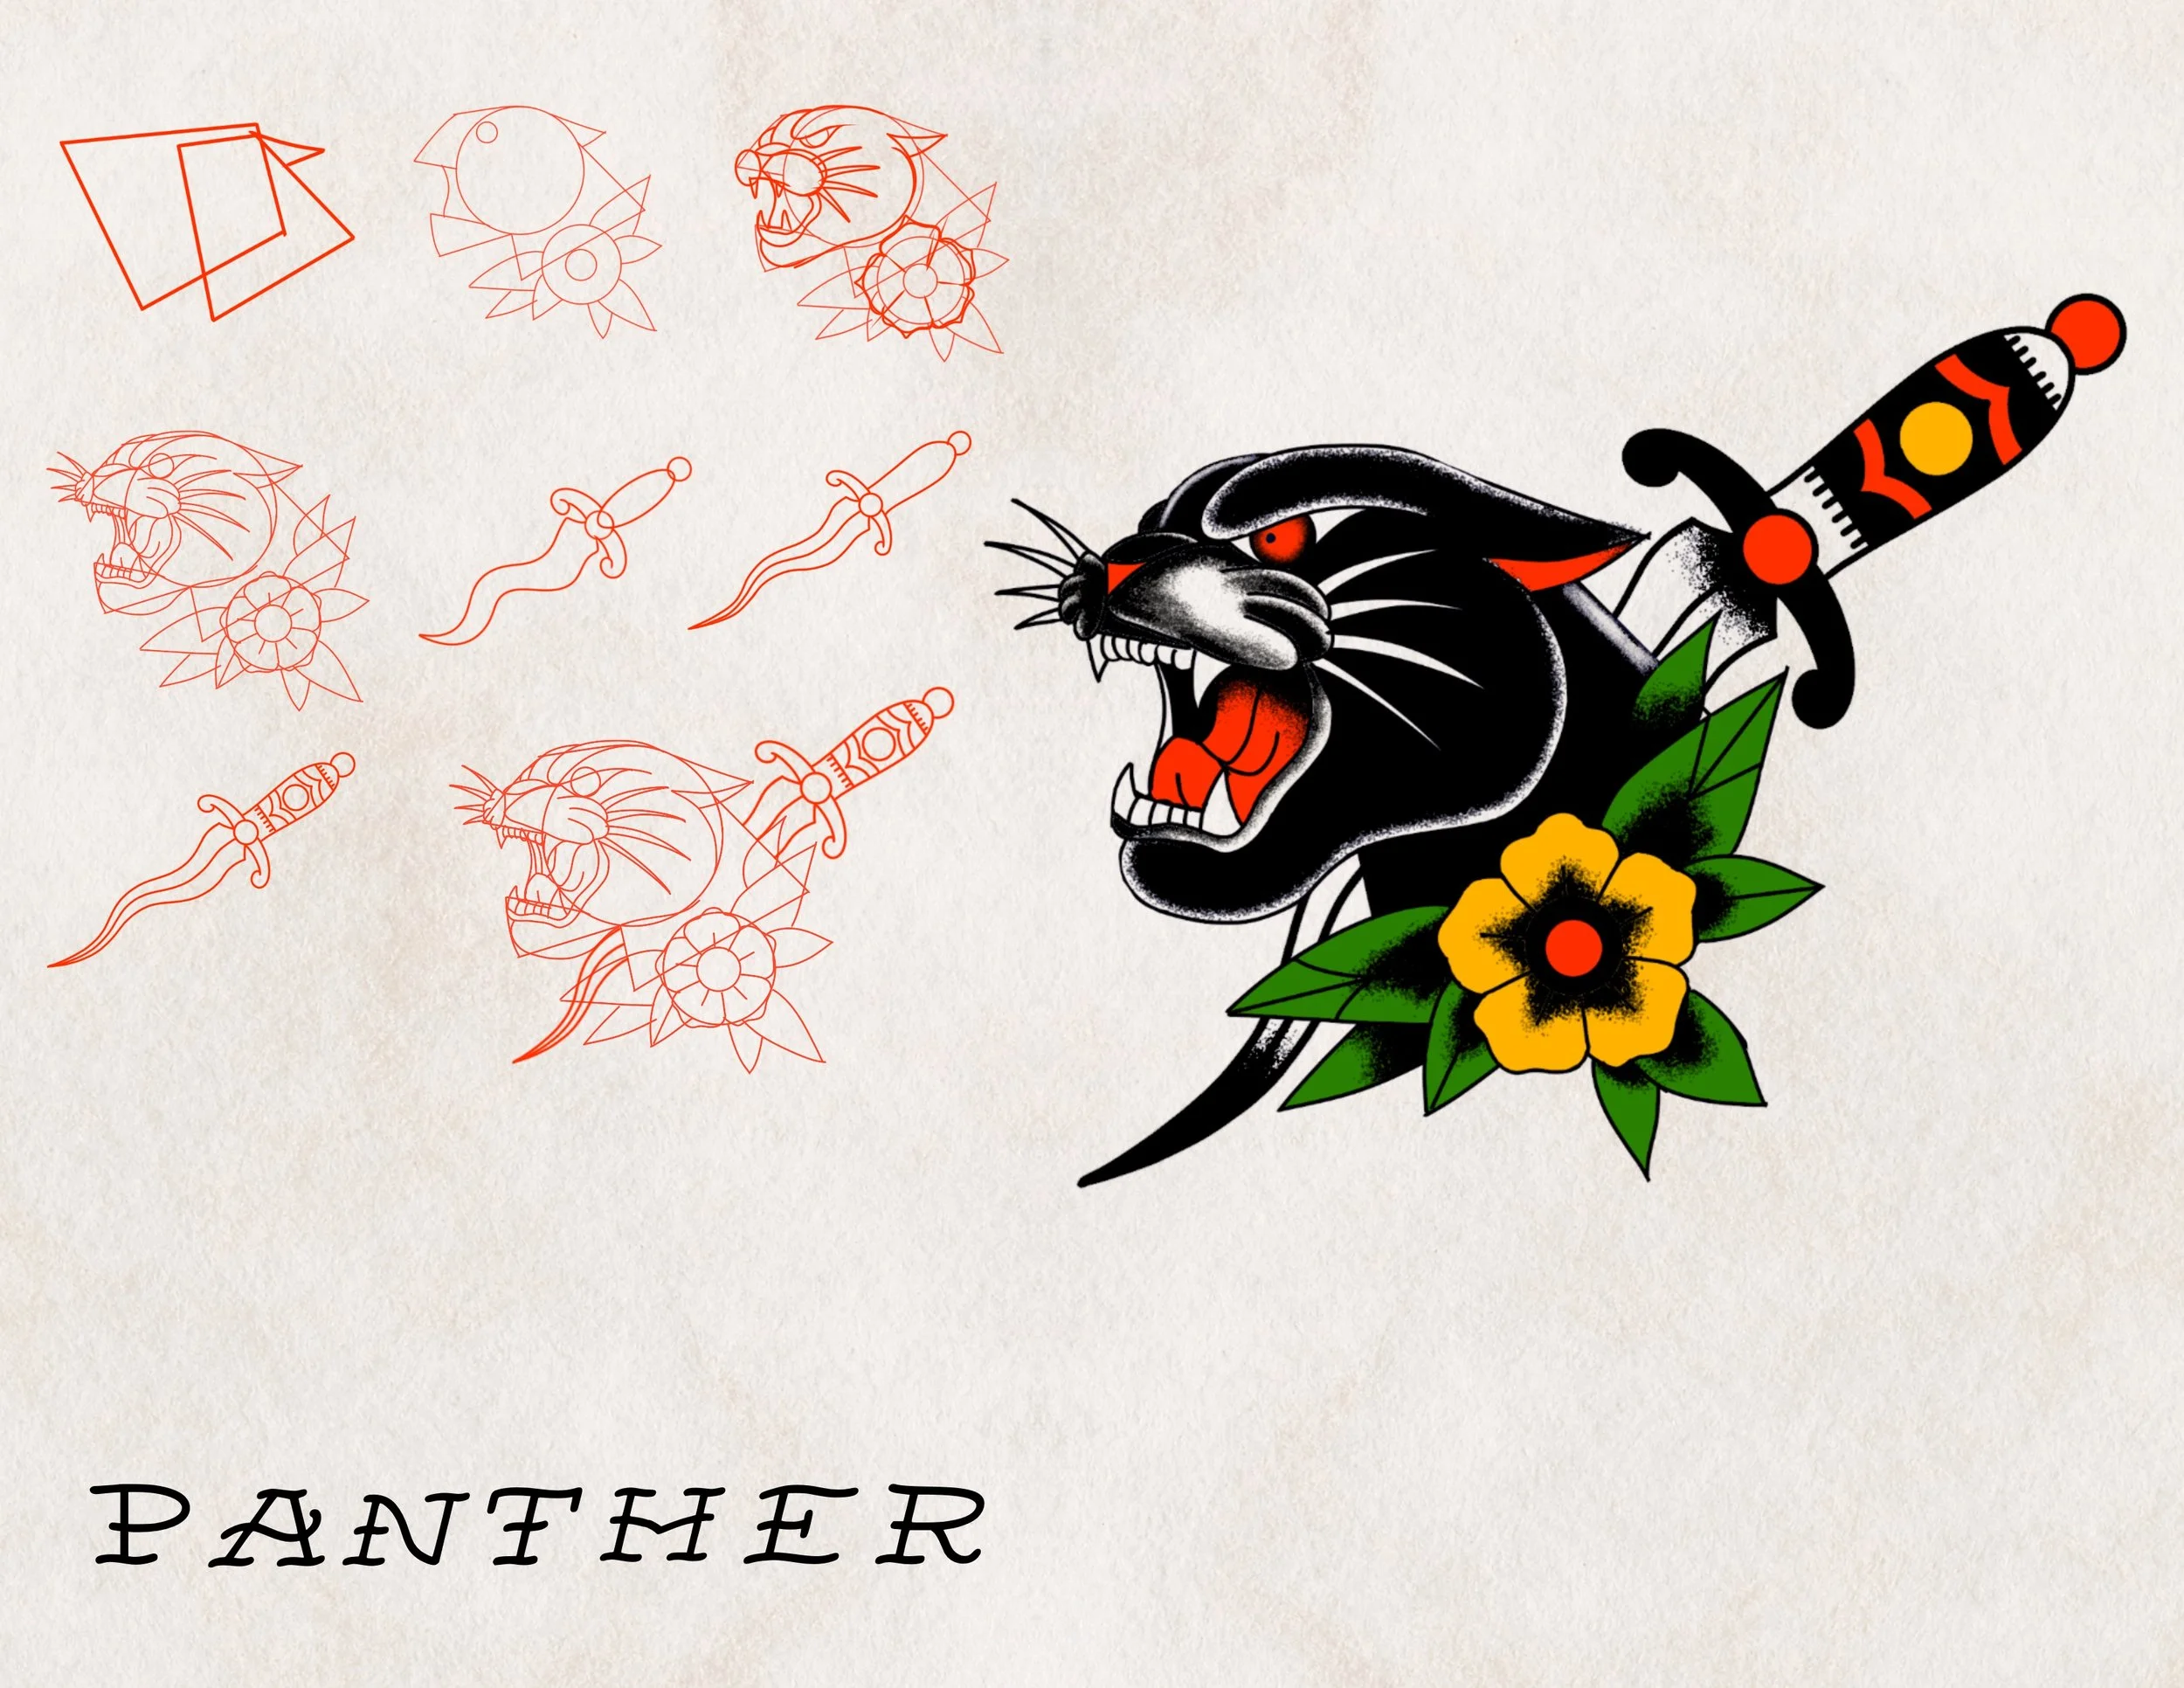
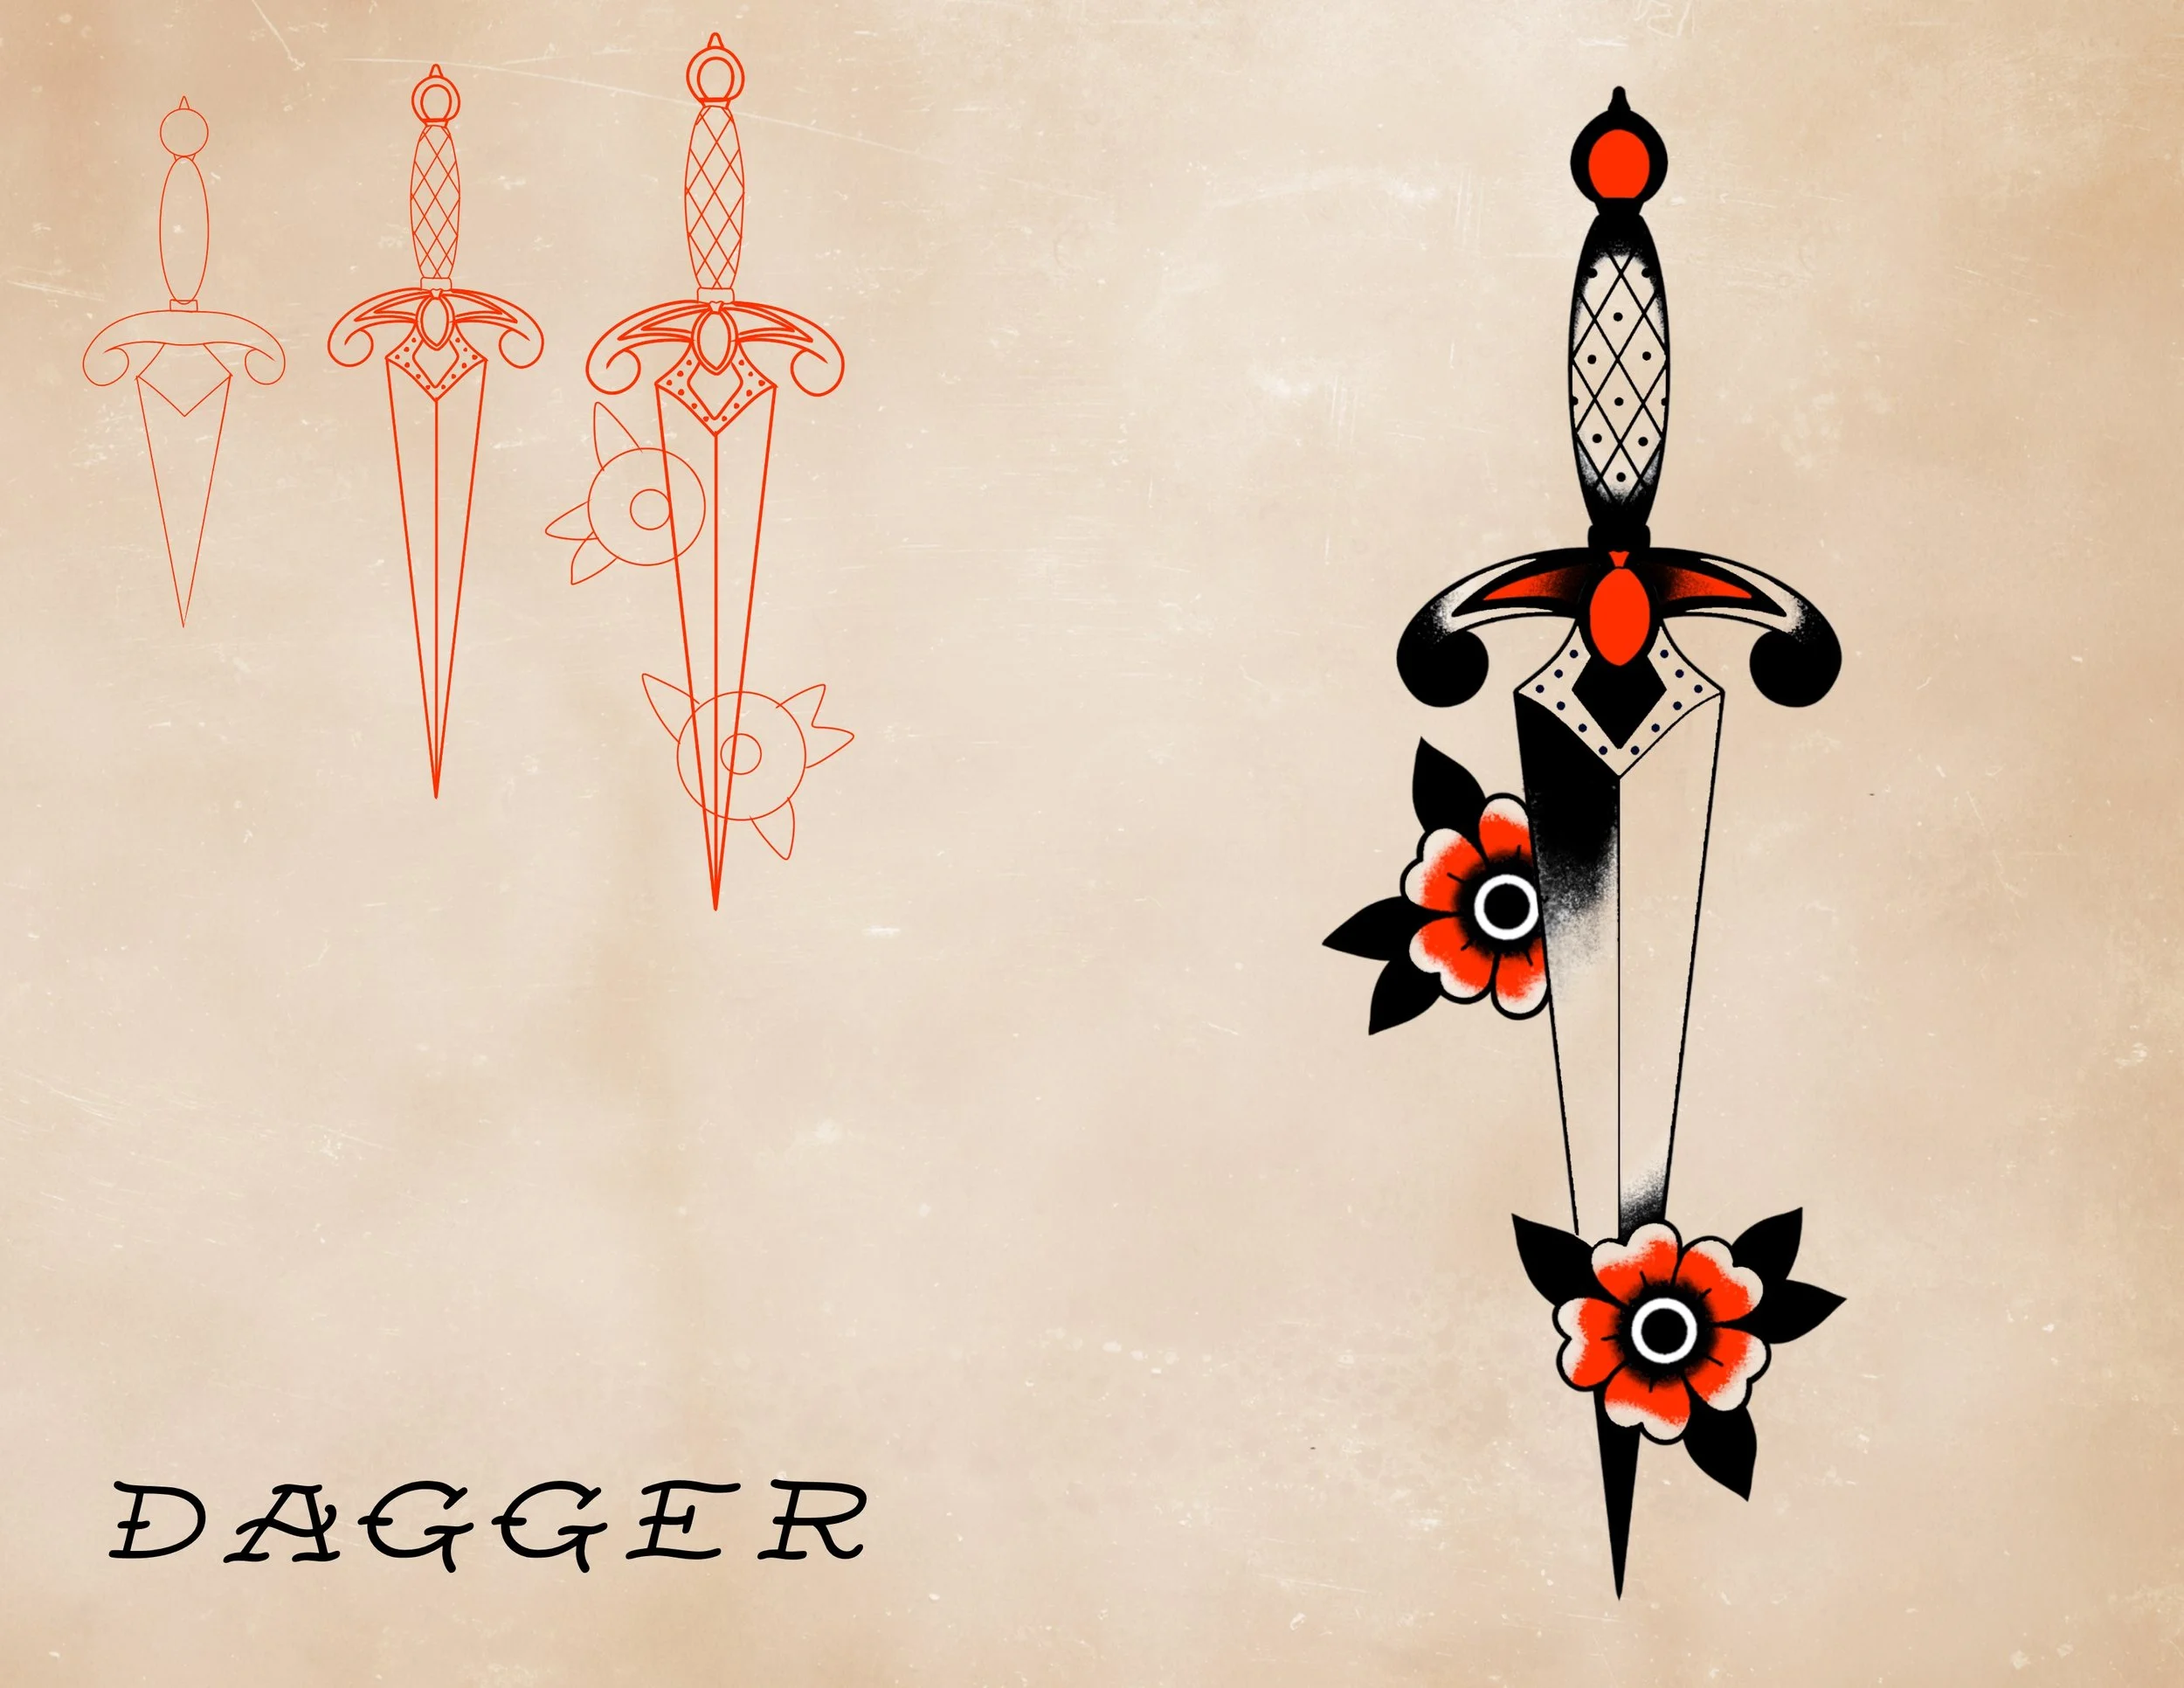
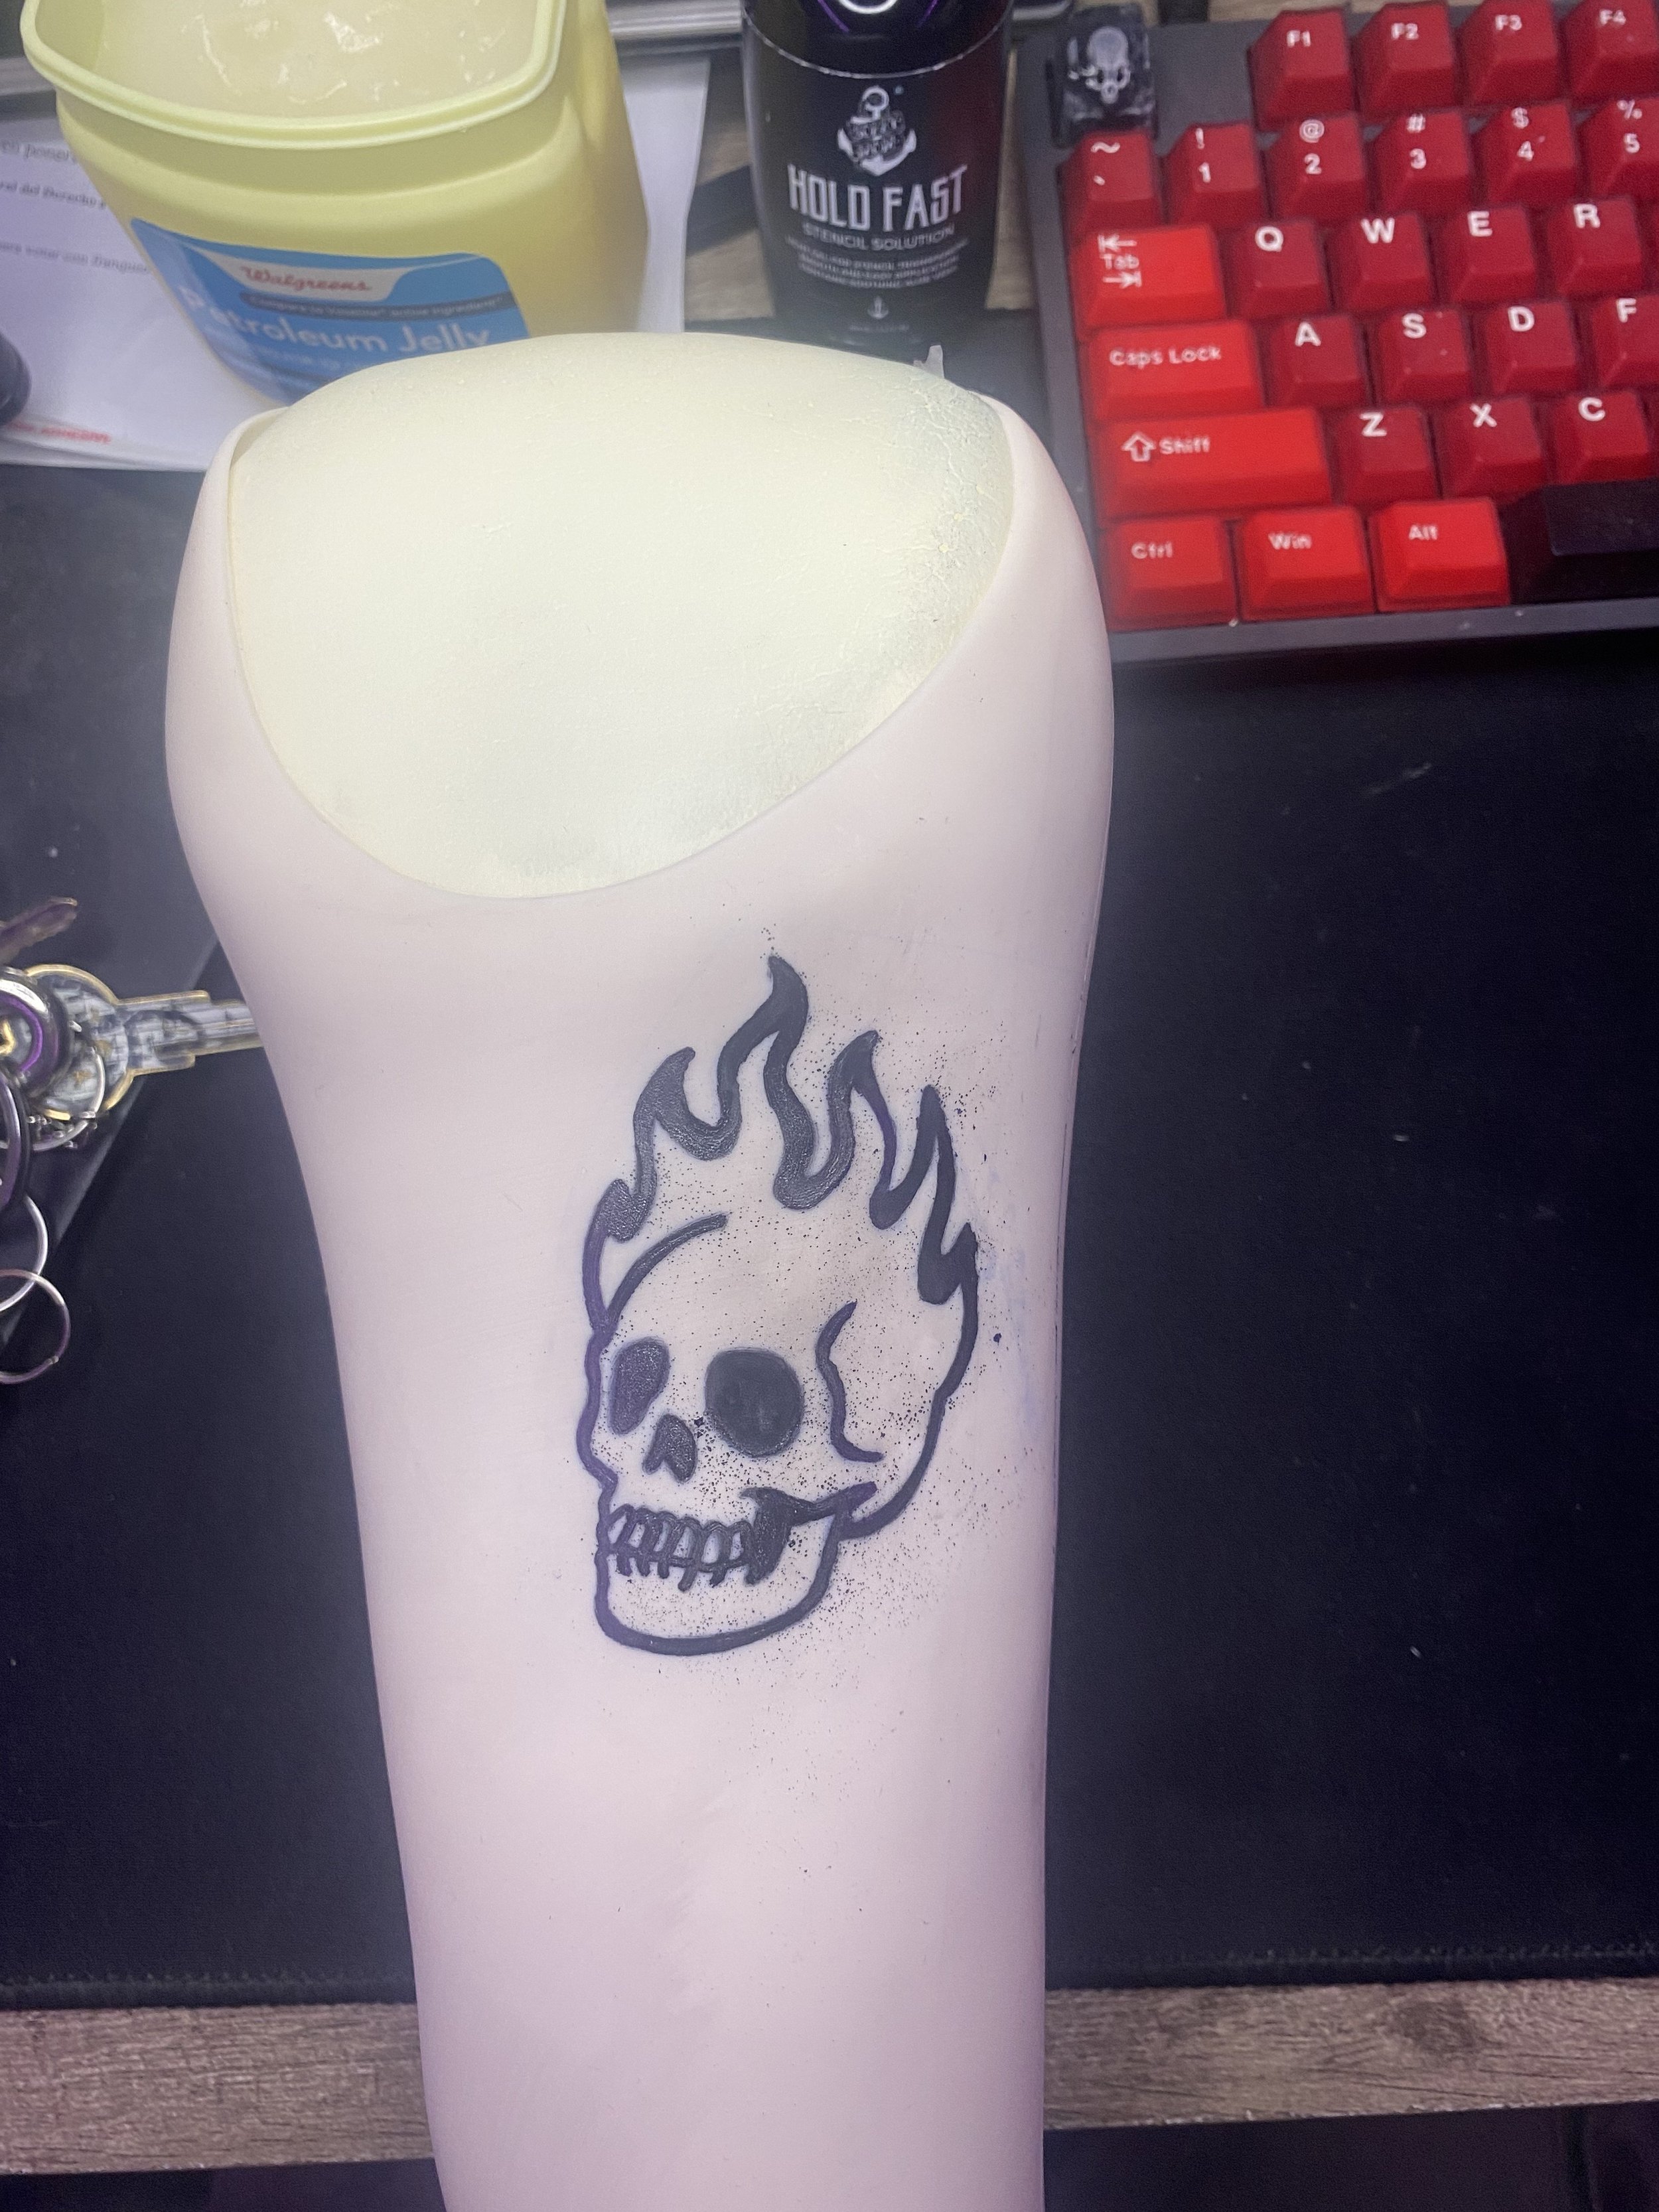
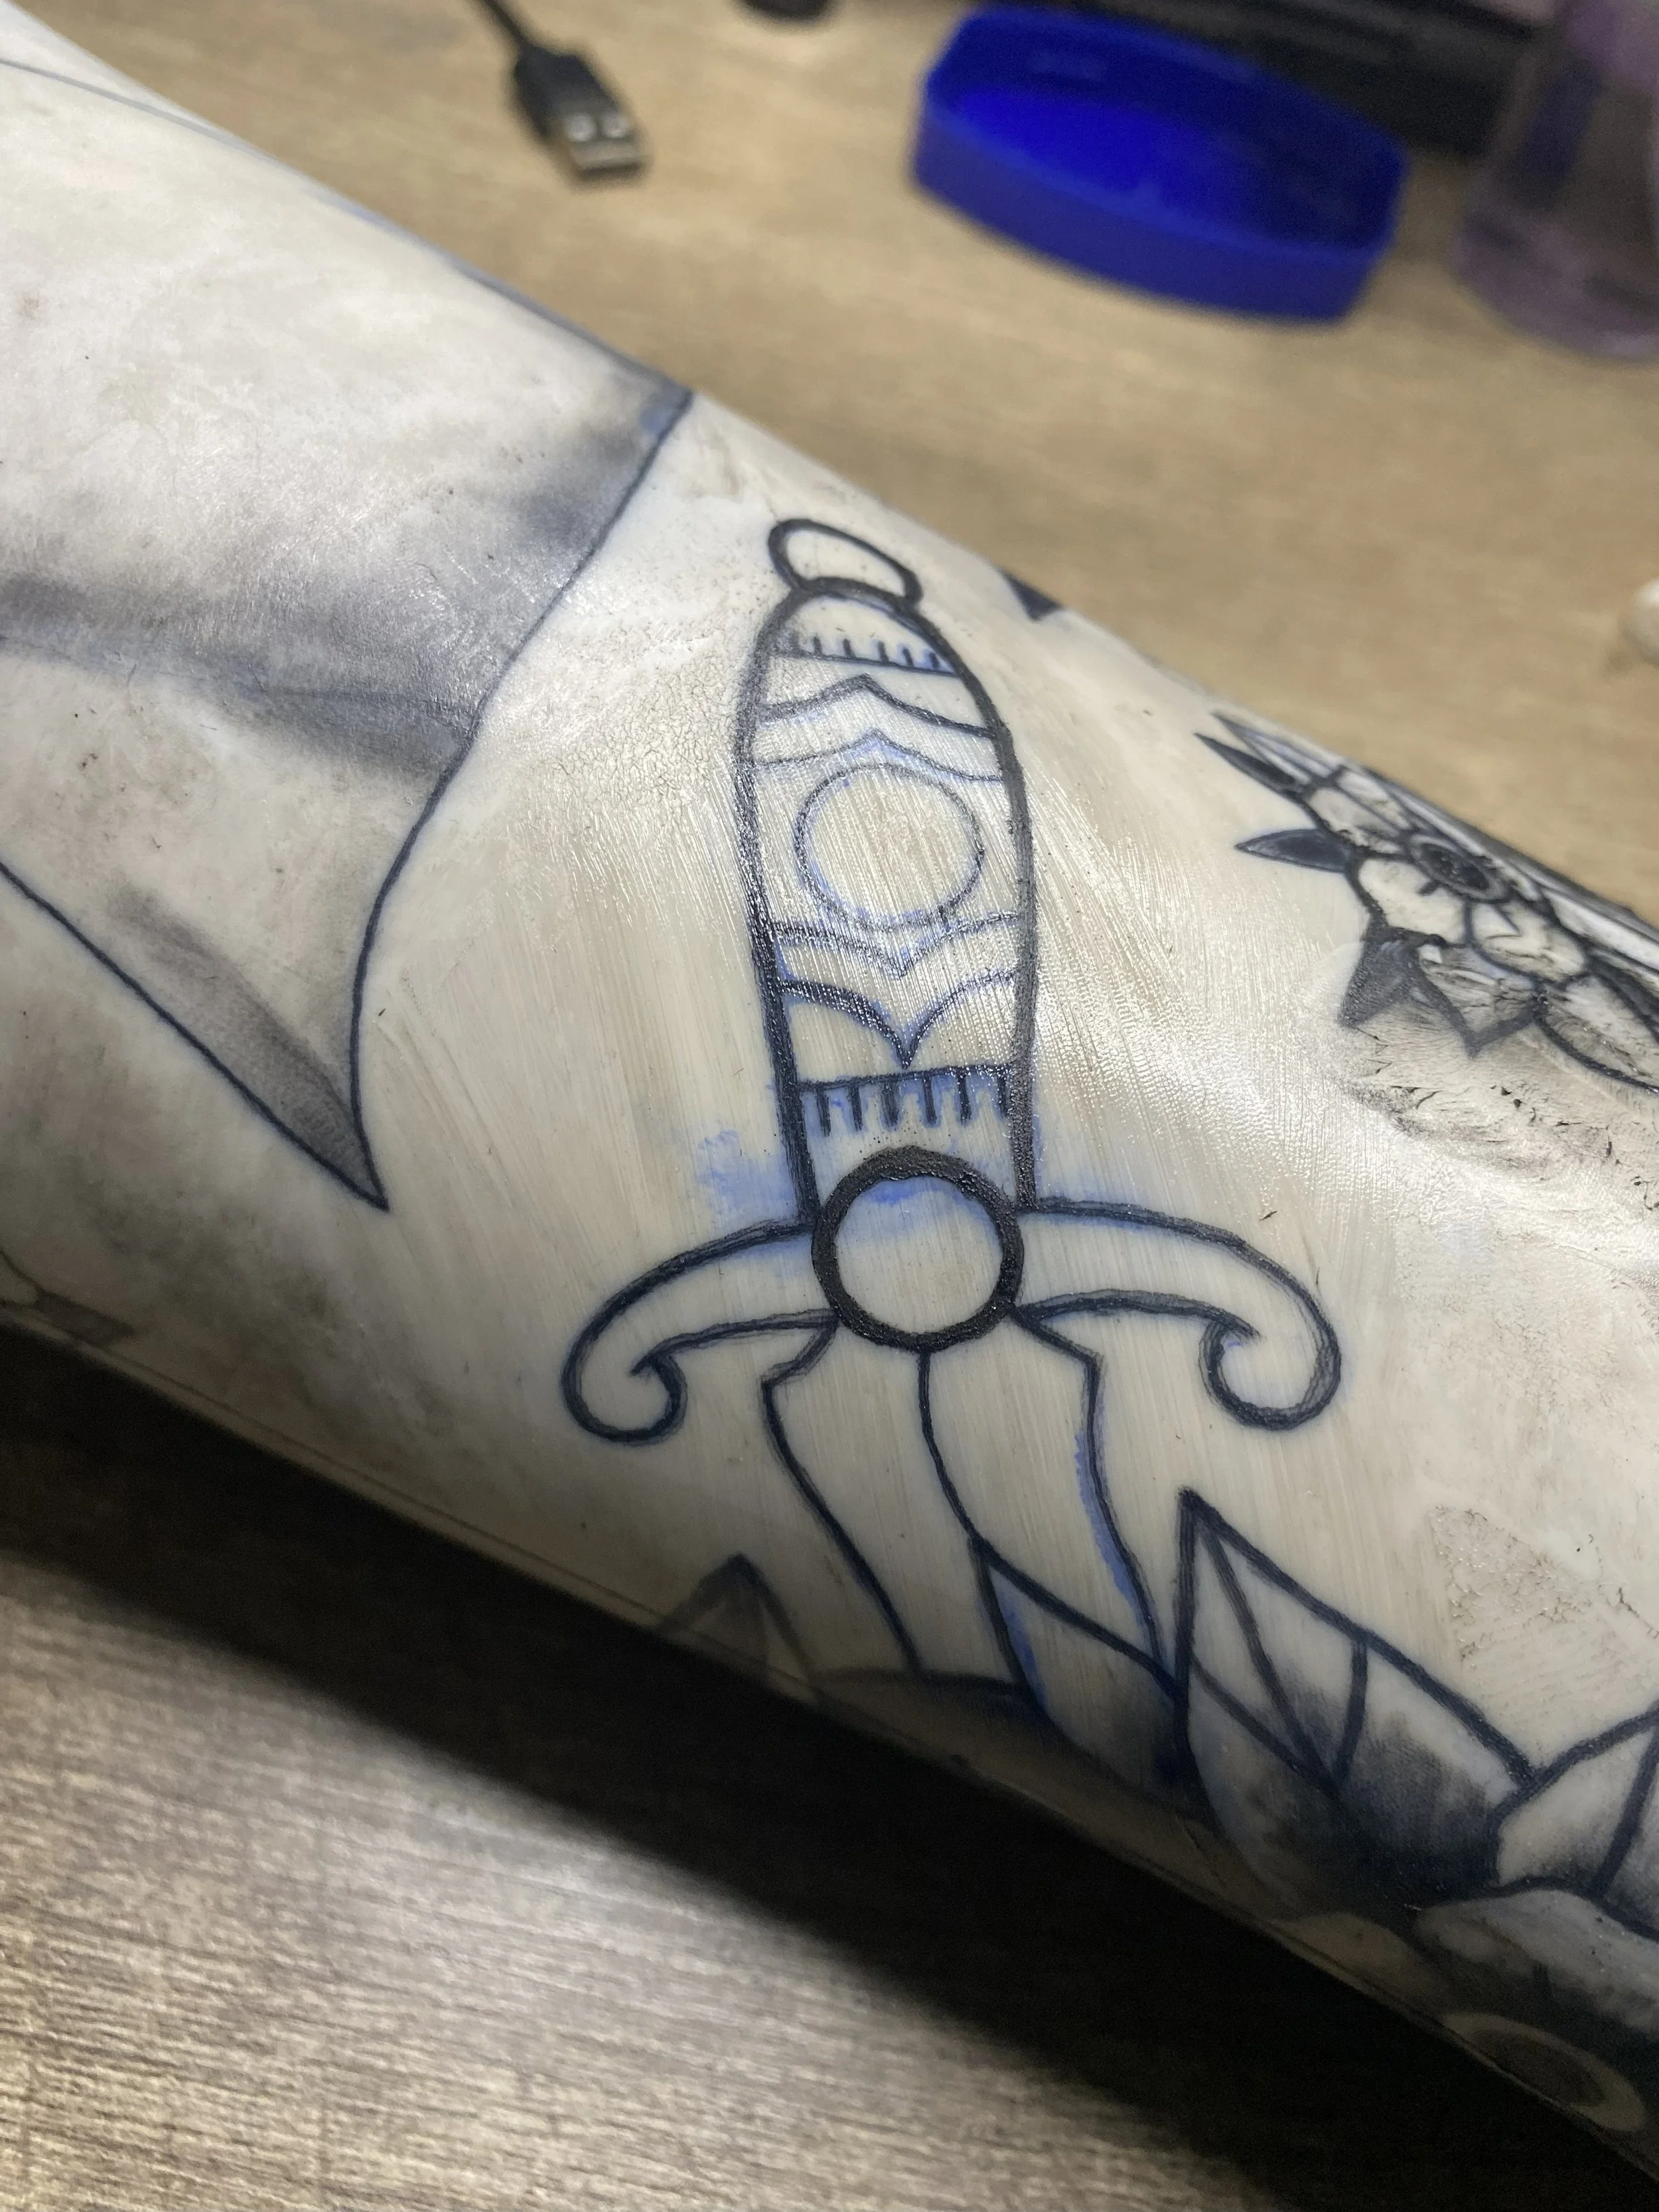
Styles
Blackwork – Tattoos using only black ink and solid areas of fill
Fine line – Tattoos with delicate, thin lines
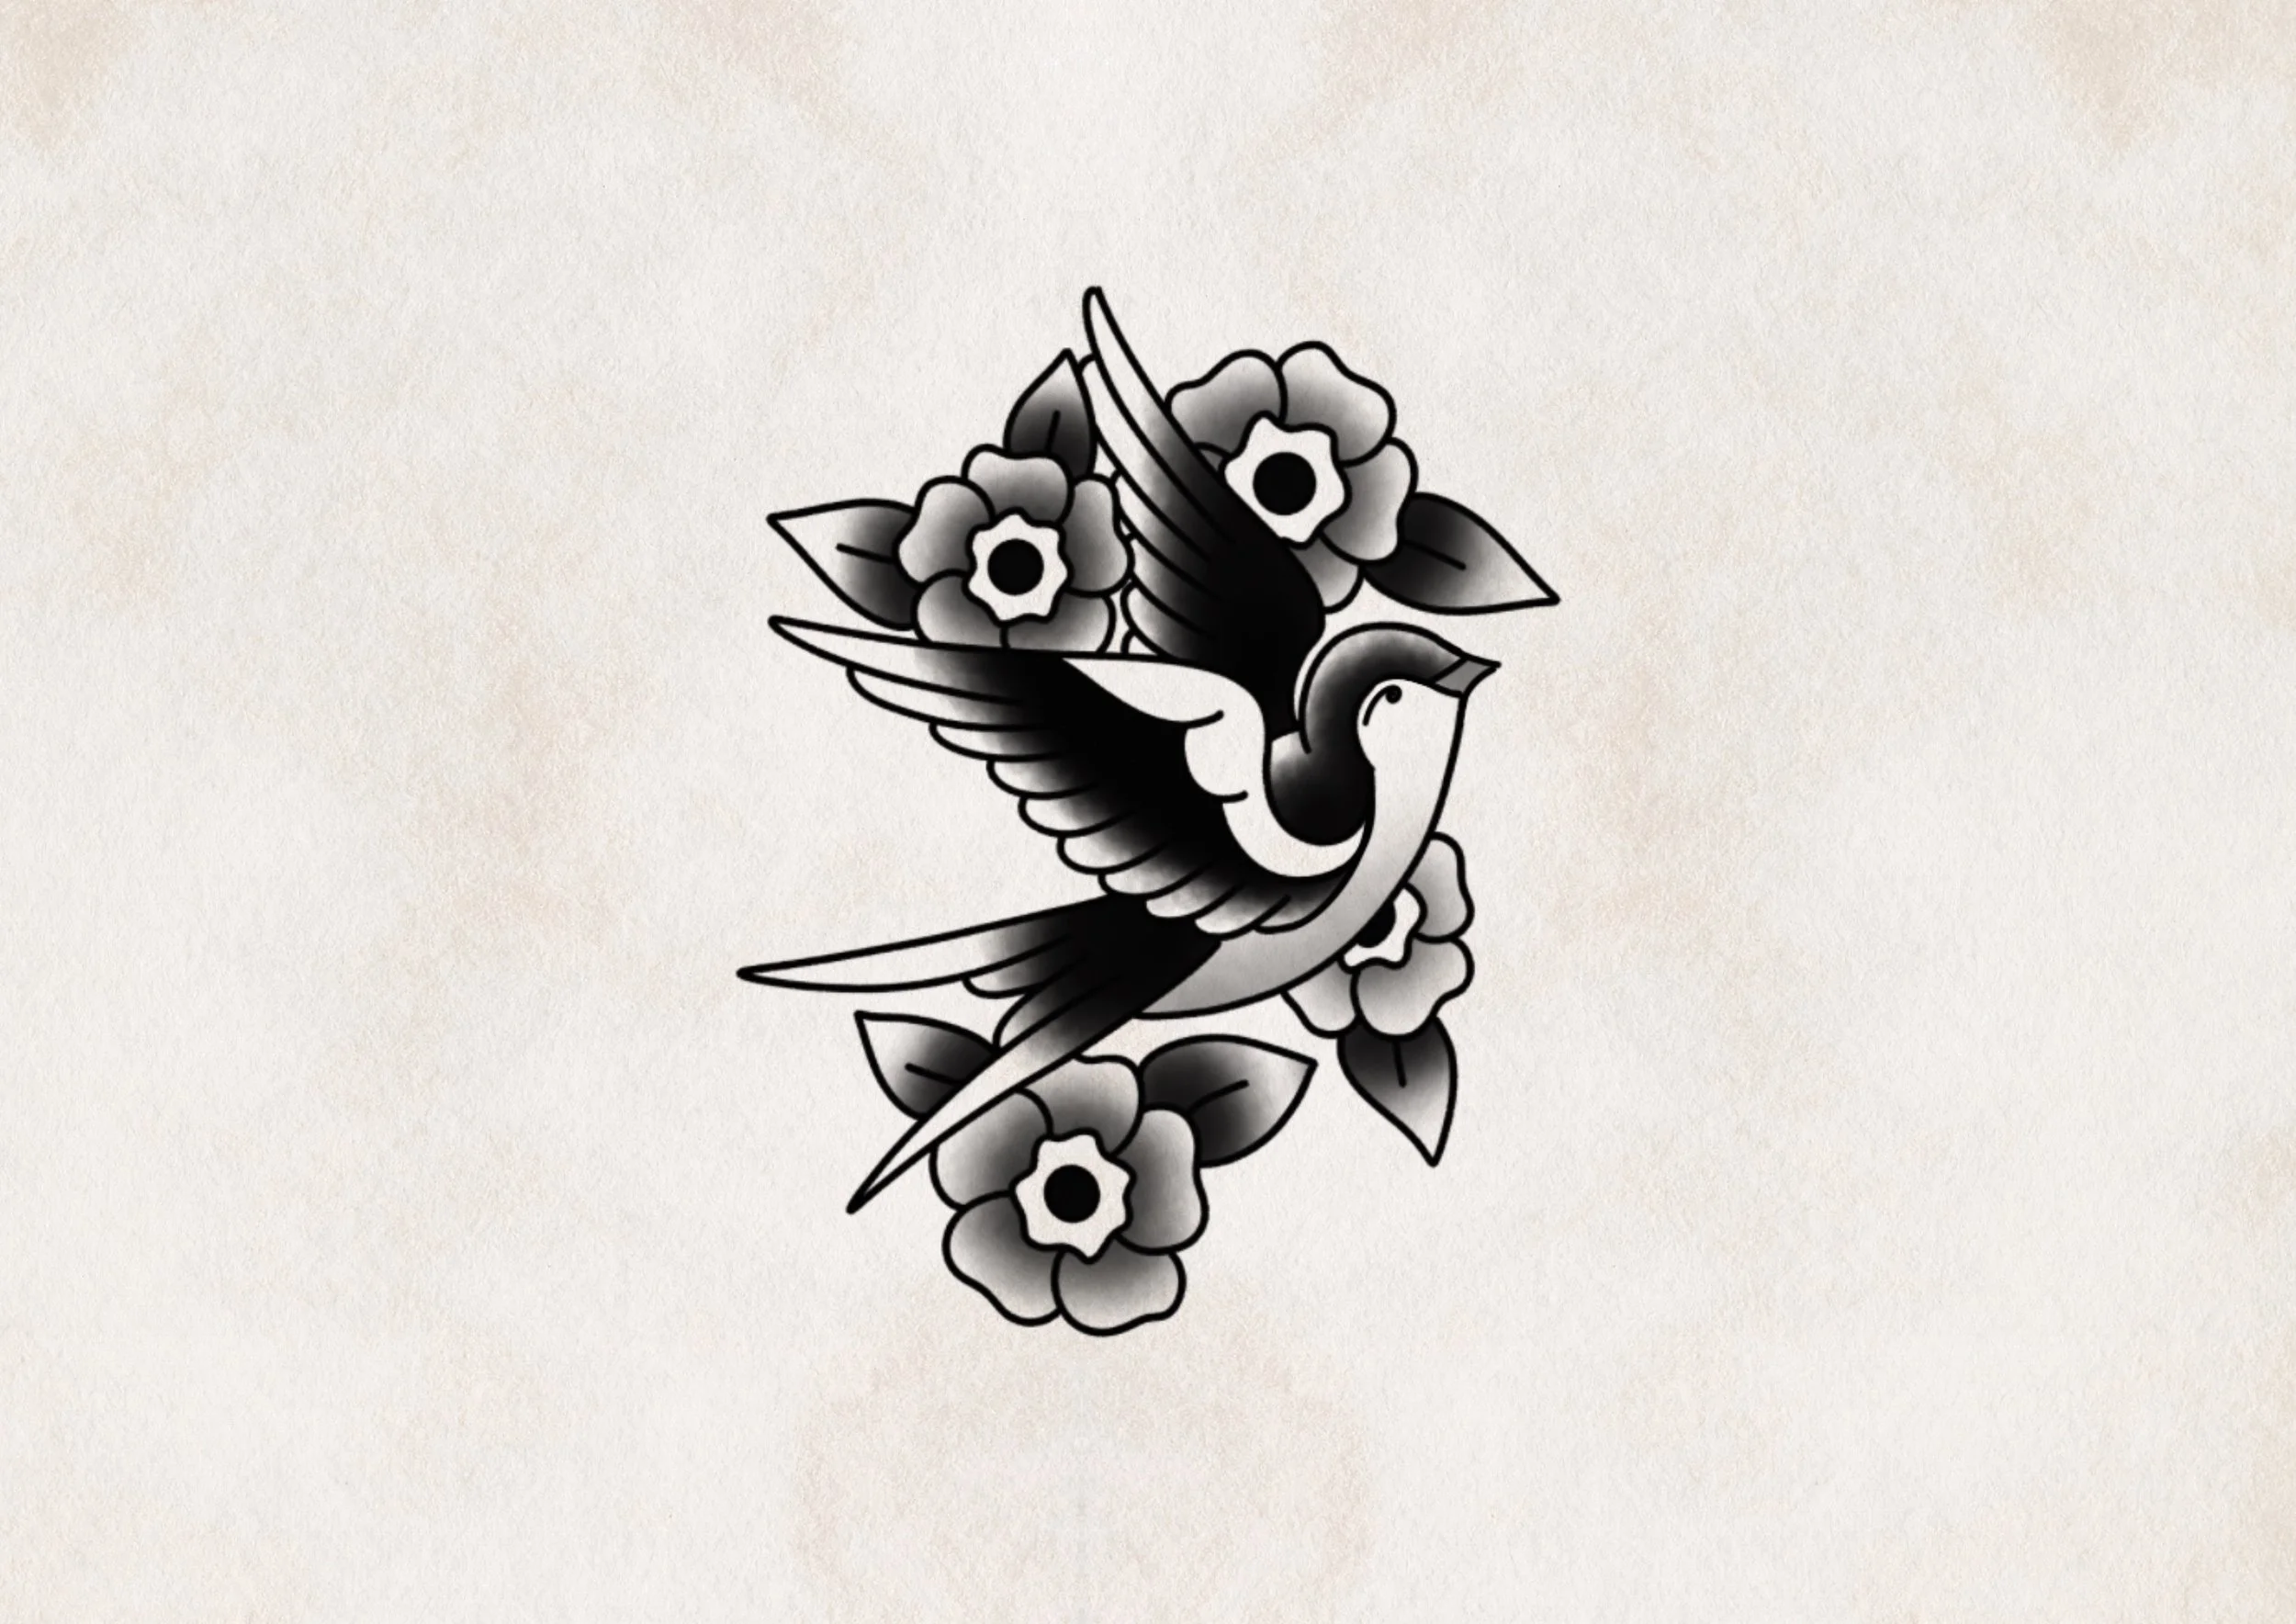
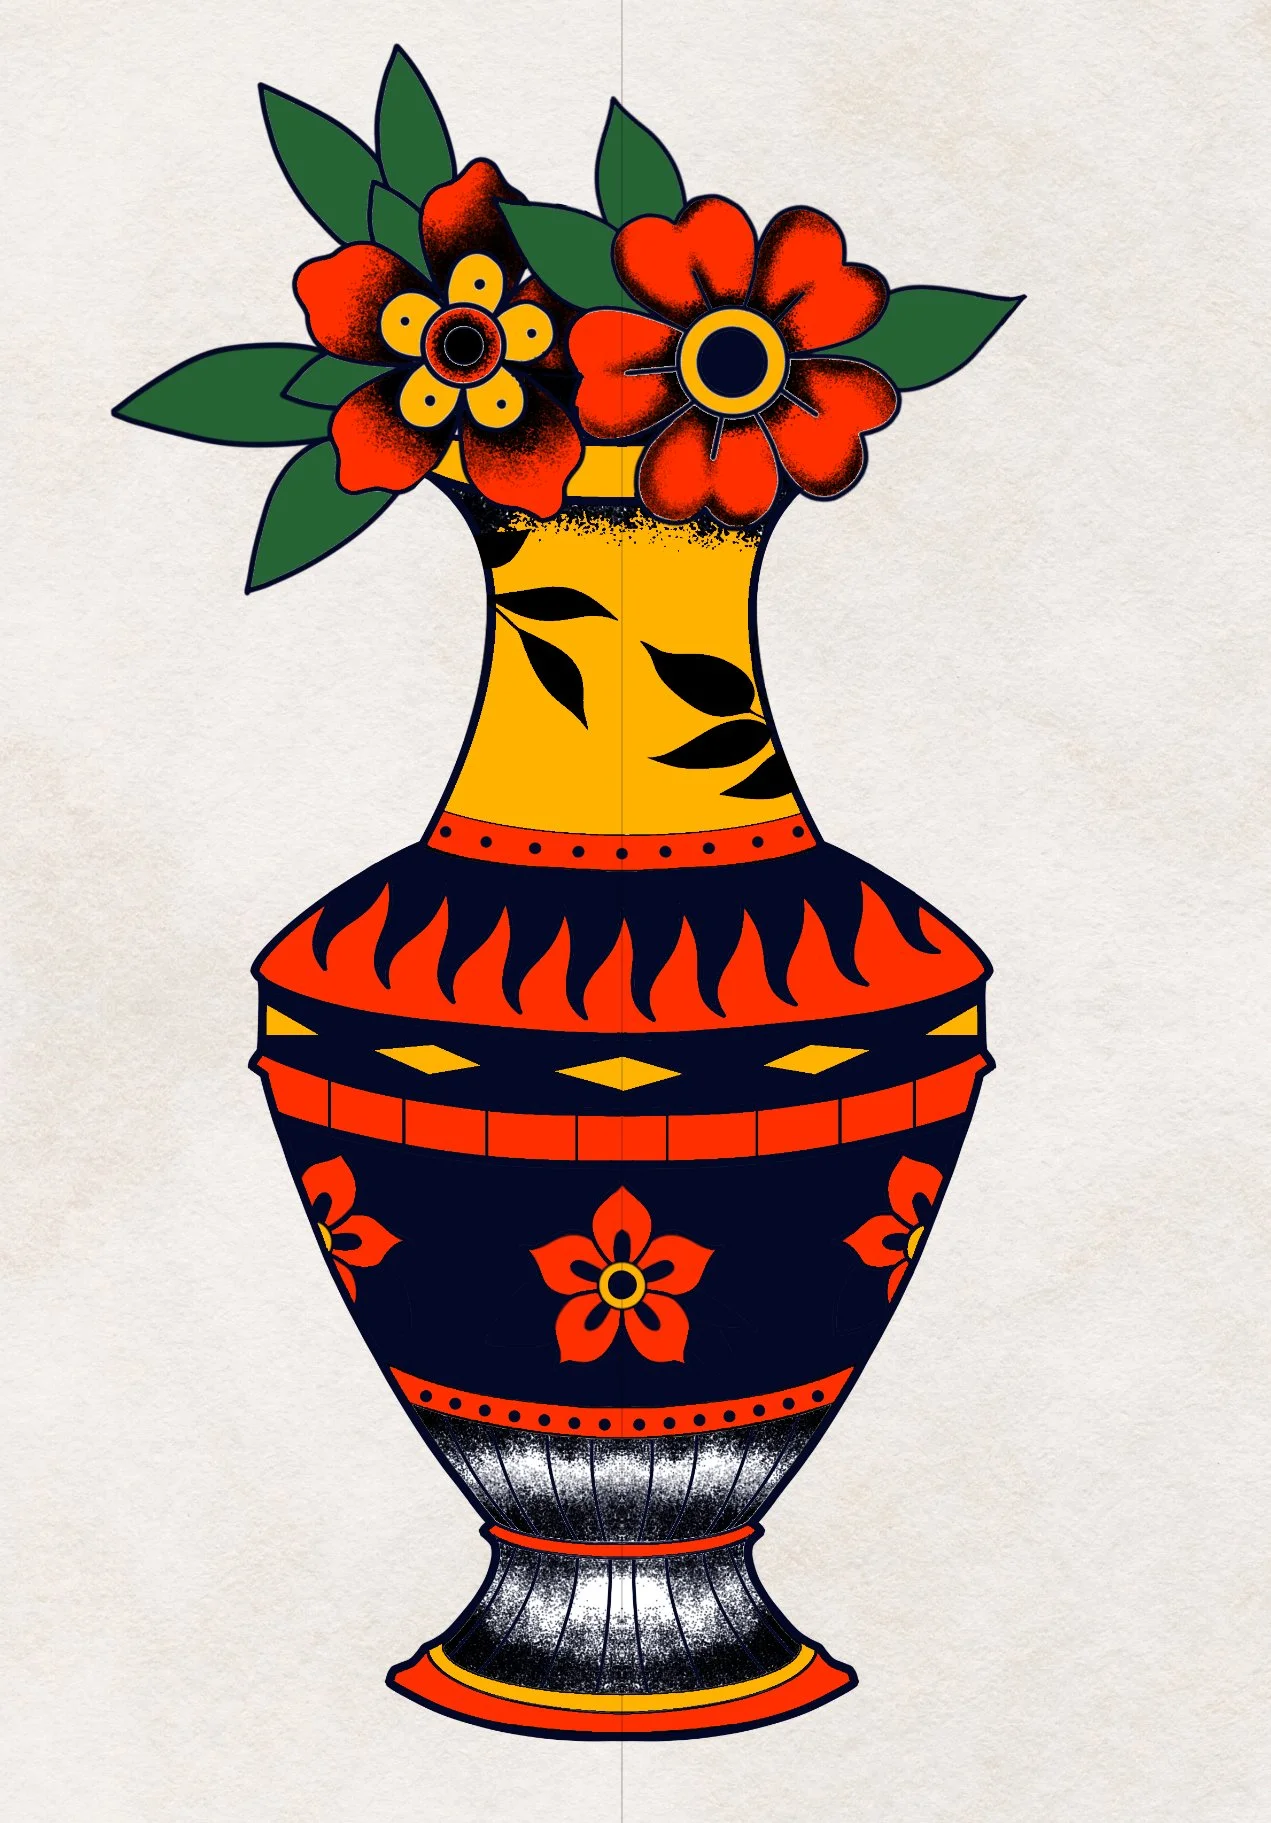
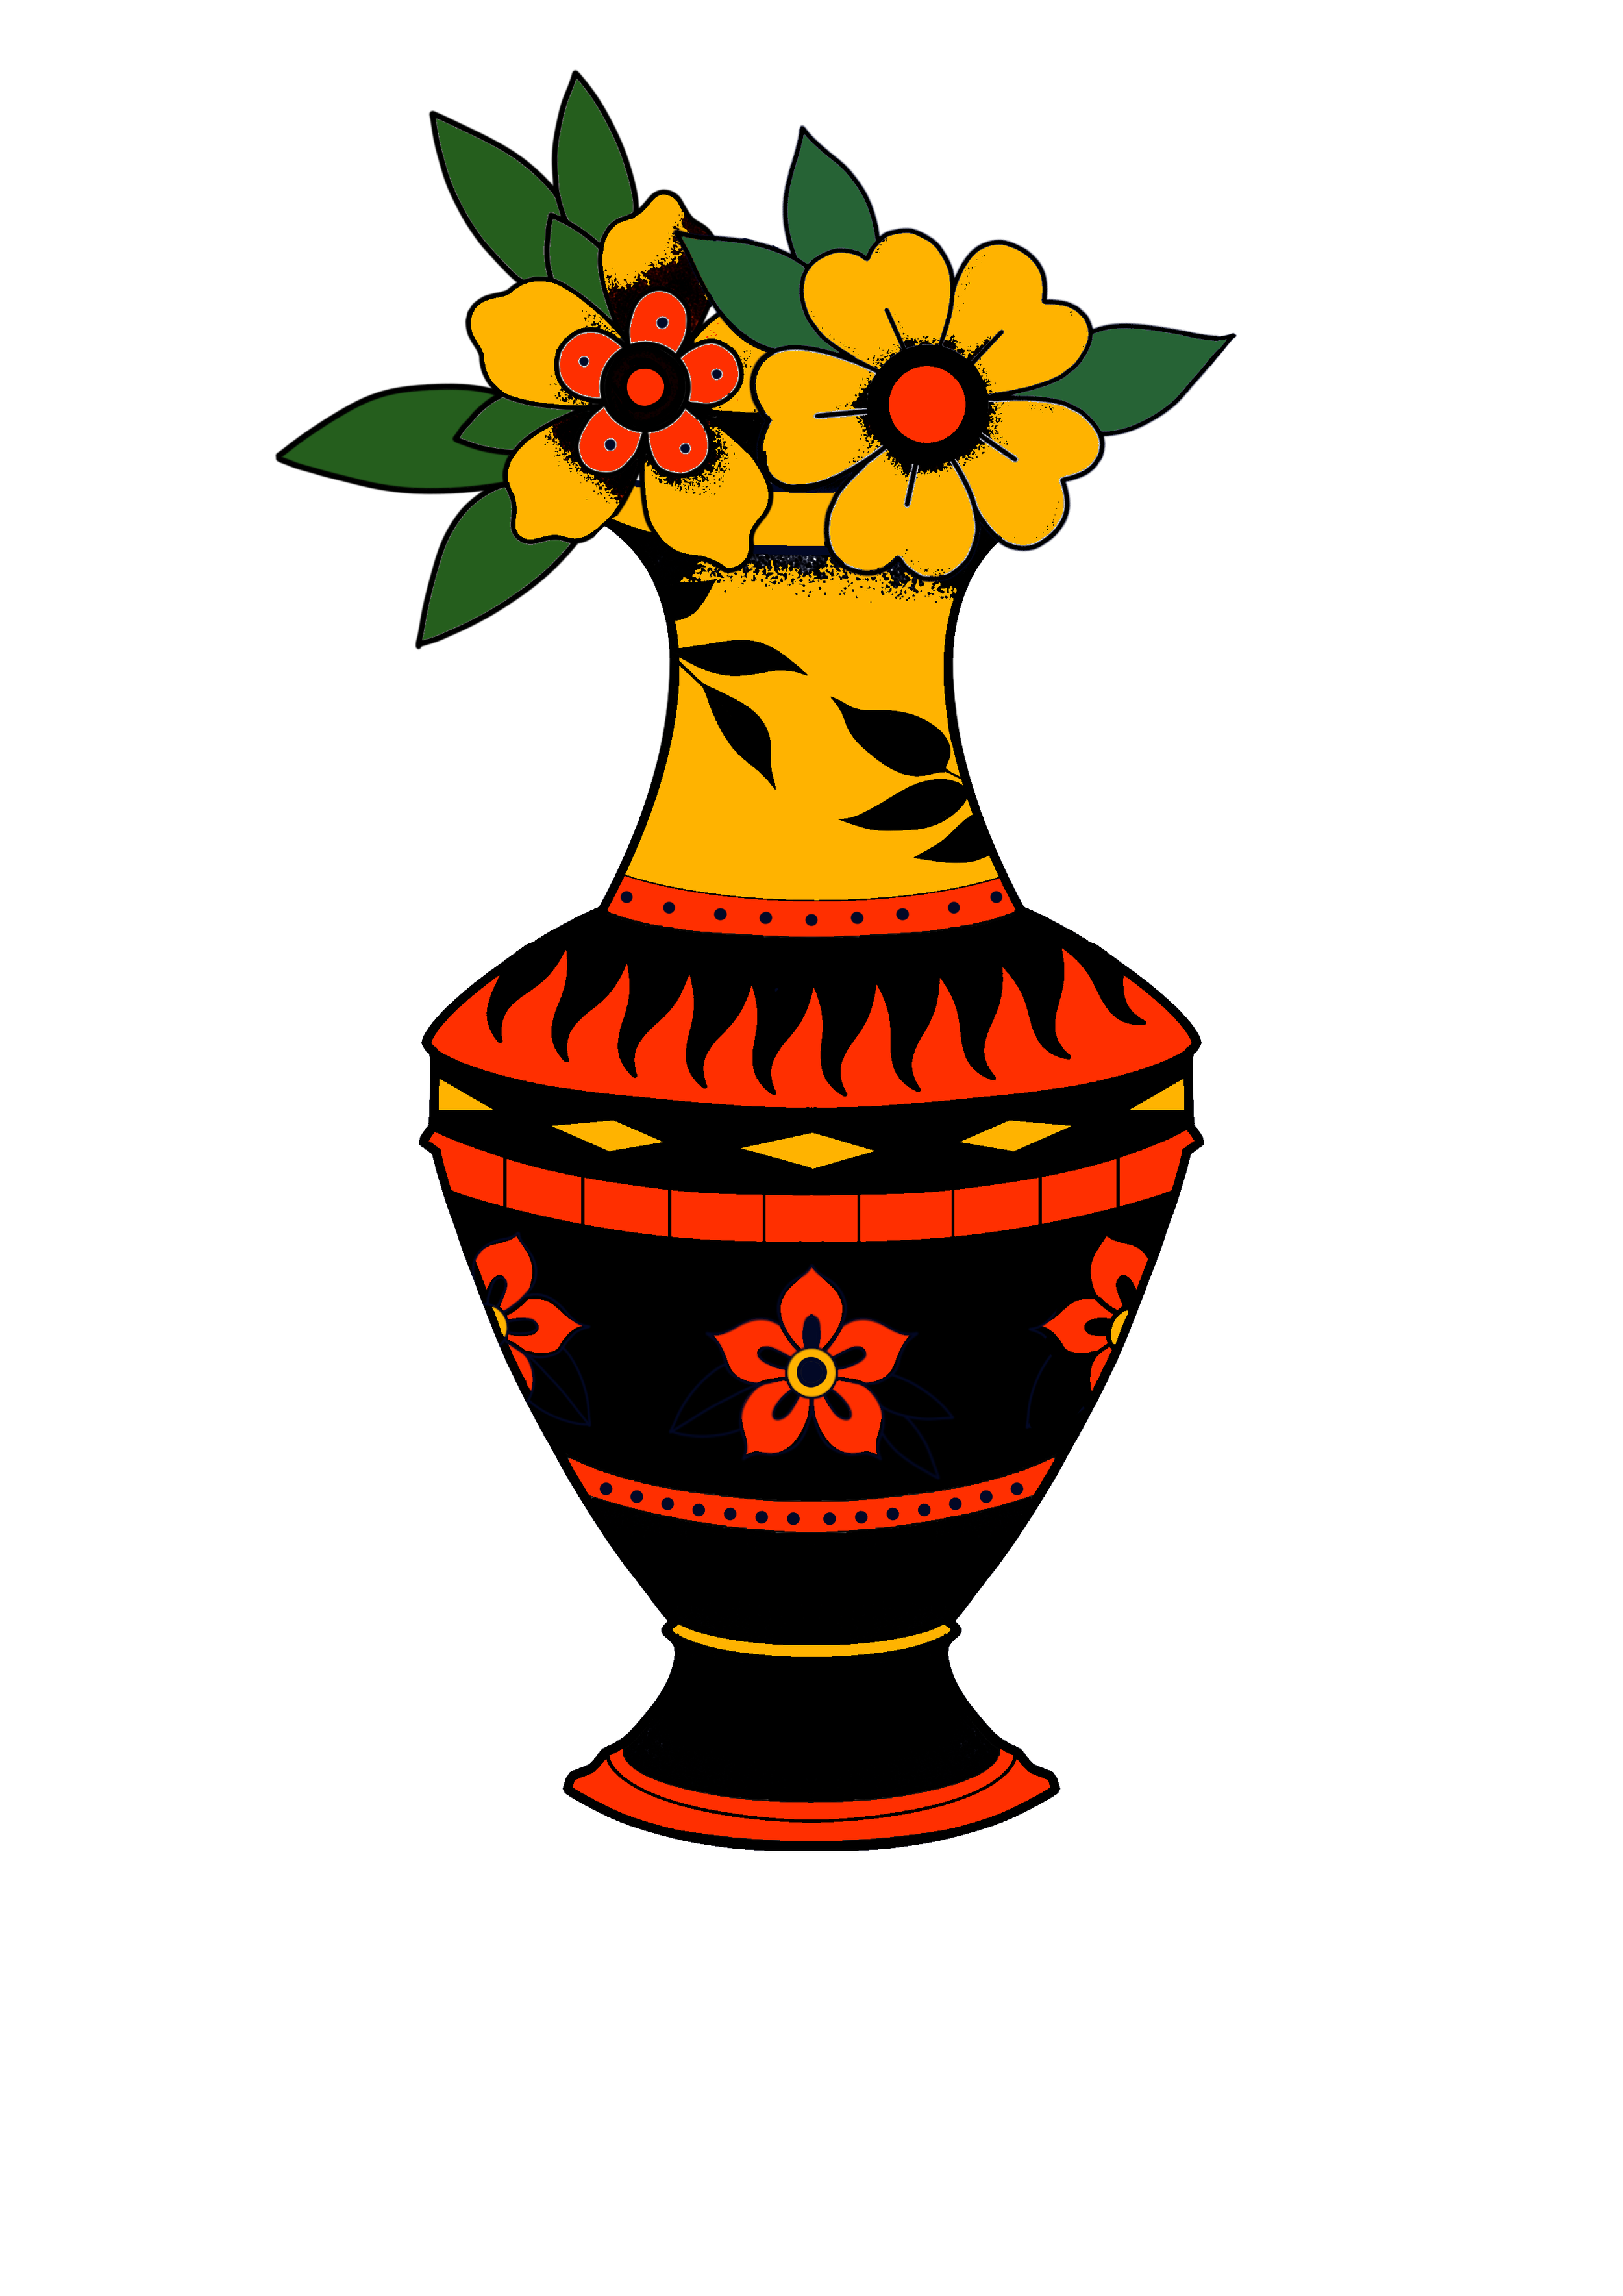
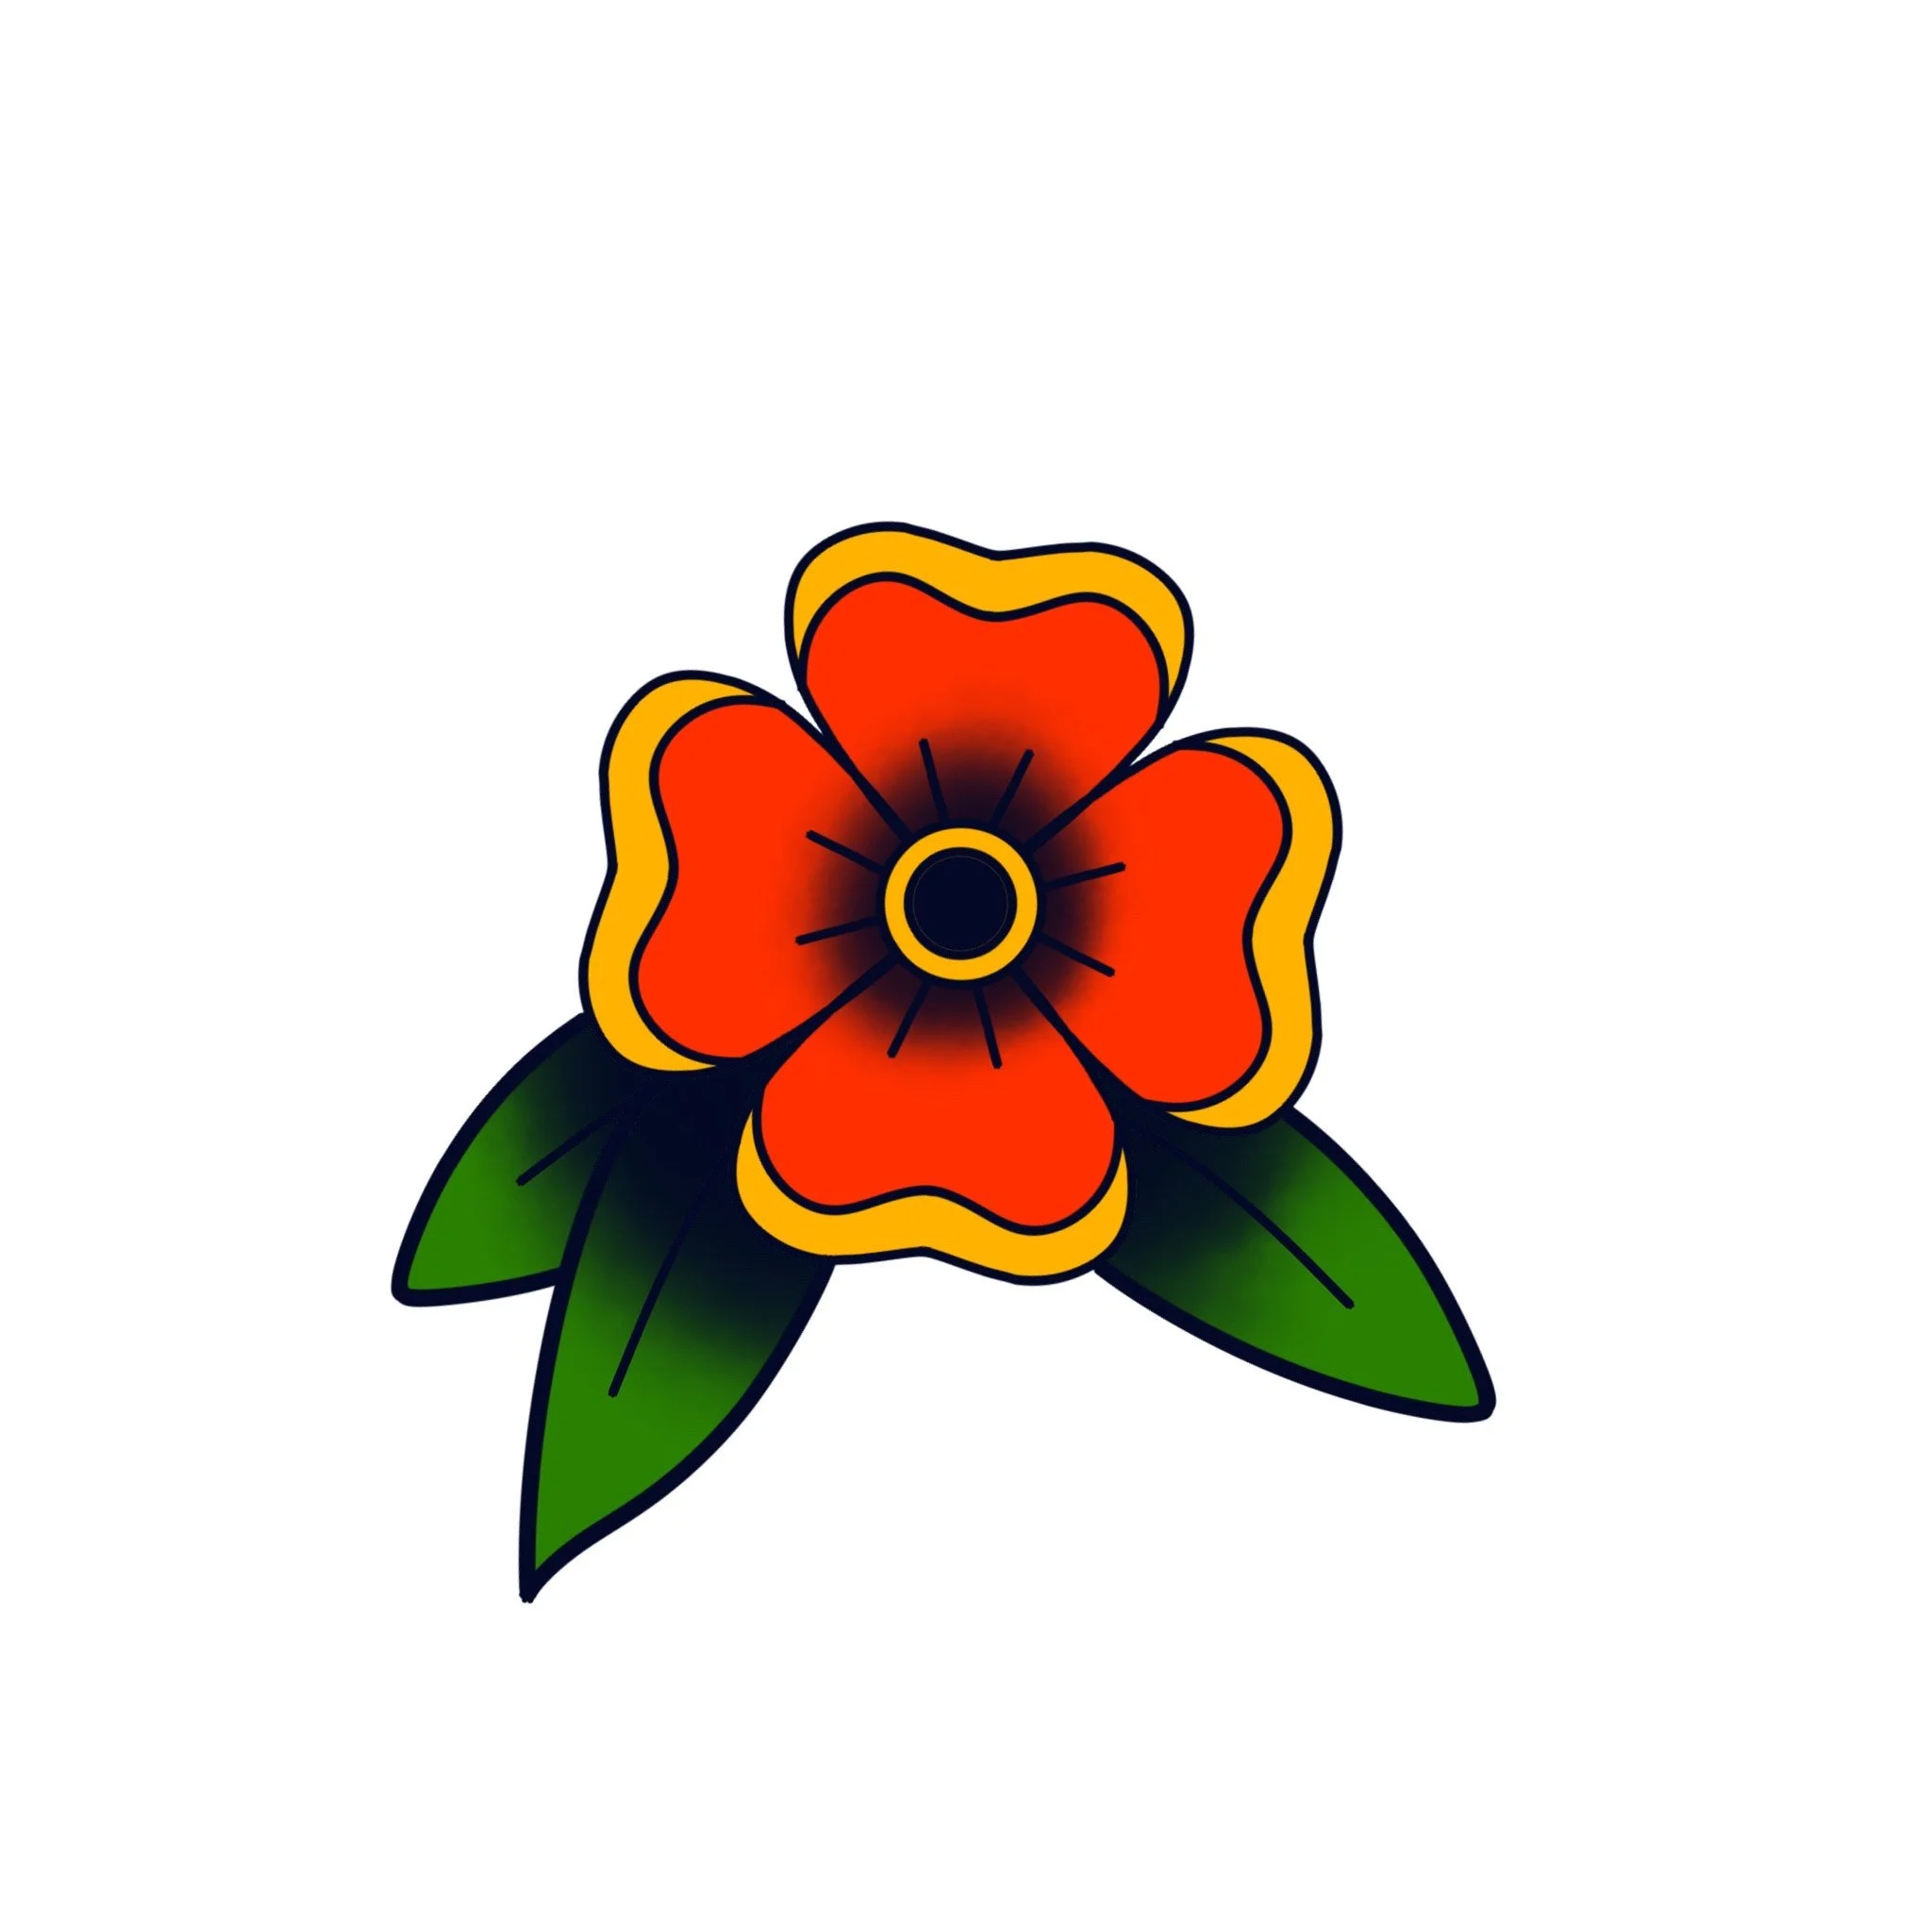
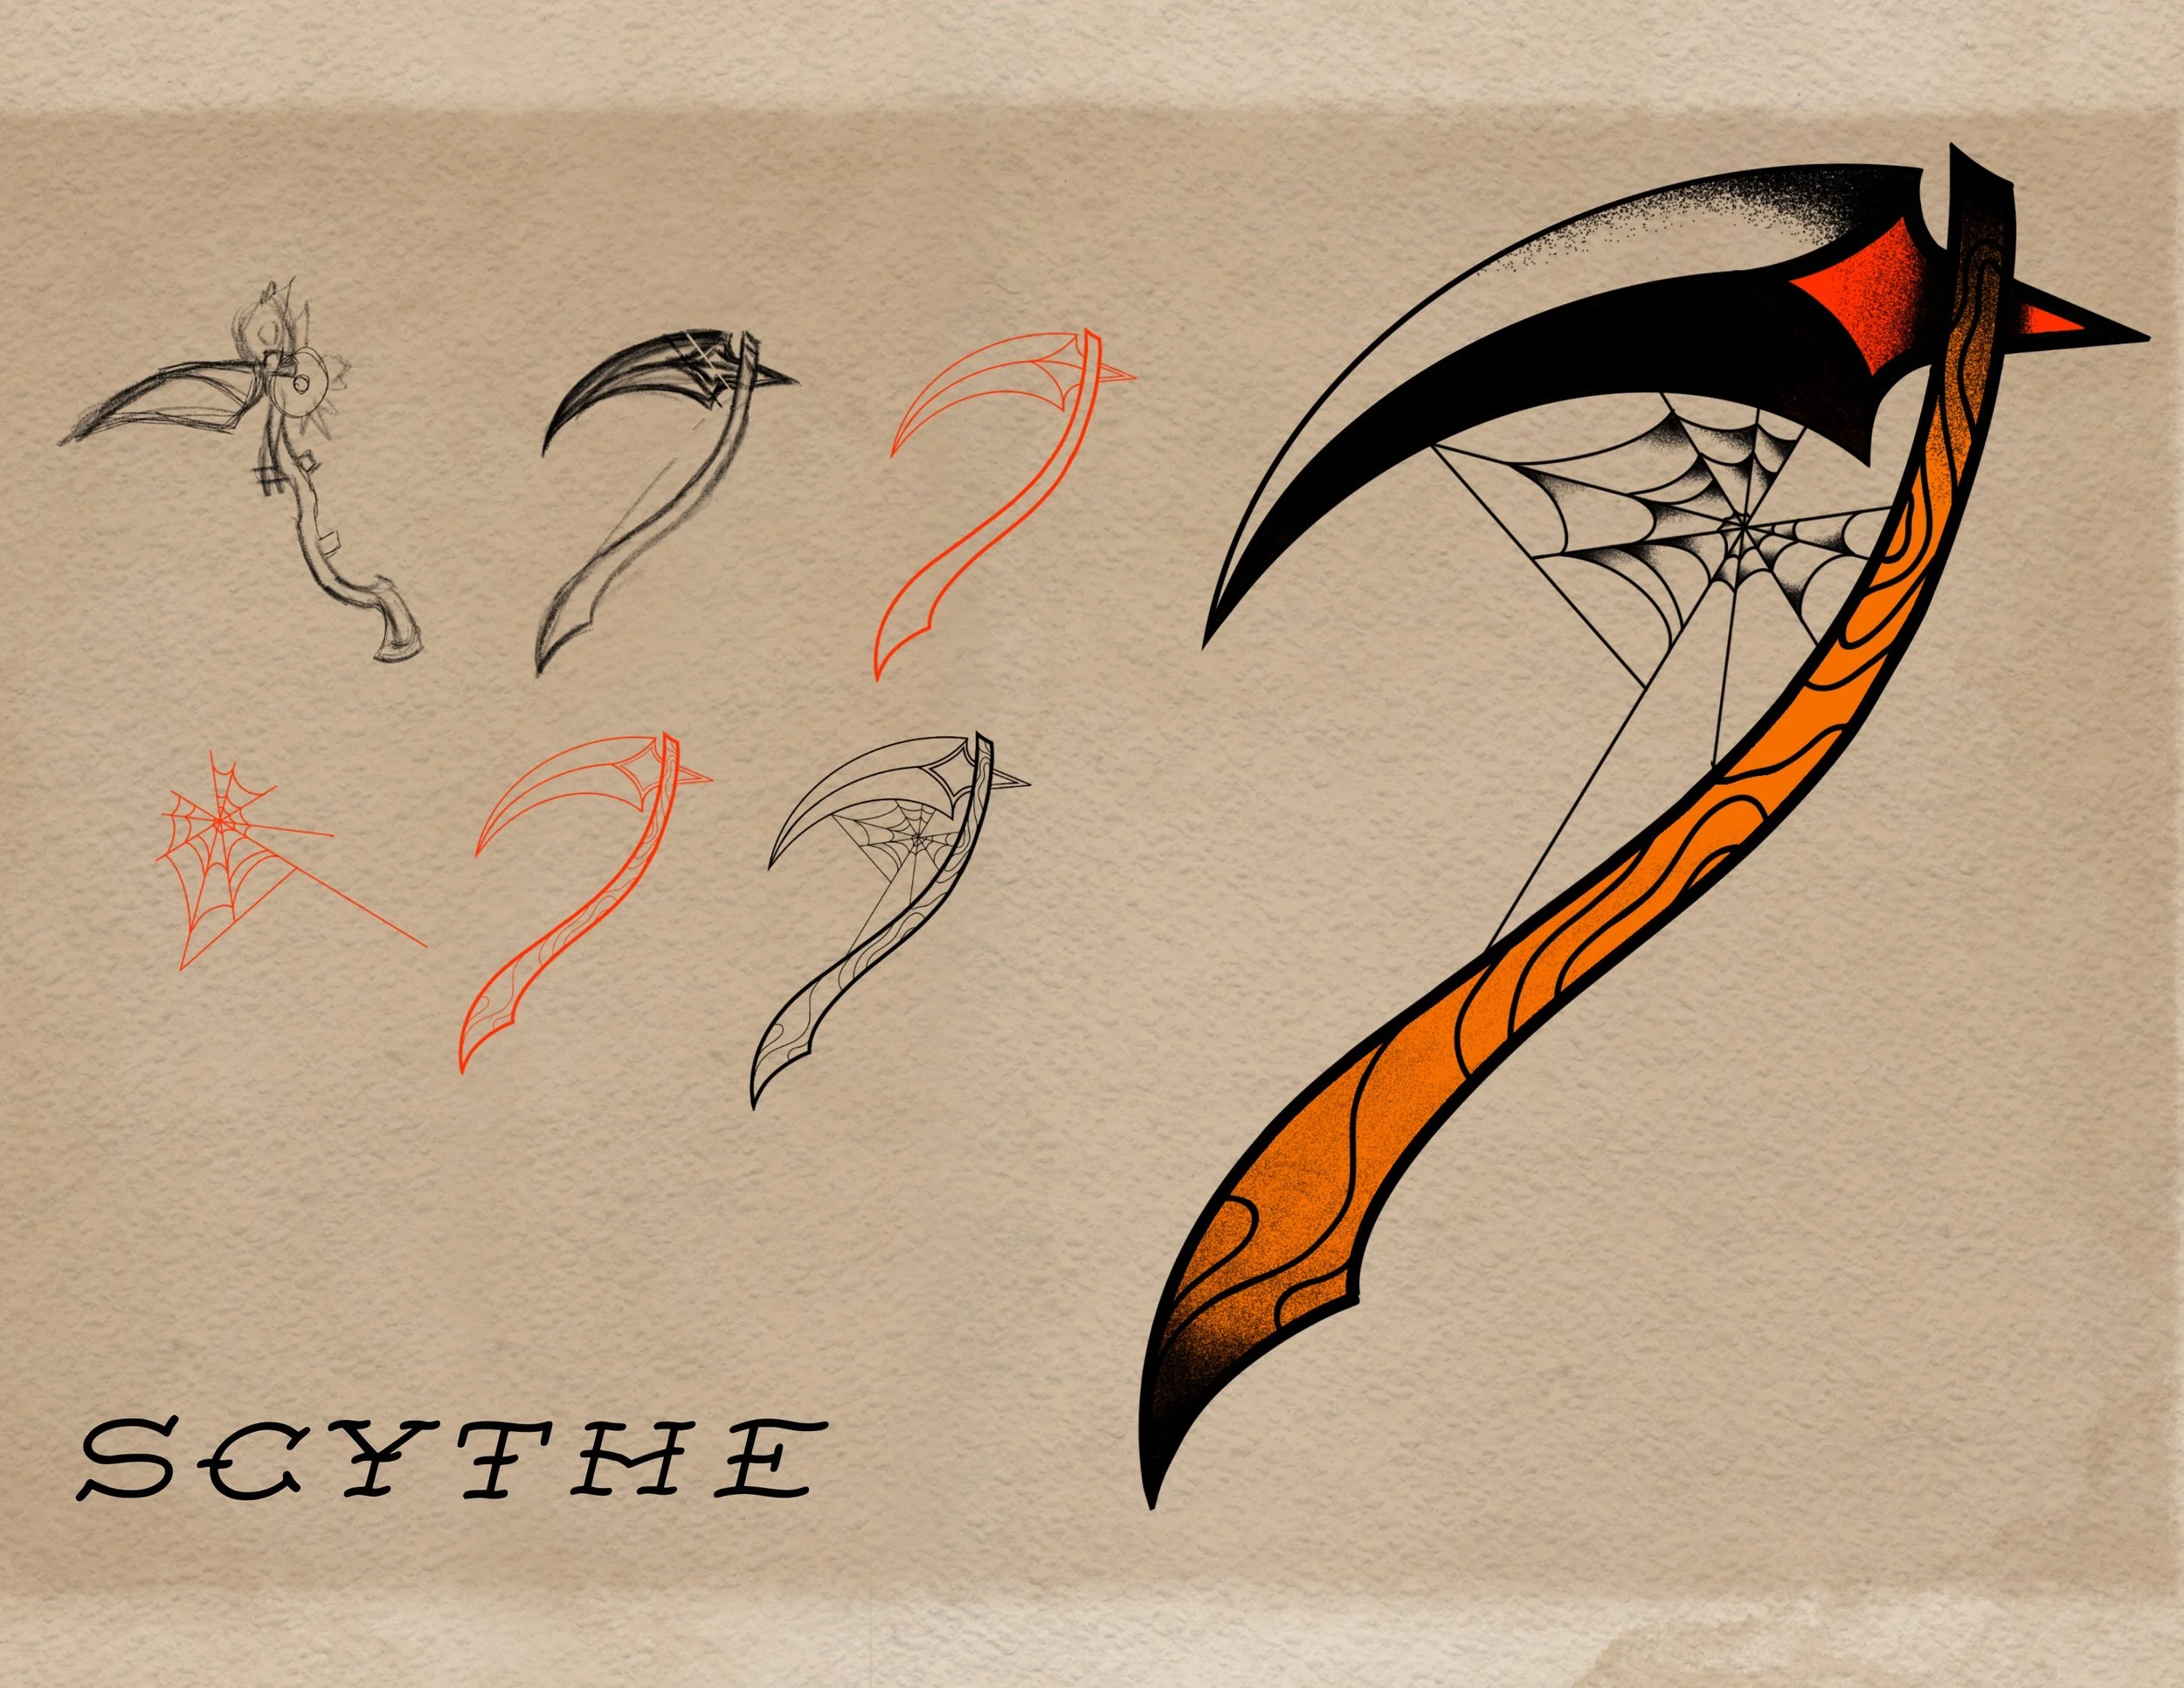
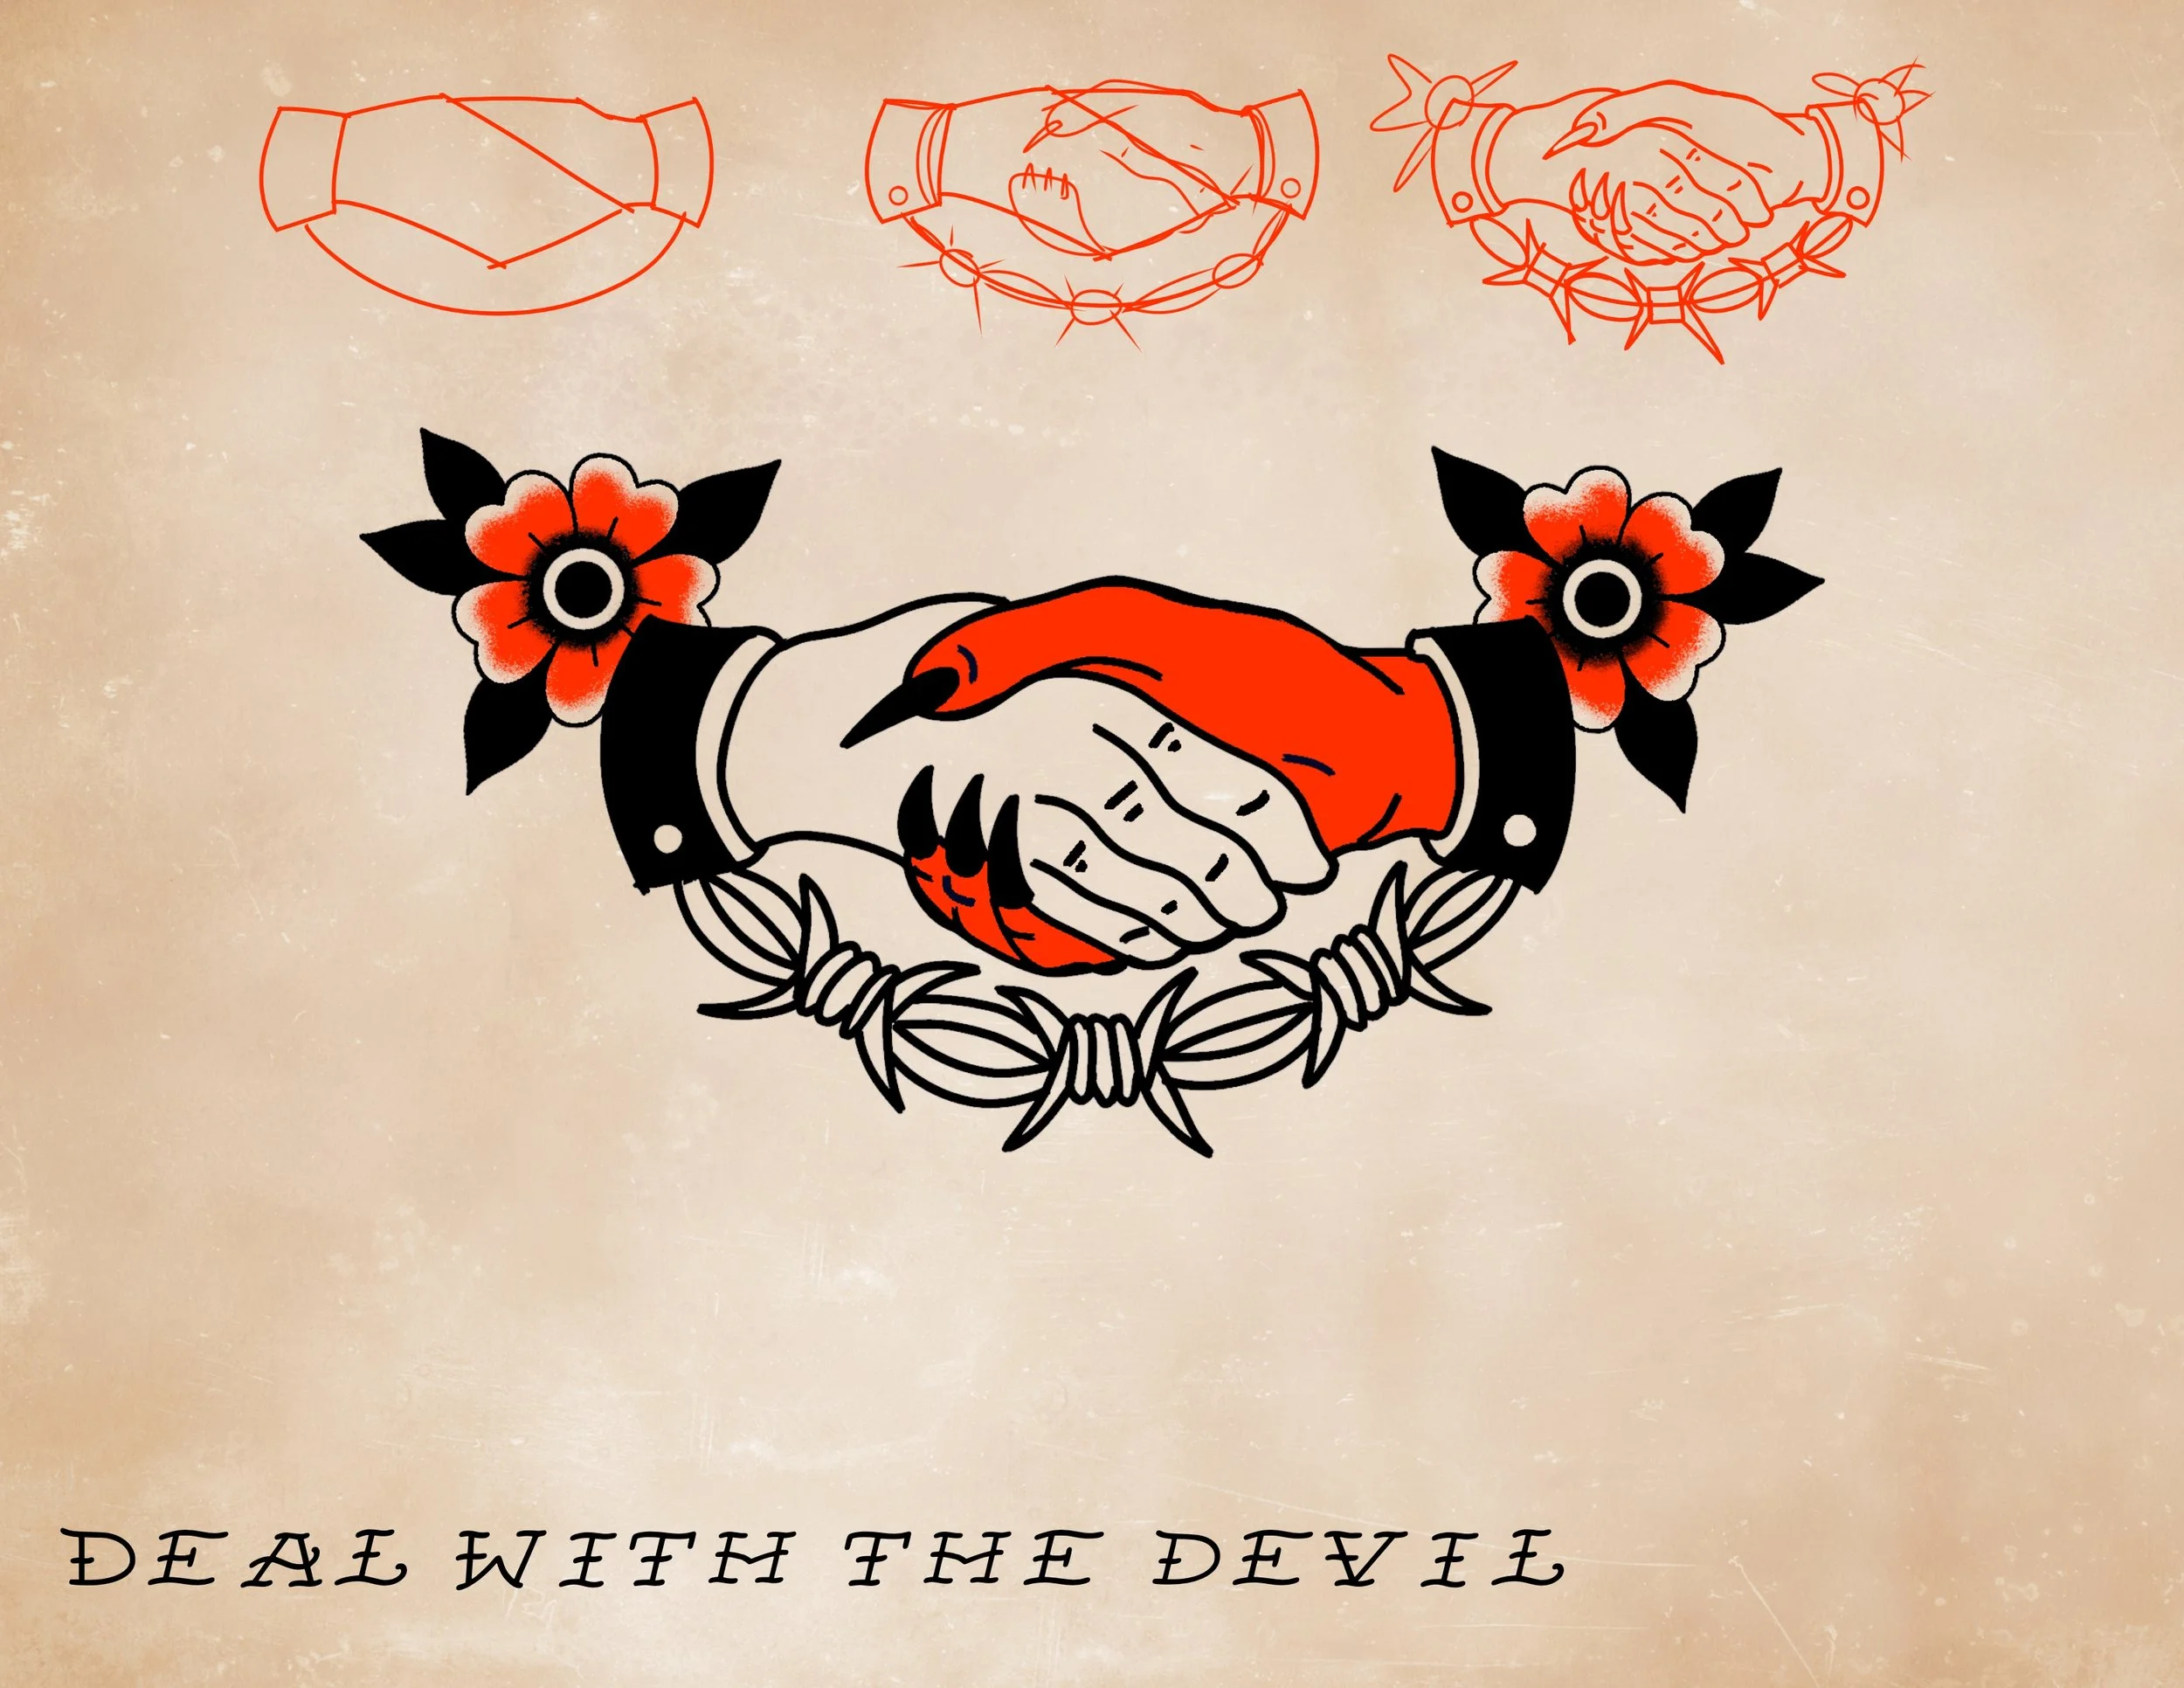
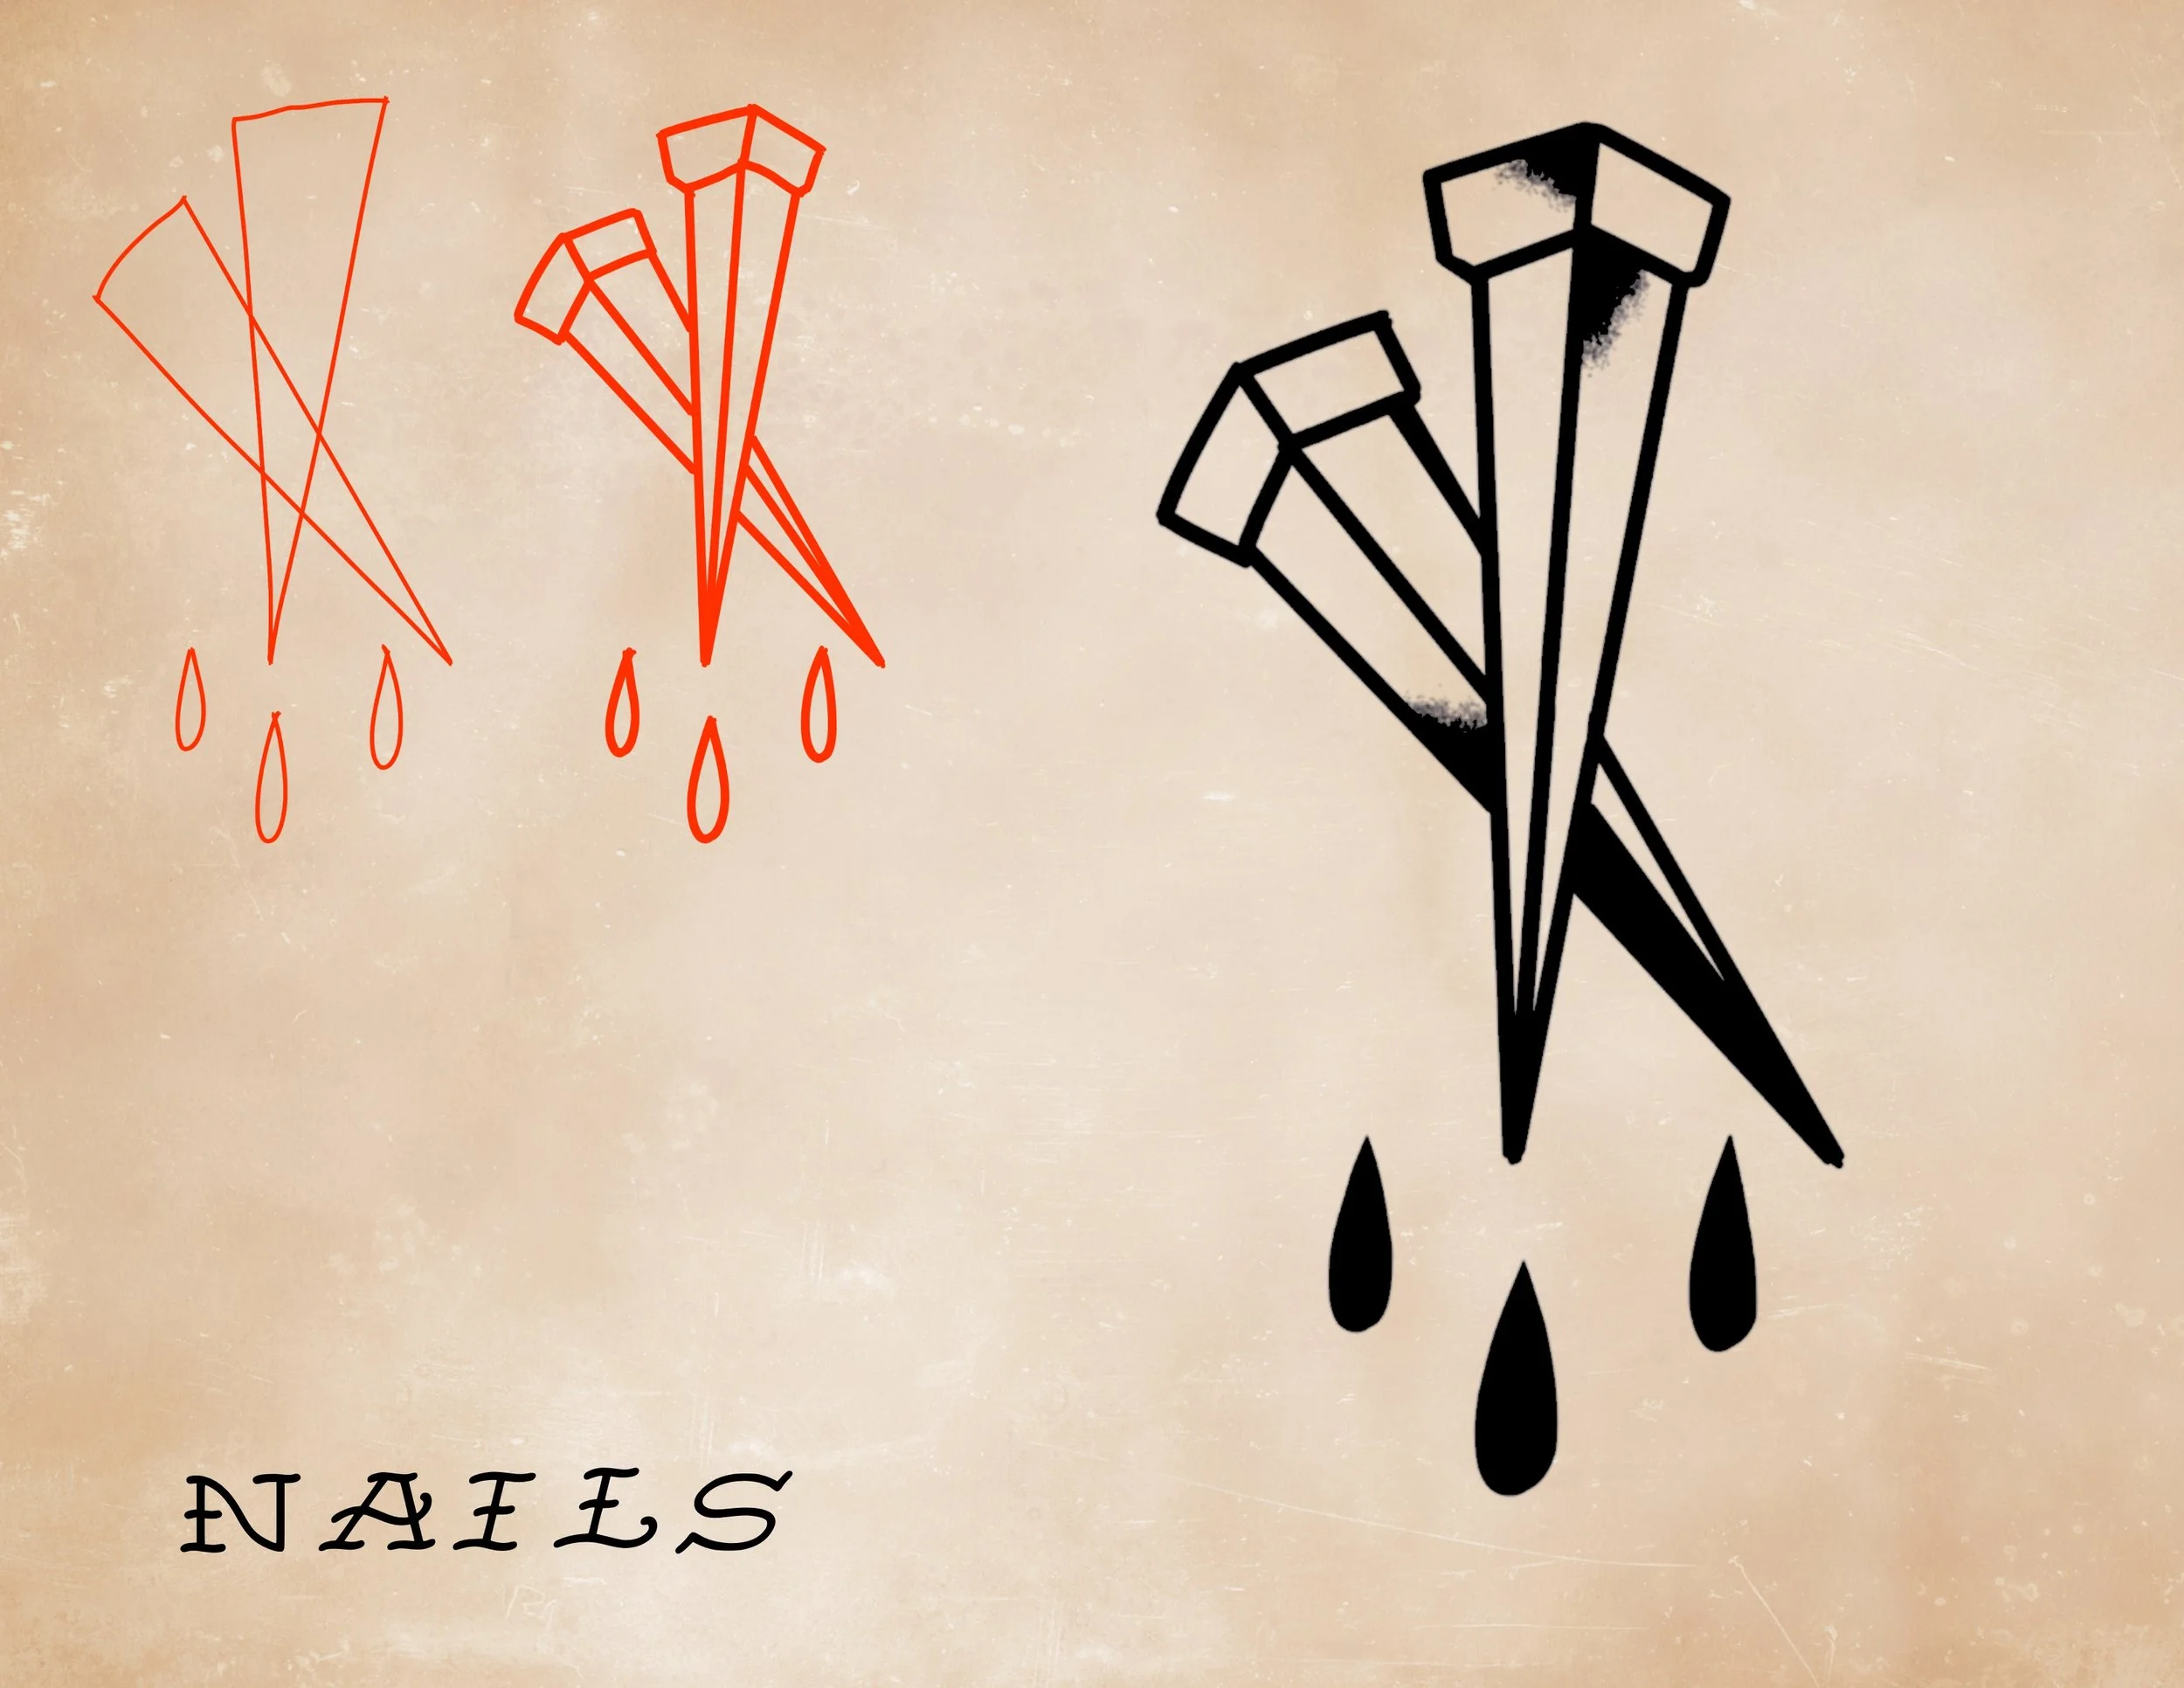
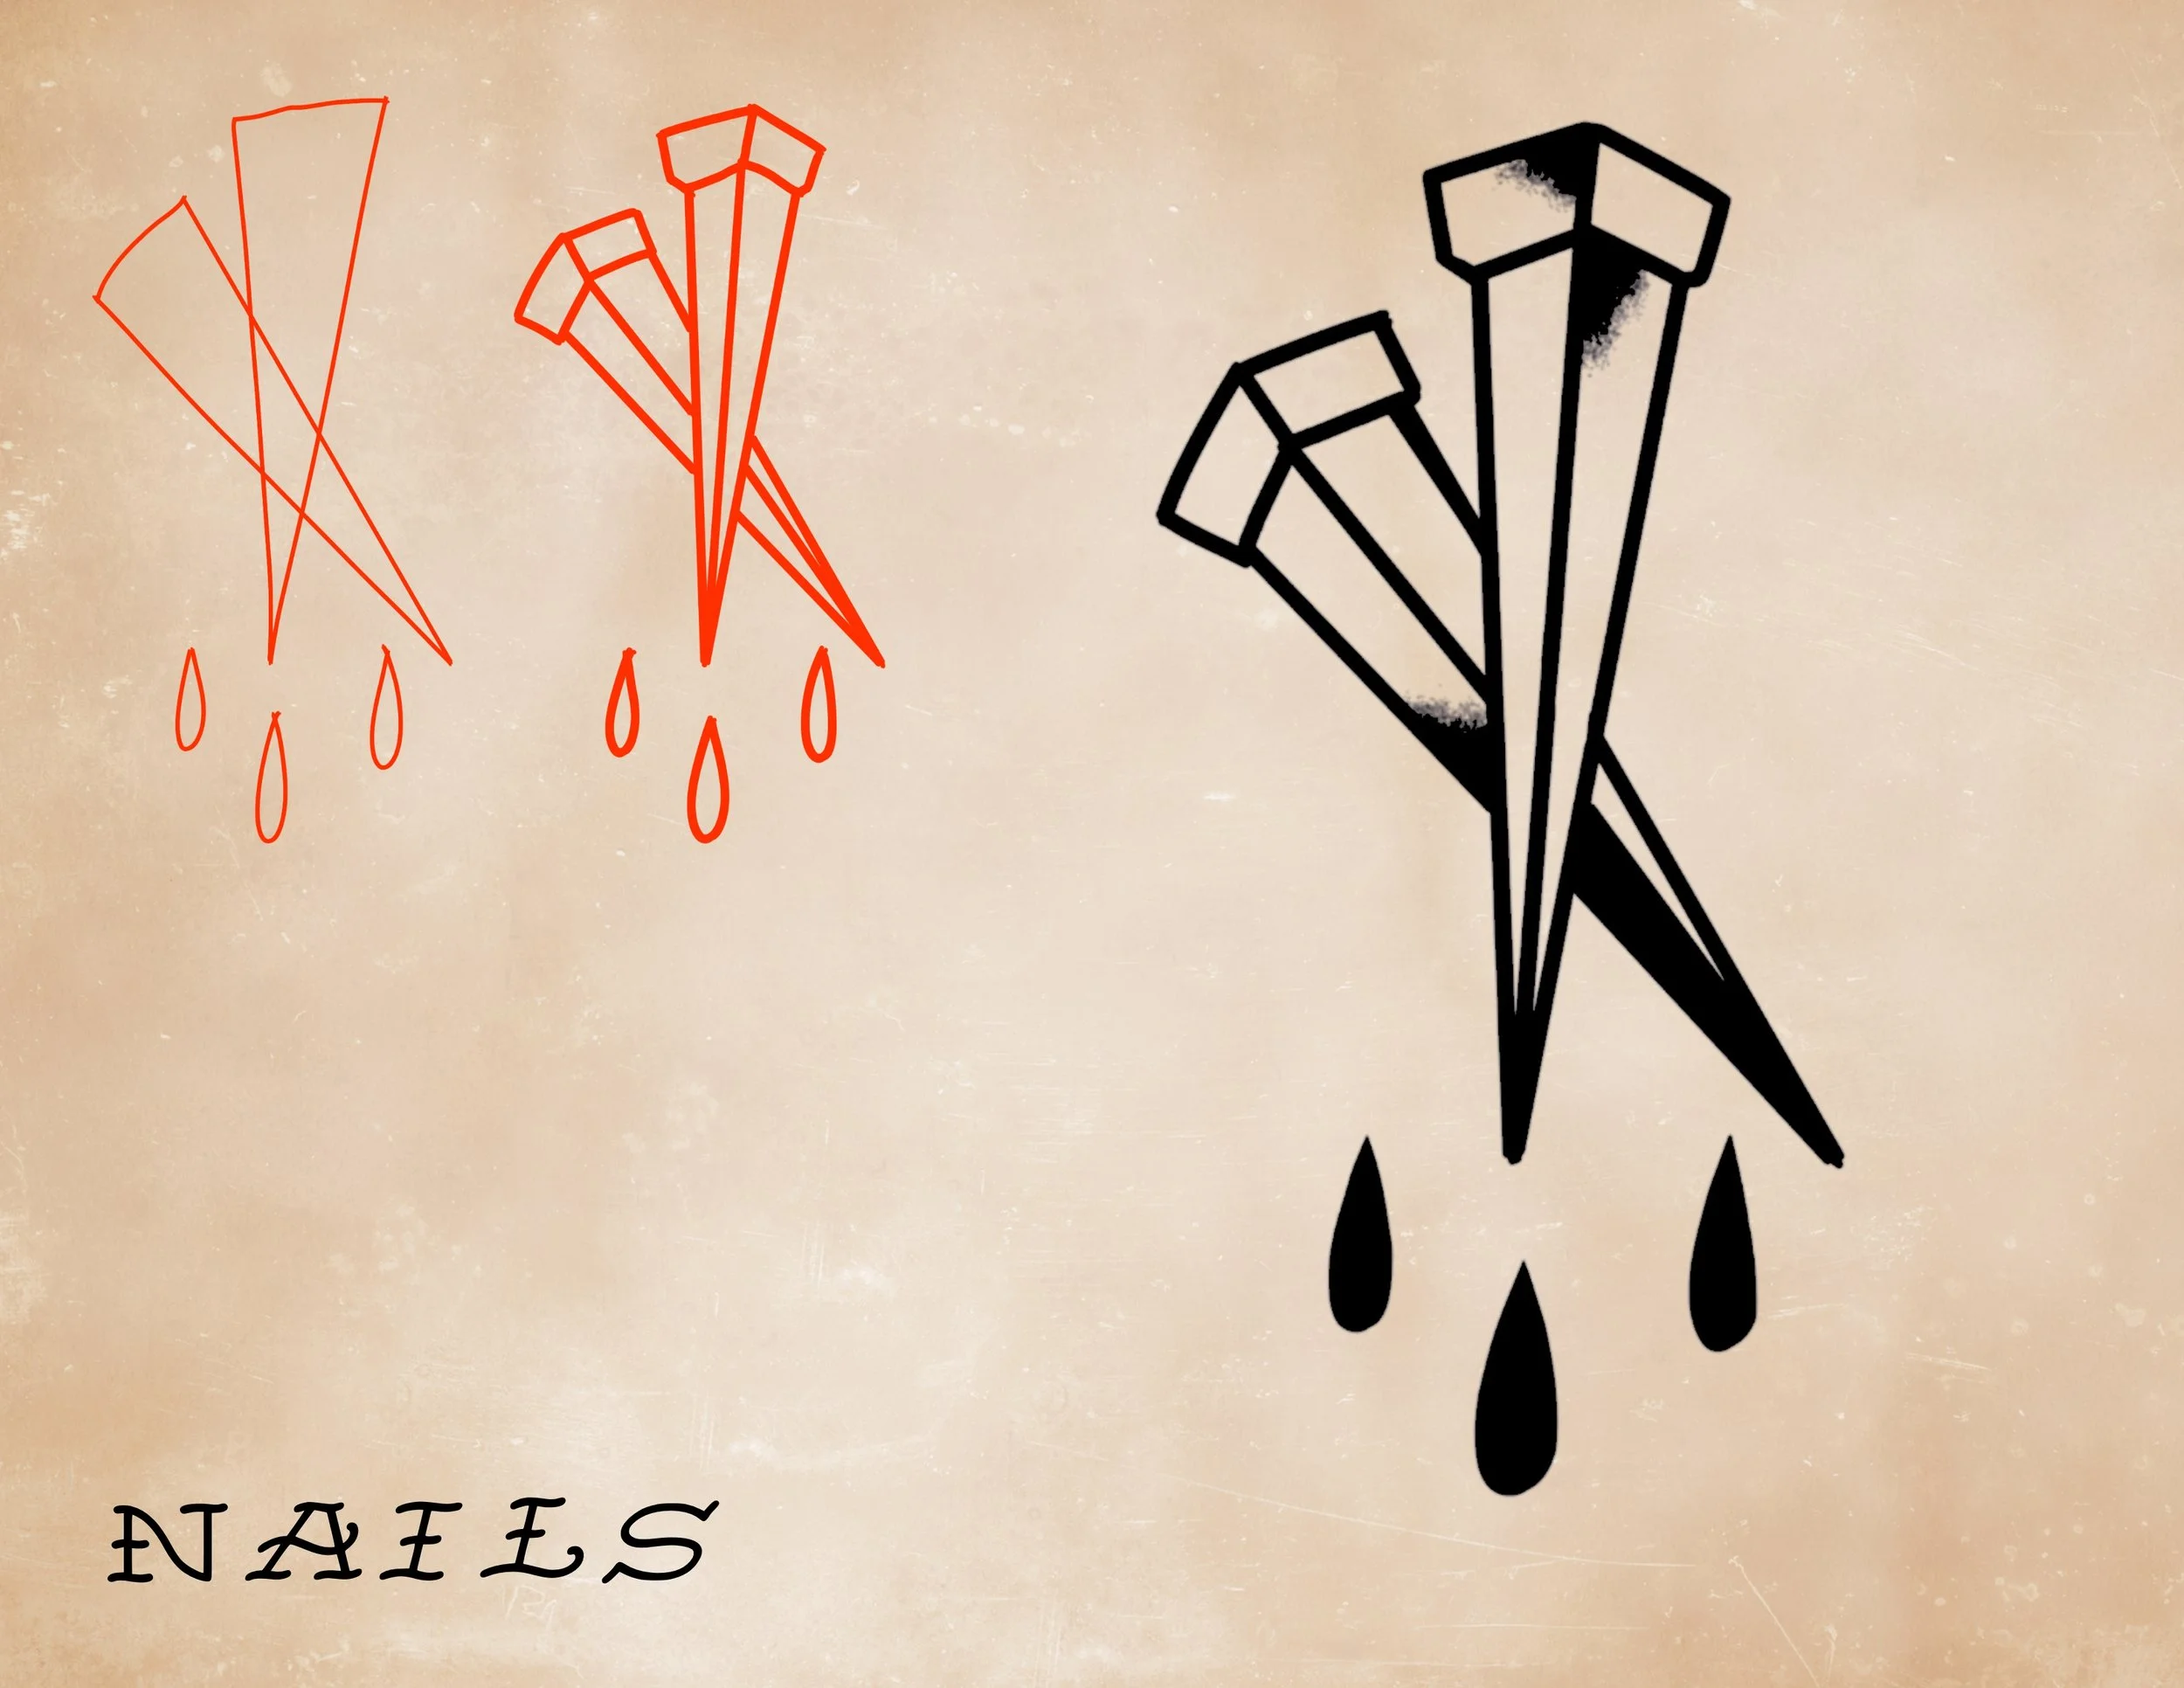
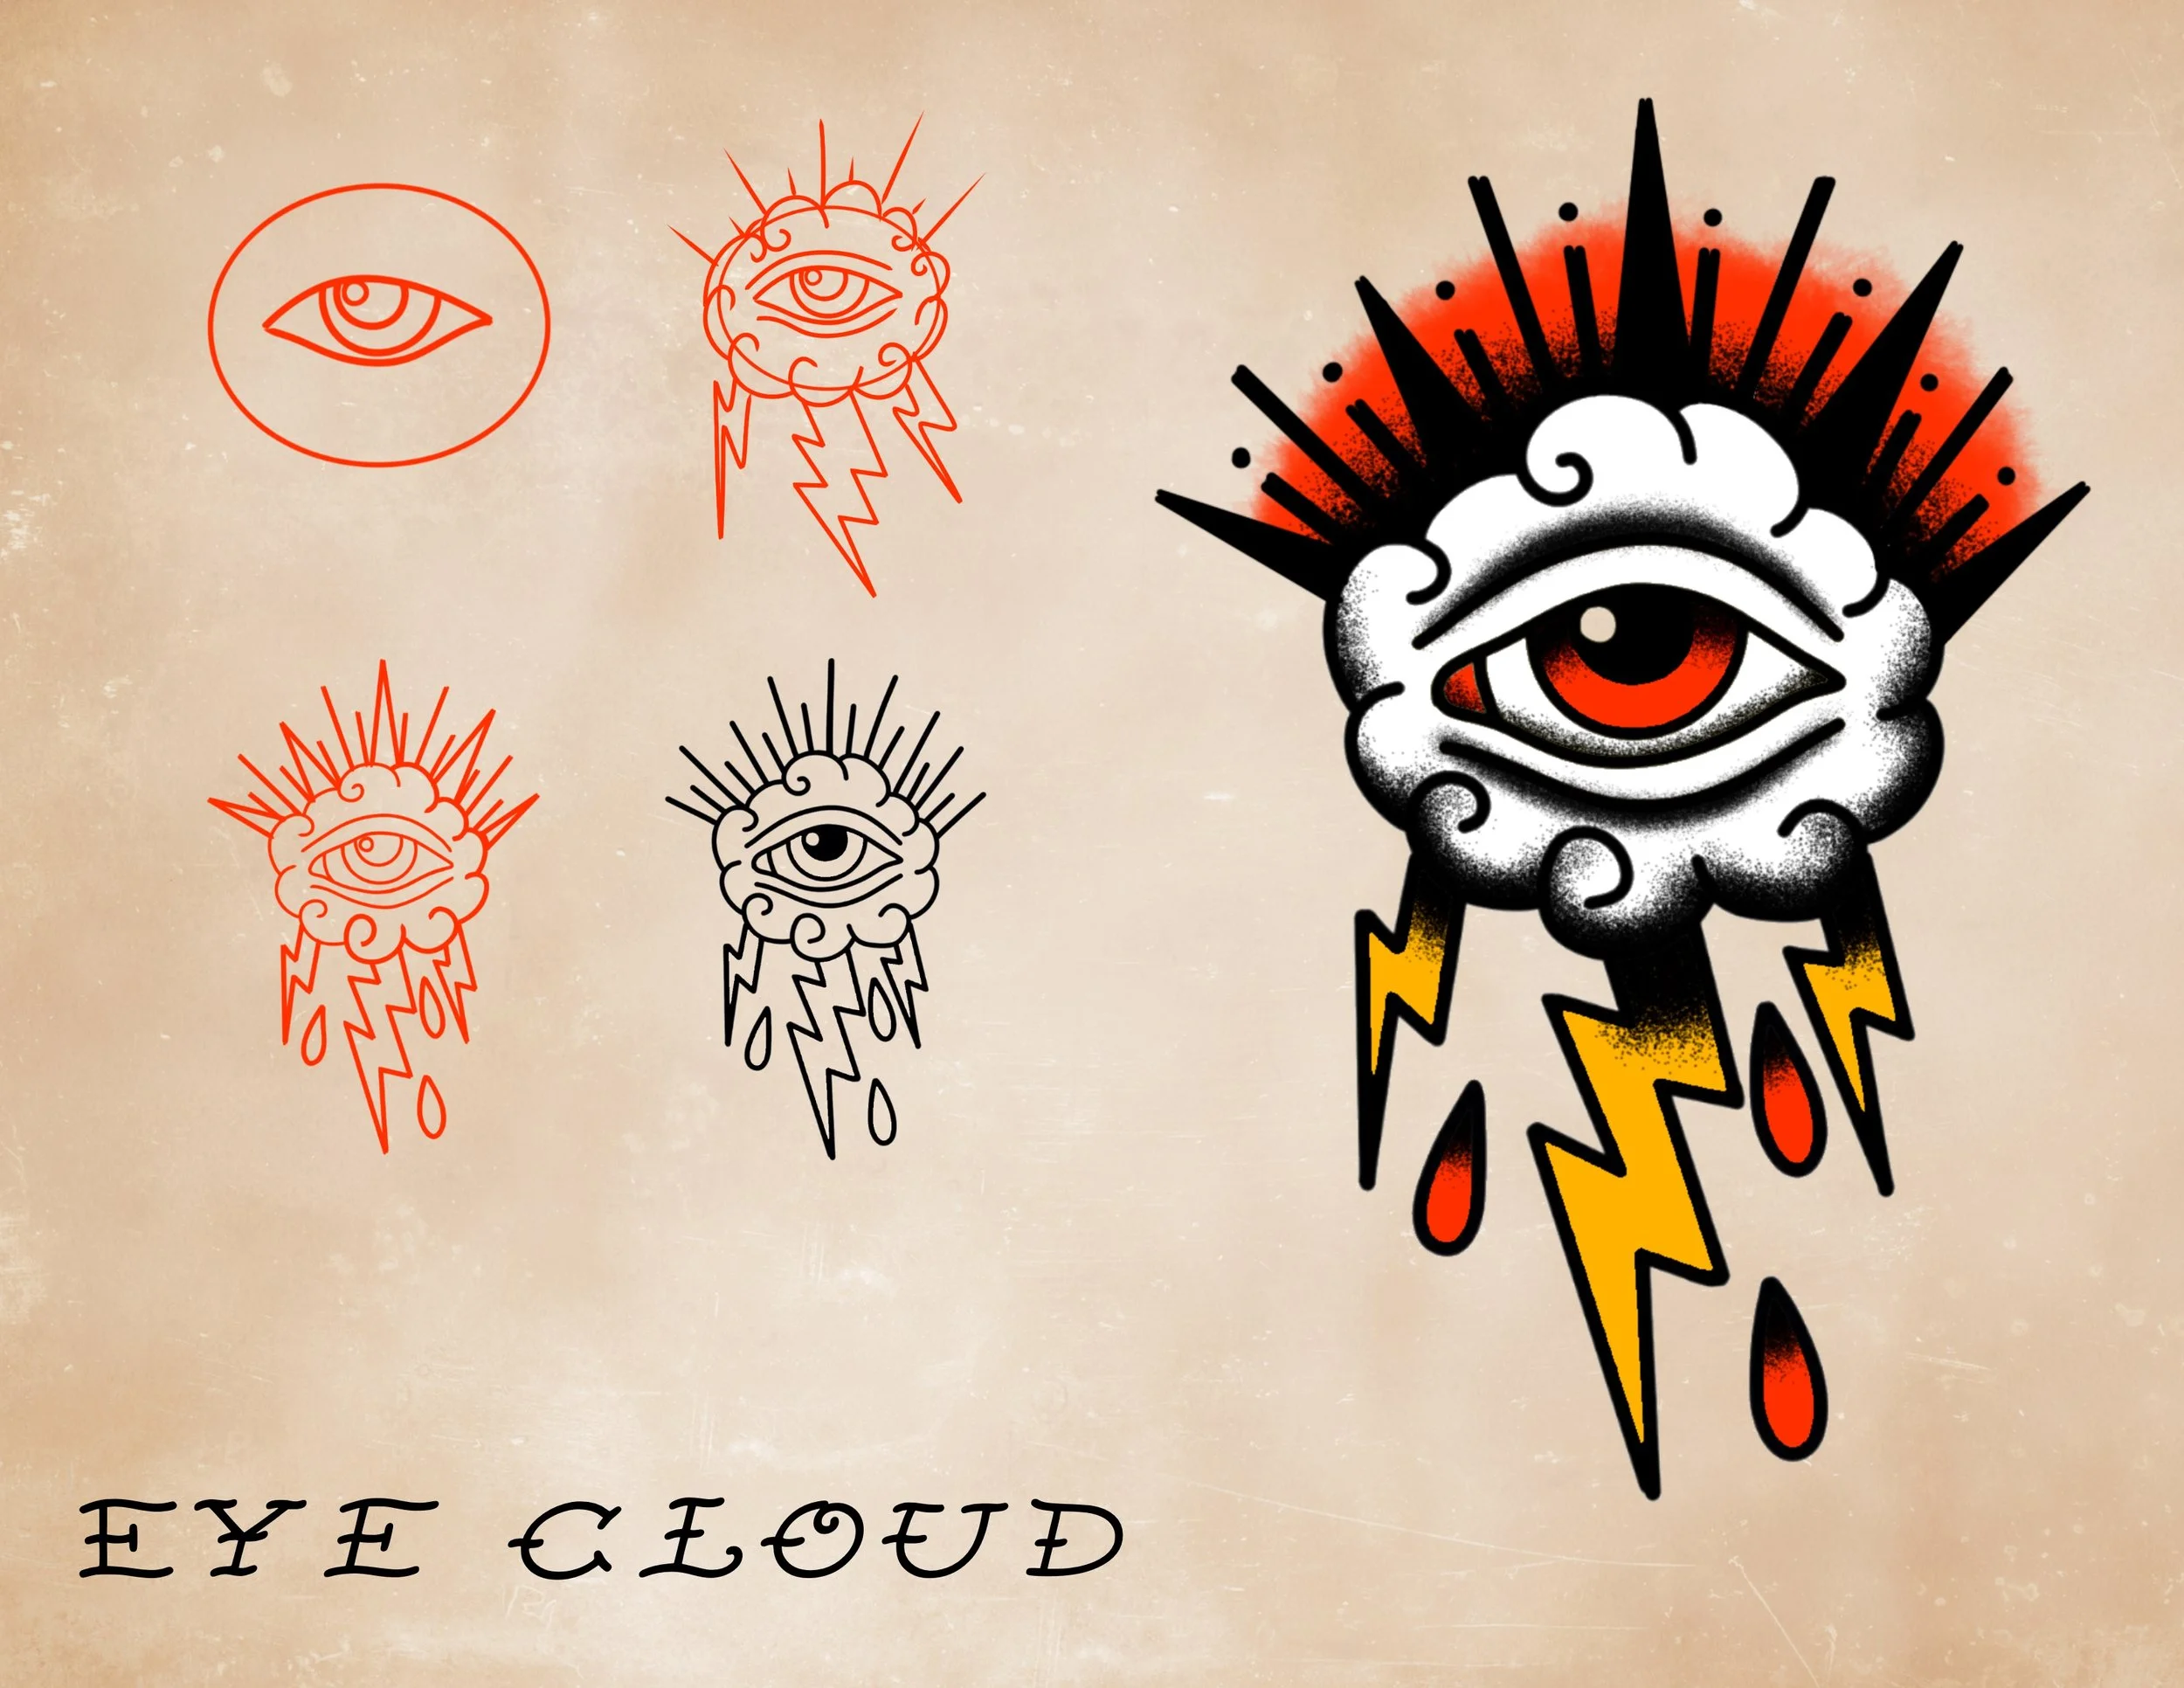
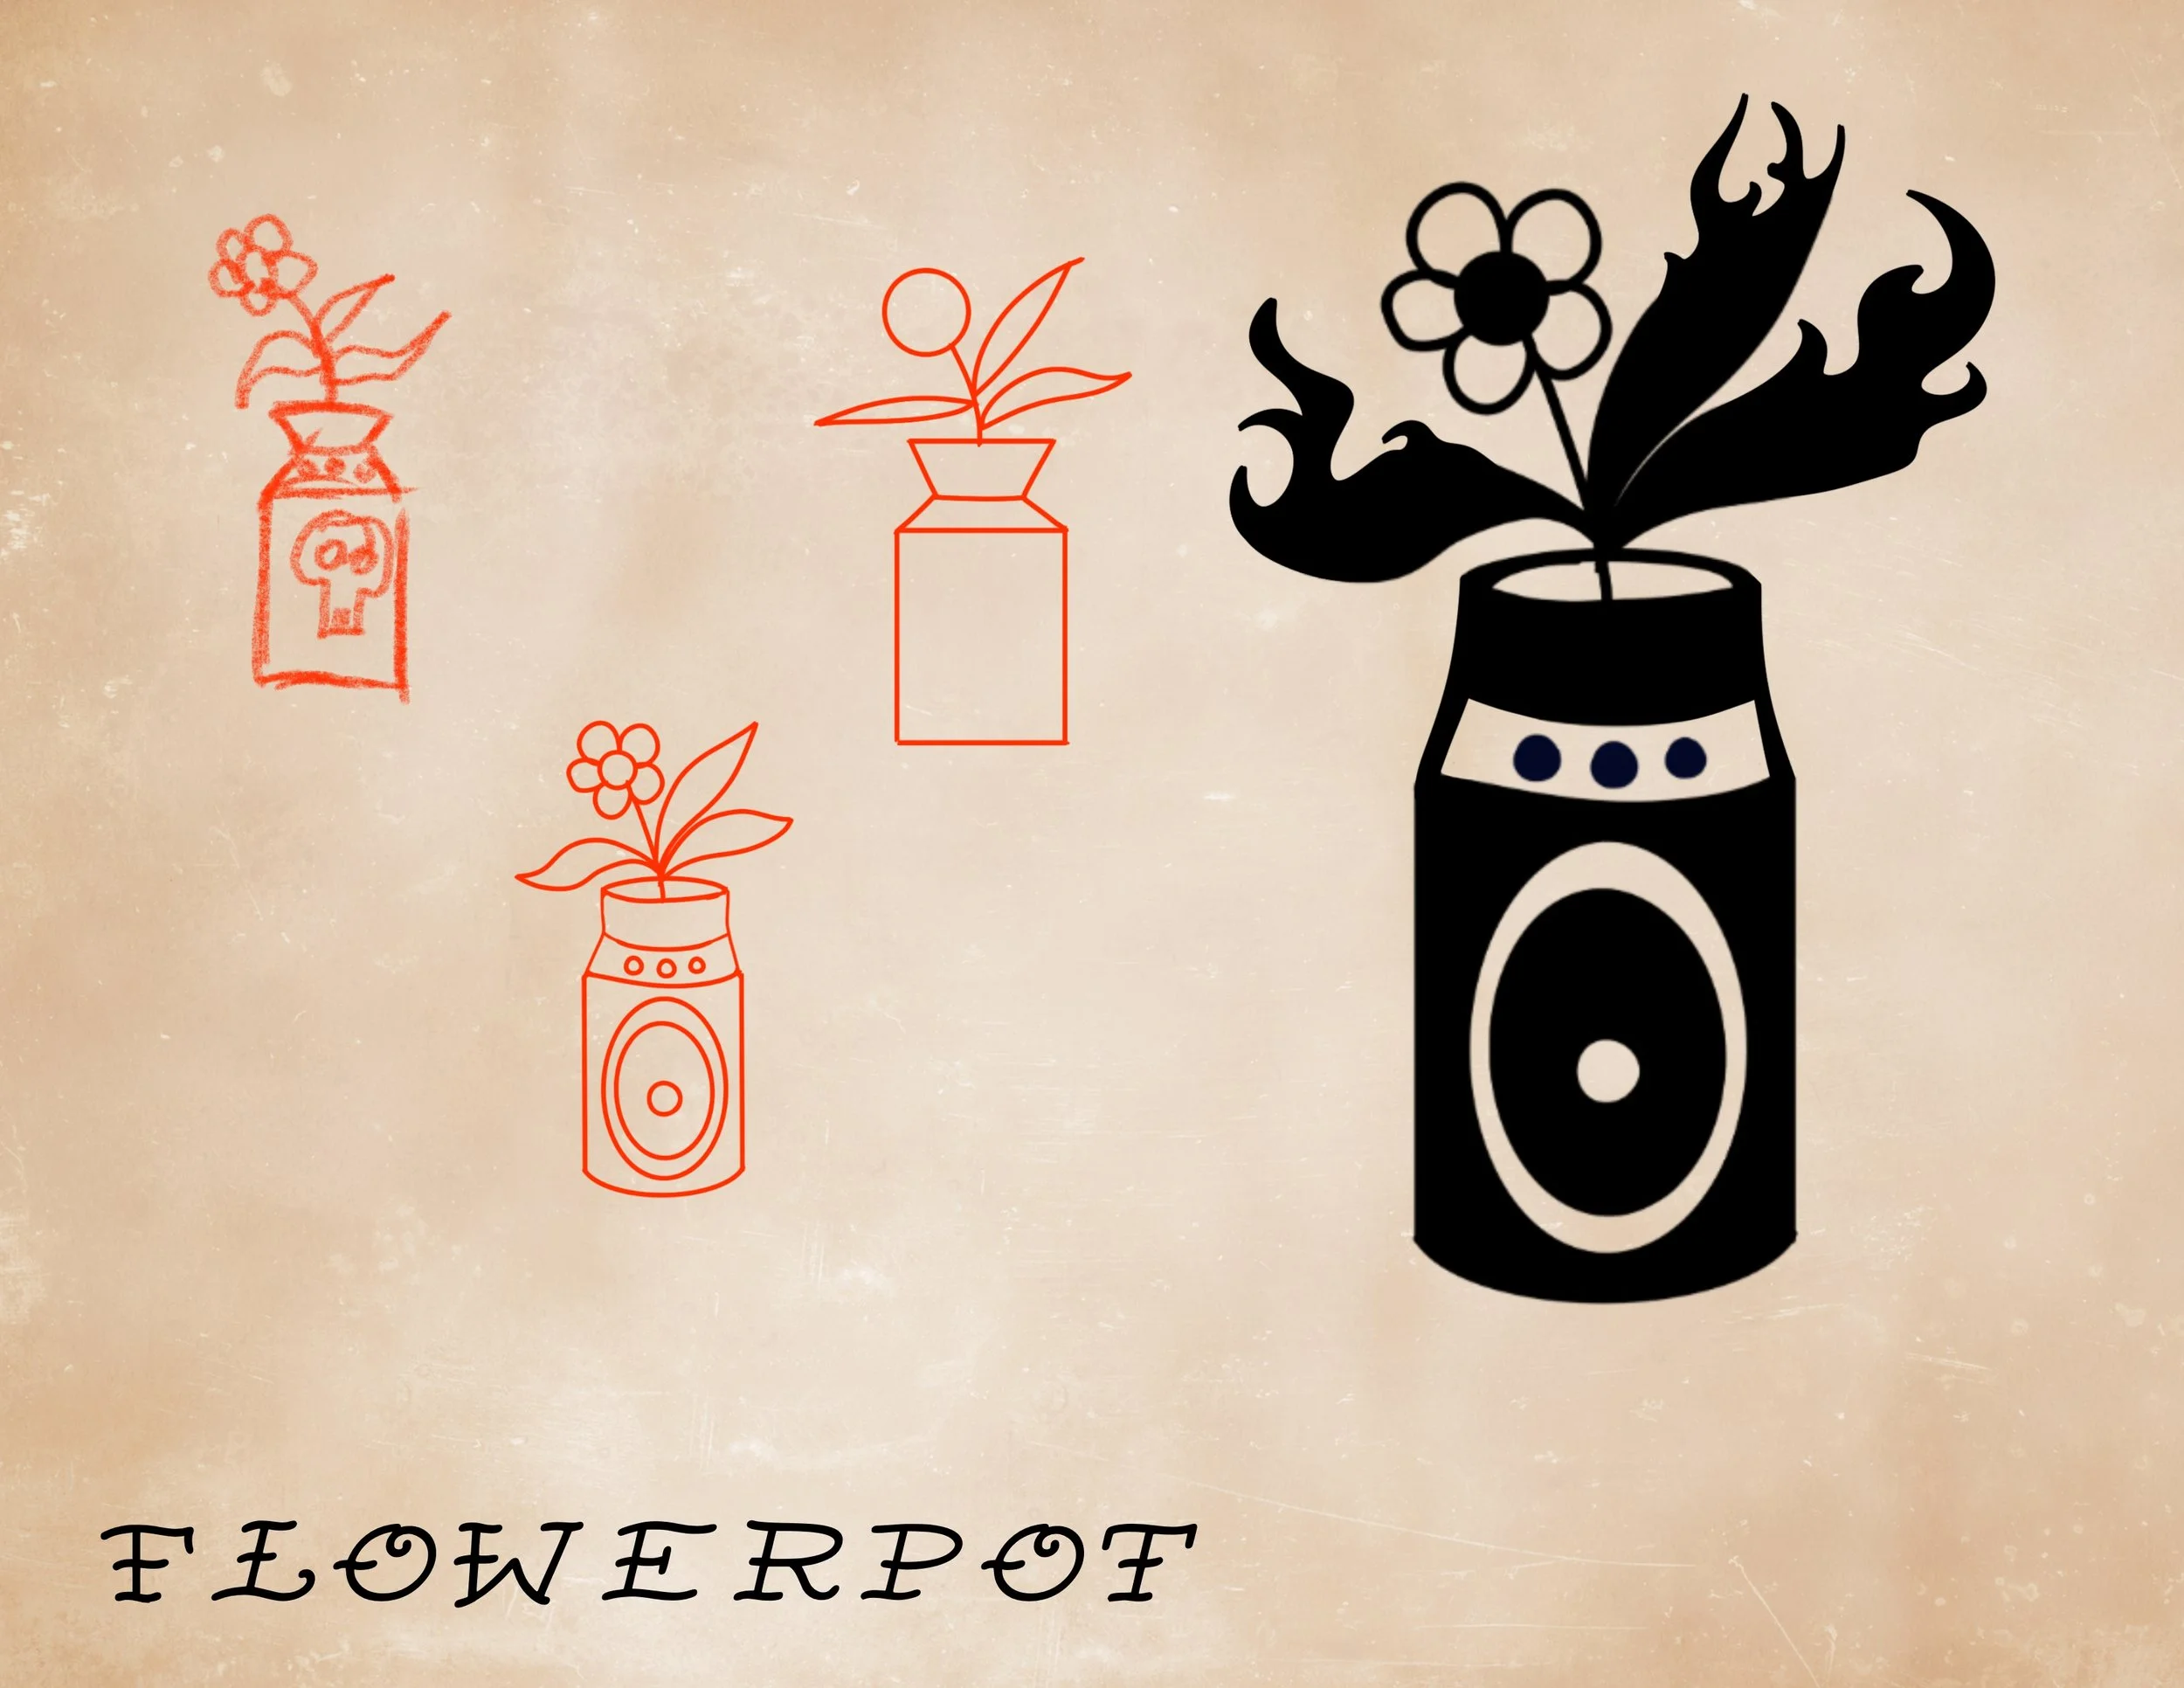
Traditional (American traditional) – A bold, limited-palette style with thick outlines
Neo-traditional – Combines traditional structure with modern color and detail
Stippling – Shading or imagery made entirely of dots
Realism – Tattoos that resemble photographs or naturalistic imagery
Illustrative – Combines drawing styles with tattoo techniques
Cyber Sigilism - Geometric symmetry, metallic flow, and digital or biomechanical motifs
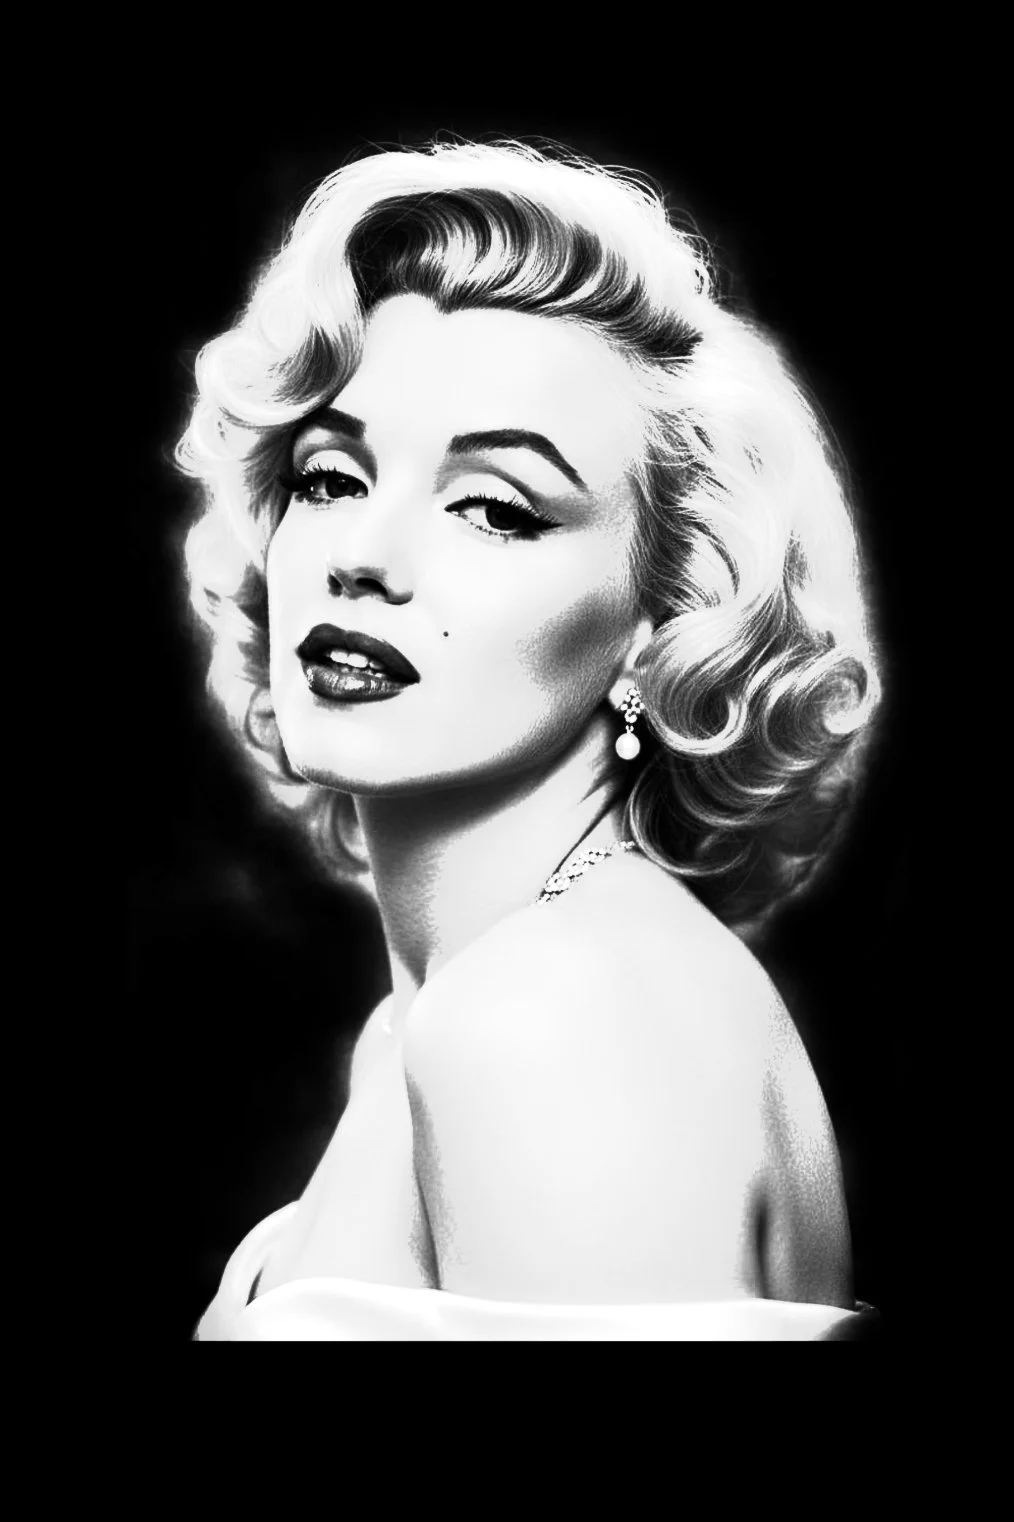
Portraiture – Captures the likeness, emotion, and fine details of faces or figures through precise shading and tonal depth
Calligraphy - Elegant linework, rhythmic flow, and stylized script
Set up & Materials
Tattooing requires a lot of set up and preparation to ensure a quality tattoo. Choosing the right size needle is very similar to choosing the right paint brush for a painting. Different styles of tattooing require different techniques, but it is up to the artist to determine how they execute them.
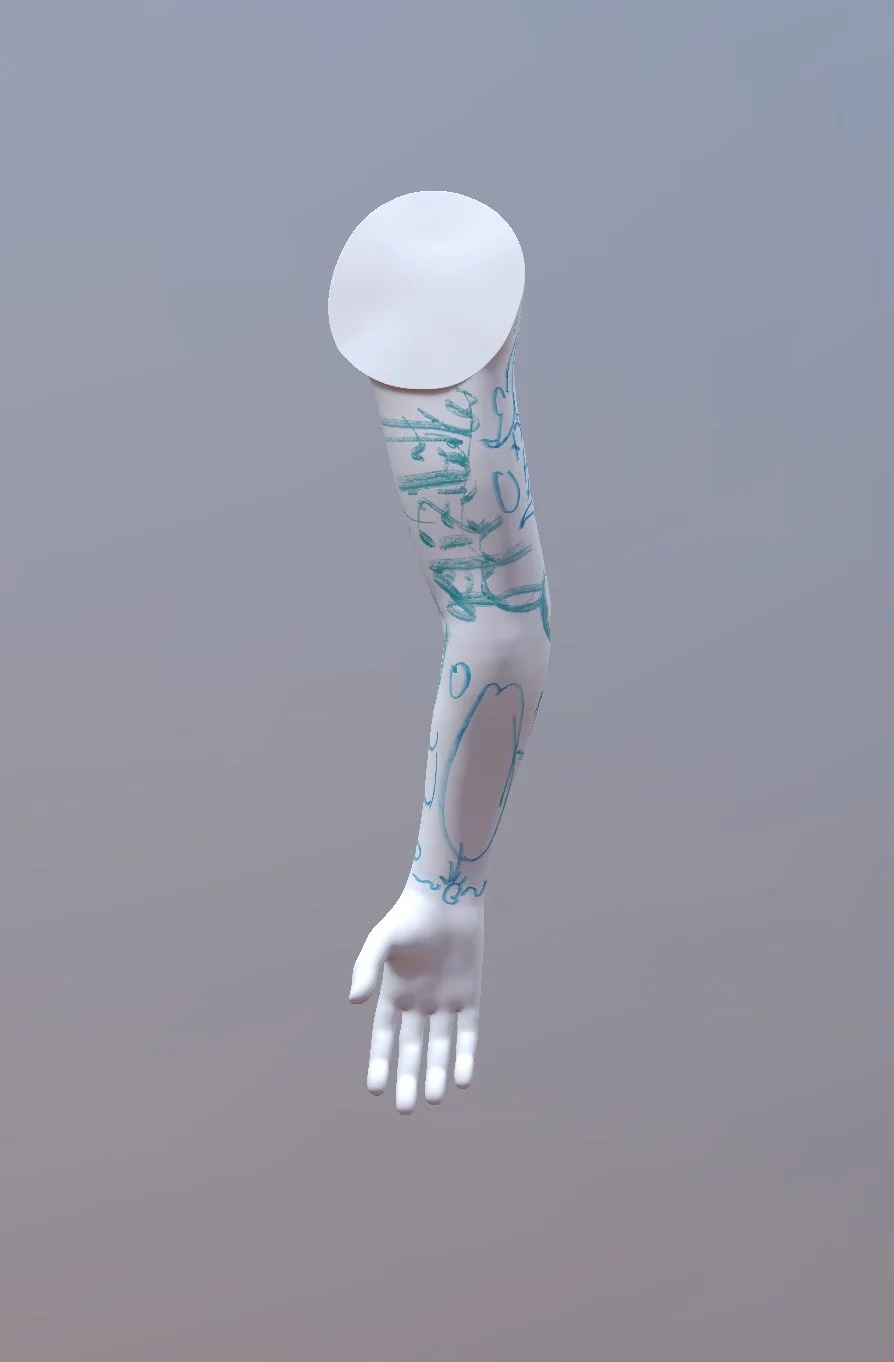
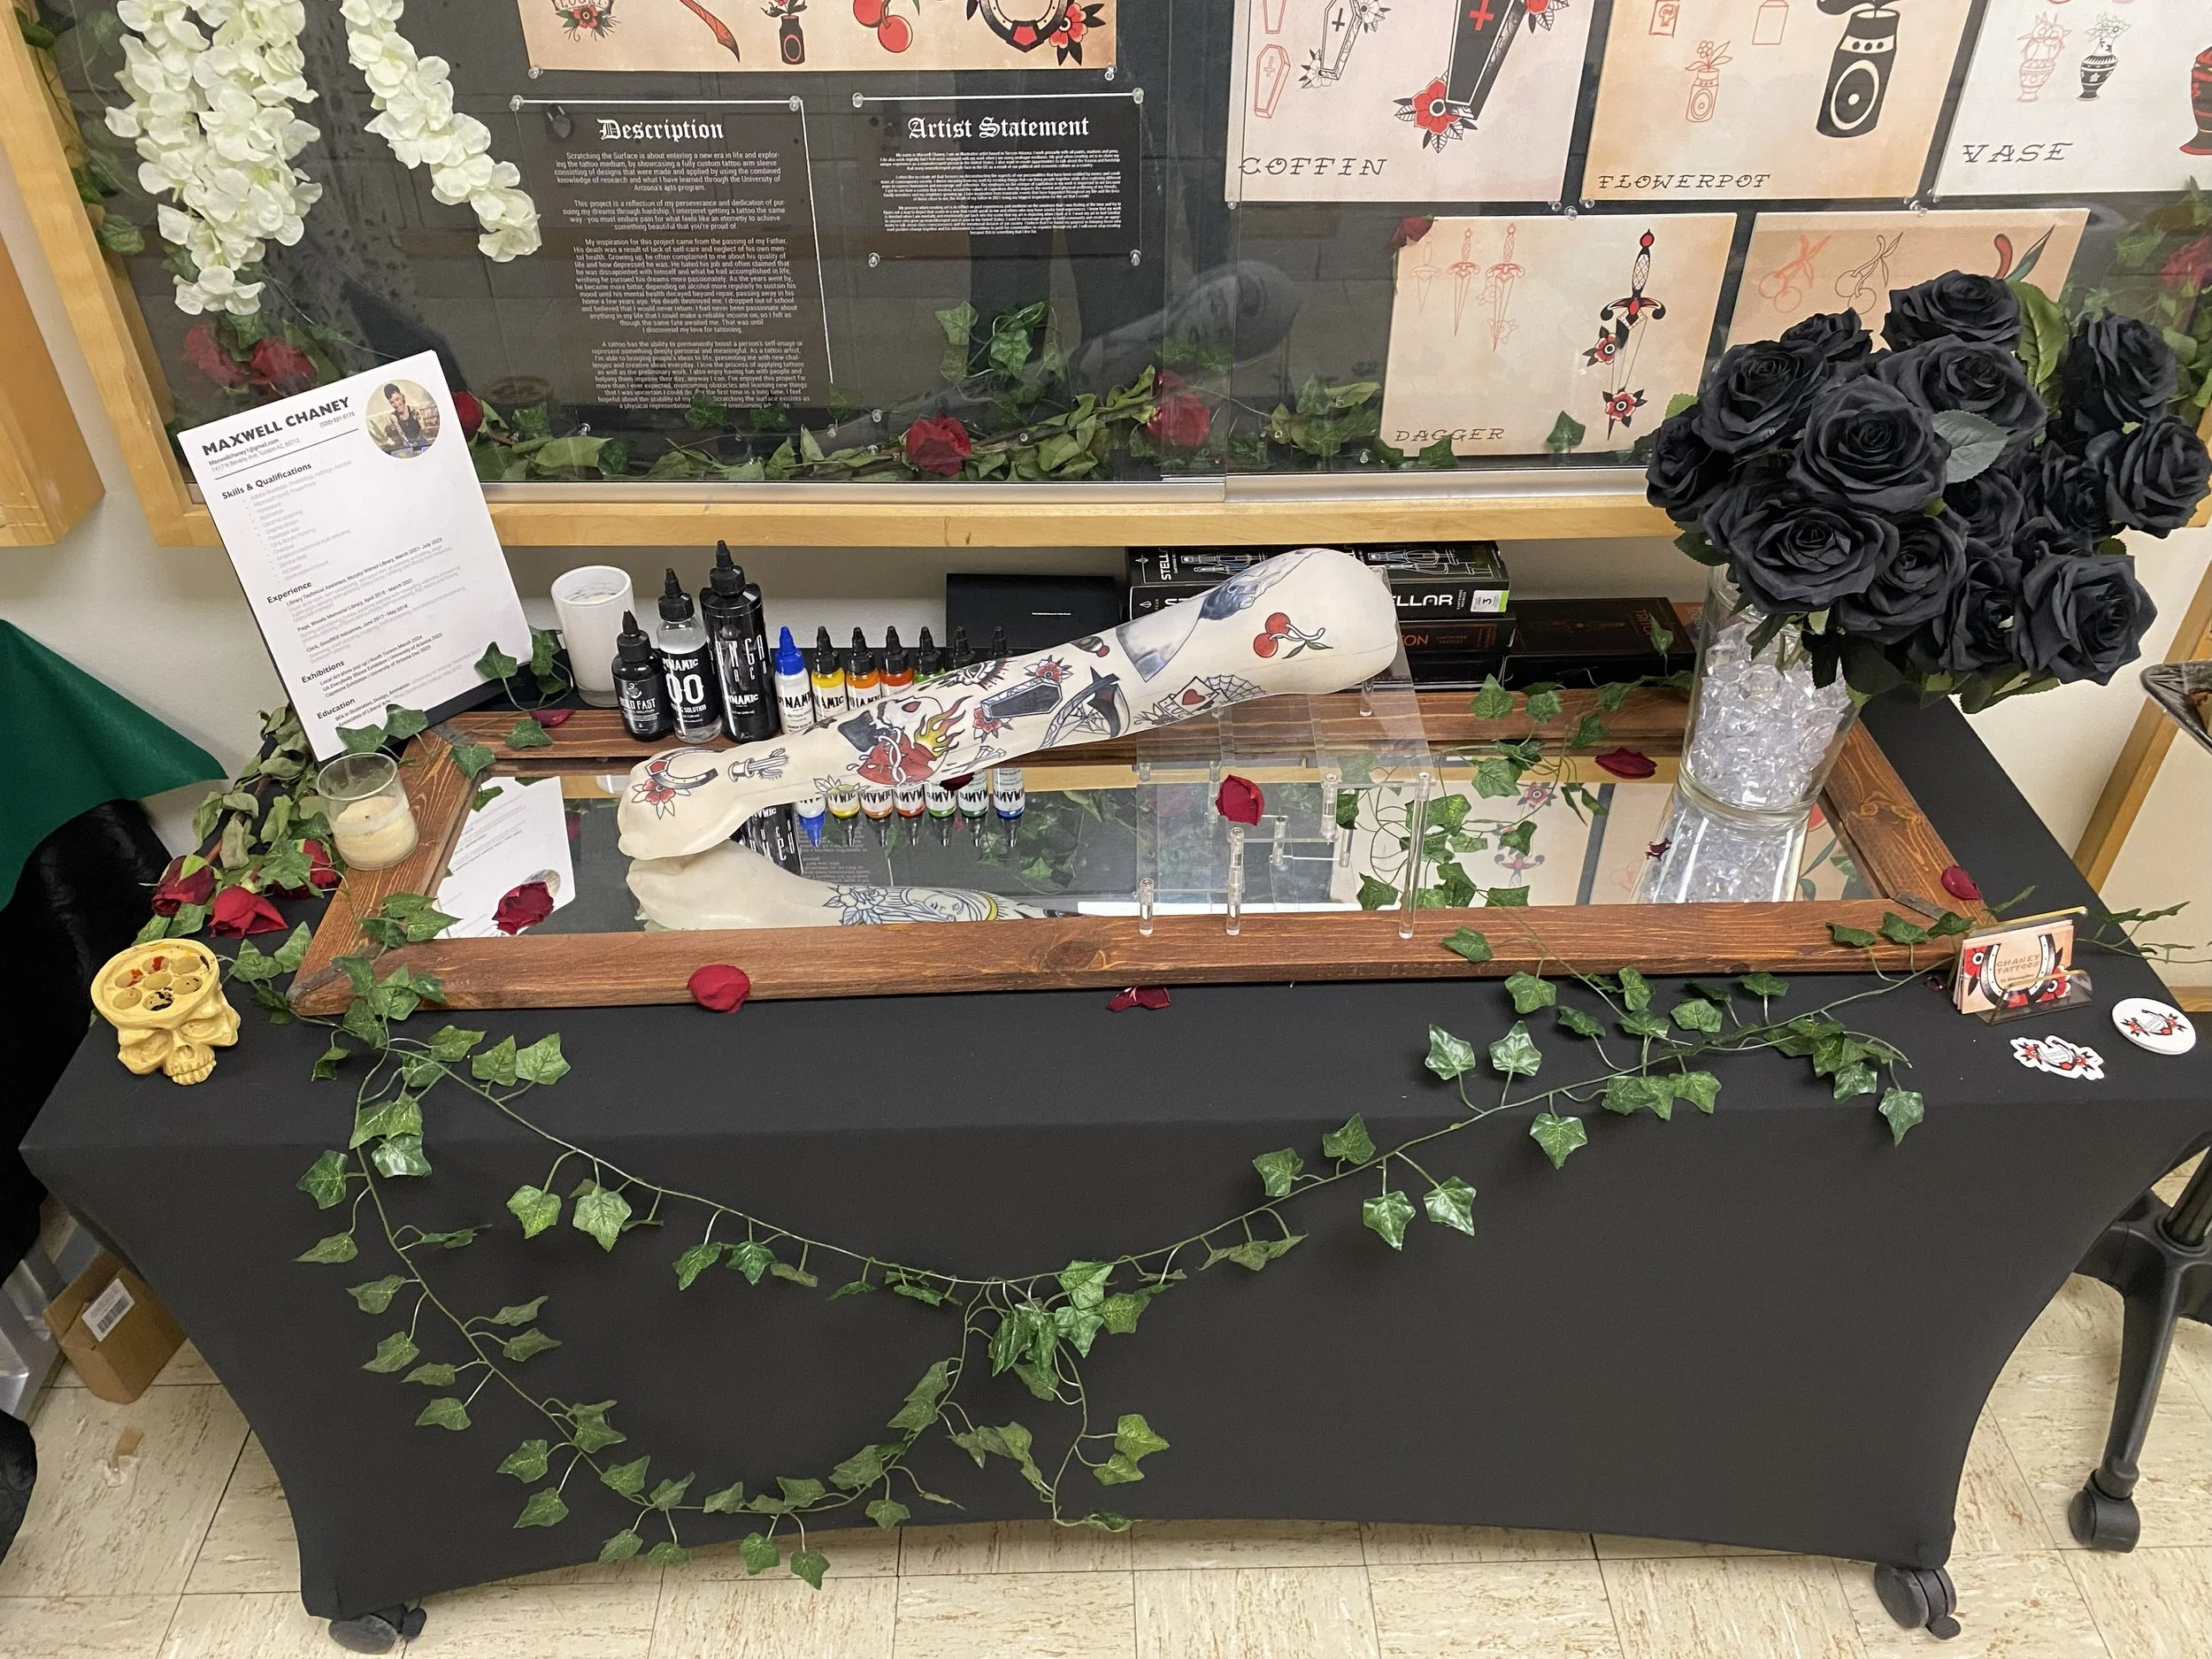
To set up my station properly for this project, I first had to print out the desired design and find the correct placement on the arm. After finding a satisfactory placement, I used a stencil marker to mark small lines on the arm to keep track of where the tattoo will be placed. I then cleaned and wrapped everything according to the tattoo sanitation guidelines. Next, I prepared my spray bottle of green soap & water to wipe excess ink and debris. I am now ready to begin the stencil process. To make a stencil of my desired design, I ran my printed design through my thermal printer with stencil paper and thermal ink. I can now prepare the area on the arm by washing it with green soap (and shaving with a disposable razor if on a real person) and apply stencil primer to the area. After placing the stencil, I pressed and held it down to ensure it fully transfers onto the skin and let dry for 10 minutes. Now that the stencil is prepared, I used Vaseline to stick my ink caps onto a popsicle stick to keep them in place and layout my color pallet or grey wash depending on which tattoo I was working on. The last thing I had to do before getting started was putting a machine cover over my tattoo machine and wrapping it with grip tape for control and comfortability.
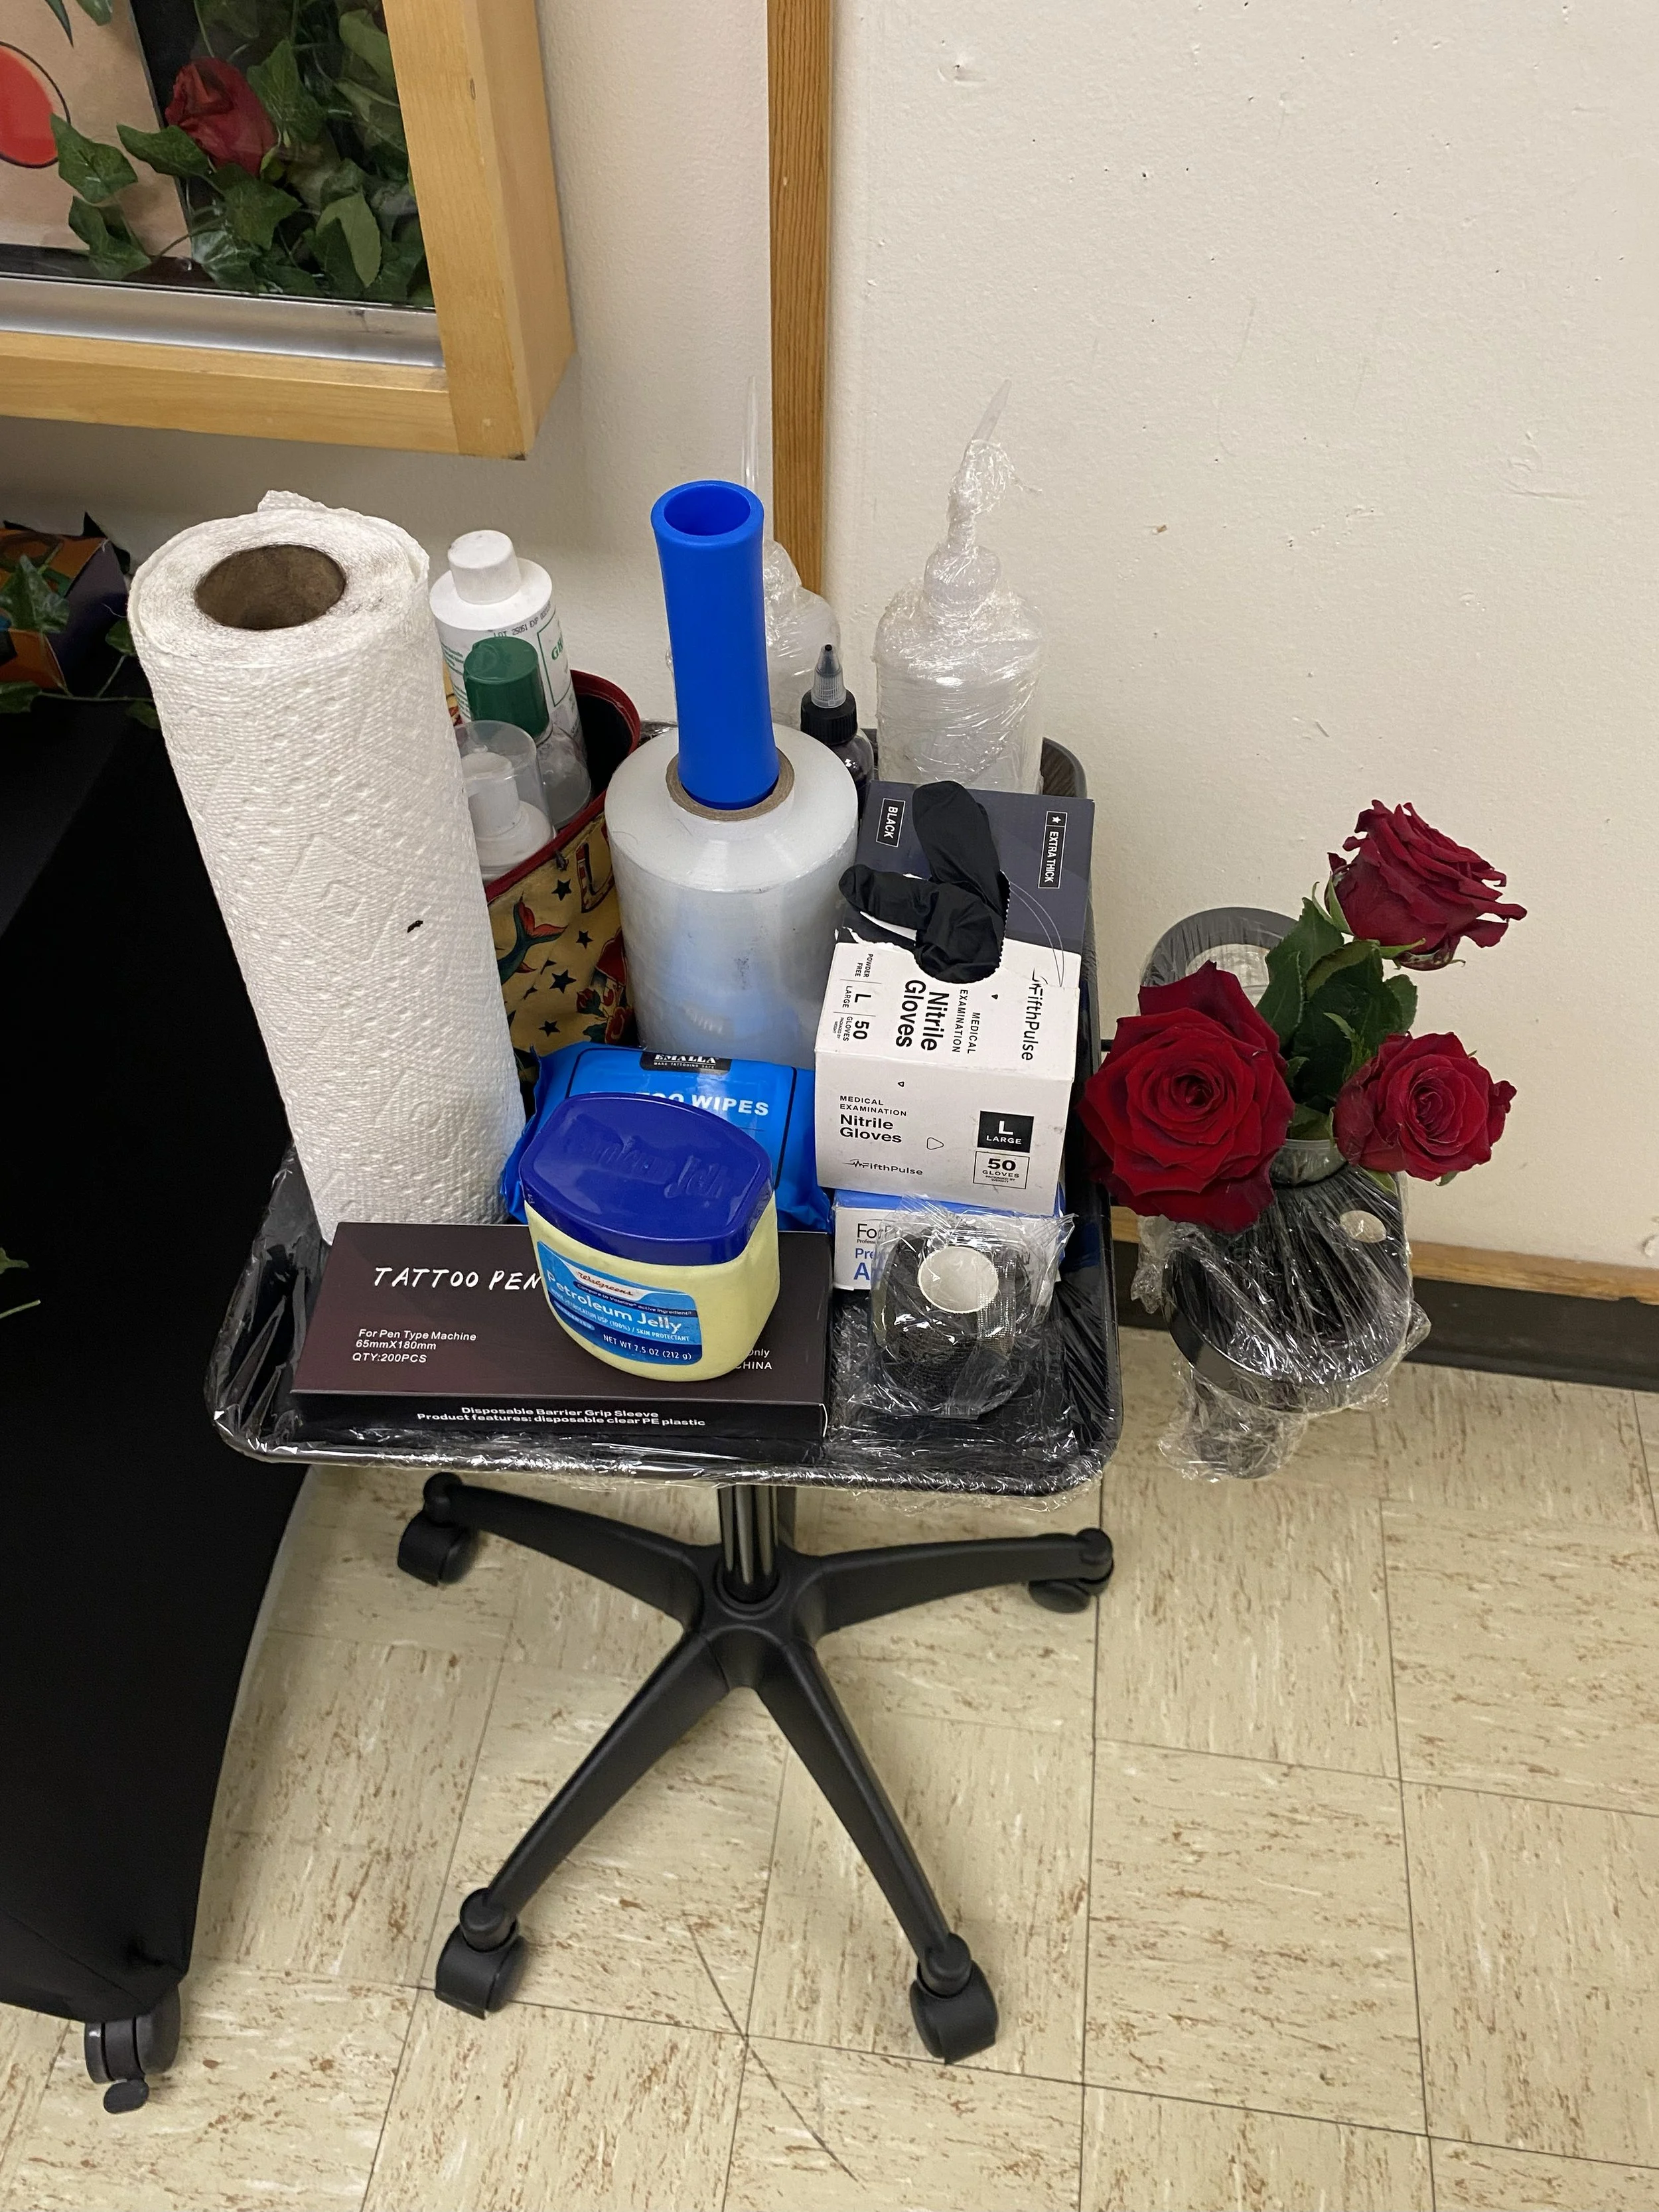
Below is a list of materials that I used for this project
Tattoo machine
3RL Needles
5RL Needles
7RL Needles
9RL Needles
5RS Needles
7RS Needles
9CM Needles
15CM Needles
Thermal printer
Stencil primer
Transfer paper
Fake skin
Fake arm
Ink + caps
Grip tape
Latex gloves
Green soap
Sterilized water
Razors
Spray bottles
Vaseline
Cling wrap

Sanitation
It all begins with an idea.
Before any tattoo, the tattoo station must be thoroughly cleaned with bleach and wiped down along with any materials that will be handled before each tattoo. Tattooing real skin is a process that can be dangerous and prone to serious infection if not prepared properly.
Below is a condensed step-by-step guide to sanitizing the workspace
Wash hands with antibacterial soap
Always wear latex gloves (gloves must be changed after handling of any unpackaged product)
Wipe down machine and all surfaces with bleach & water before and after
Wrap everything that is going to be touched with cling wrap (Chair, tray, bottles, machine, arm rest, power supply etc.)
Almost everything is single use and disposable
Scrap all disposable items after
Technique and Application
It all begins with an idea.
Linework – Needle hang 1.5 – 2 mm, (7 – 9 volts)
Stretch the skin, tight in three directions
Keep consistent speed and hand pressure, don’t rush or slow down mid-line
Needle angle: 45 degrees, steady hand — keep your needle perpendicular enough to penetrate skin evenly
Dip often and always have enough ink in your tip to avoid patchy lines
Warm up with long straight pulls on fake skin or paper before working on clients
Shading – Needle hang 2 – 2.5 mm, (6 – 8 volts)
Use pendulum or whip motion for smooth gradients
Dilute your black ink (gray wash) in different cups to build depth gradually
Don’t overwork an area
Stretch the skin gently, too much tension can make your shading patchy
Always wipe gently to avoid irritating or tearing skin mid-shade
Packing – Needle hang 2 – 3 mm, (8 – 10 volts)
Small, tight circular motions
Saturate fully before moving on
Always wipe with green soap + distilled water mix to see true saturation
Work dark to light to avoid muddying colors
Use larger mags for even coverage
Fineline – Needle hang 1 – 1.5 mm, (6 – 6.5 volts)
Light hand, low voltage
Single-pass lines only